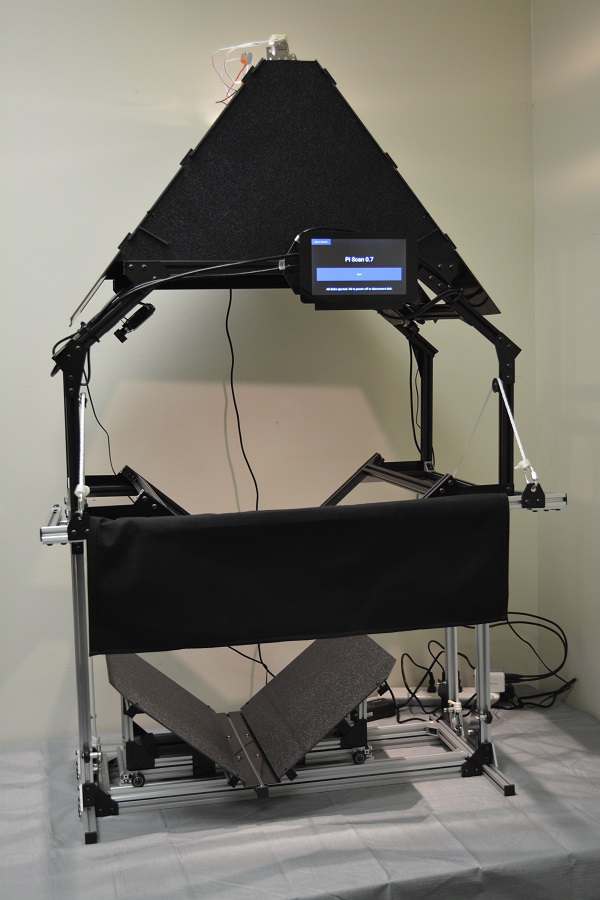
This is a complete book scanner which uses cheap point and shoot cameras to gently capture the pages of a book. The control and interface runs on a Raspberry Pi with a touch screen using a program called Pi Scan.
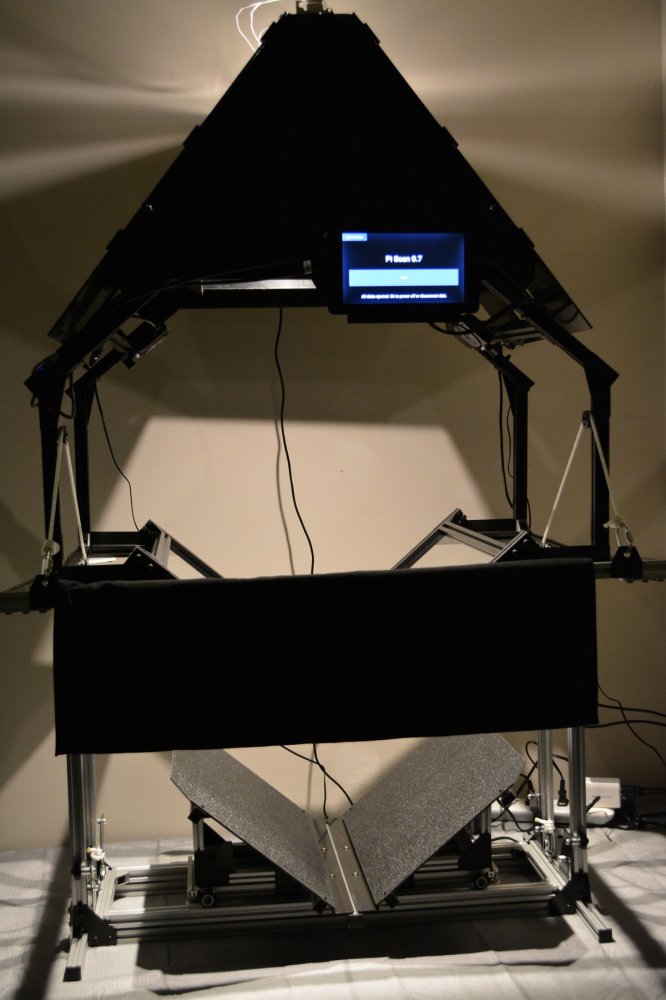
While this is not an automated device, it provides the perfect photographic environment for capturing the pages of a book. With experience, an operator can scan more than a thousand pages an hour. High quality LED bulbs ensure an even and color balanced light. The cameras can capture pages at more than 300 DPI in a fraction of the time that a flatbed scanner can.
For each pair of pages, the operator pulls down on the handlebar, pressing the pages flat against the two panes of glass held in a V shape. The operator triggers the scan using the touch interface, a keyboard, a foot pedal, or any simple switching mechanism. Then they can lower the cradle and flip the page to scan again. All of this can be done in just a few seconds and the cameras capture both pages at once.
After scanning, you will have an SD card full of raw images taken directly for the cameras. At that point, you would need to use one of the free or paid applications to clean them up, get them all pointed in the right direction, and turn them into a PDF or other convenient format. For an example of what the raw output looks like, see:
http://tenrec.builders/quill/samples/sample-1.jpg
http://tenrec.builders/quill/samples/sample-2.jpg
I'll talk a bit about how to put one together here. For an exhaustive description with hundreds of photos, check out the Archivist Quill Guide.
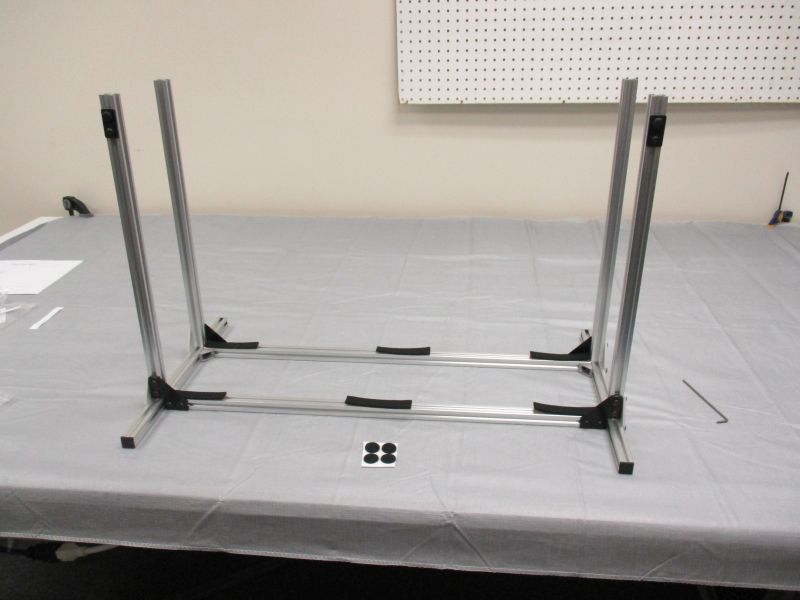
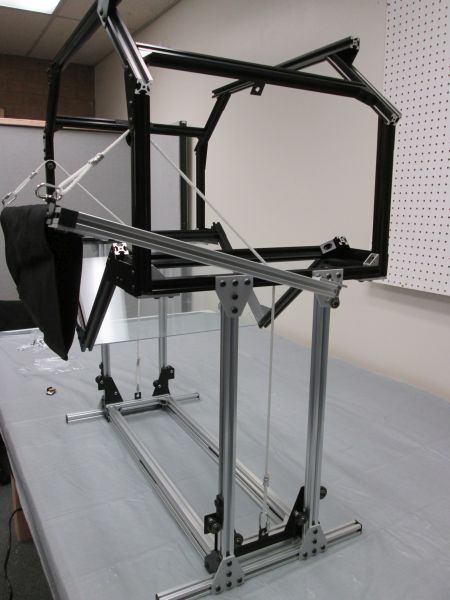
The bottom of the Archivist Quill is the platform which provides the main support for the other components and vertical rails which the cradle can ride on.
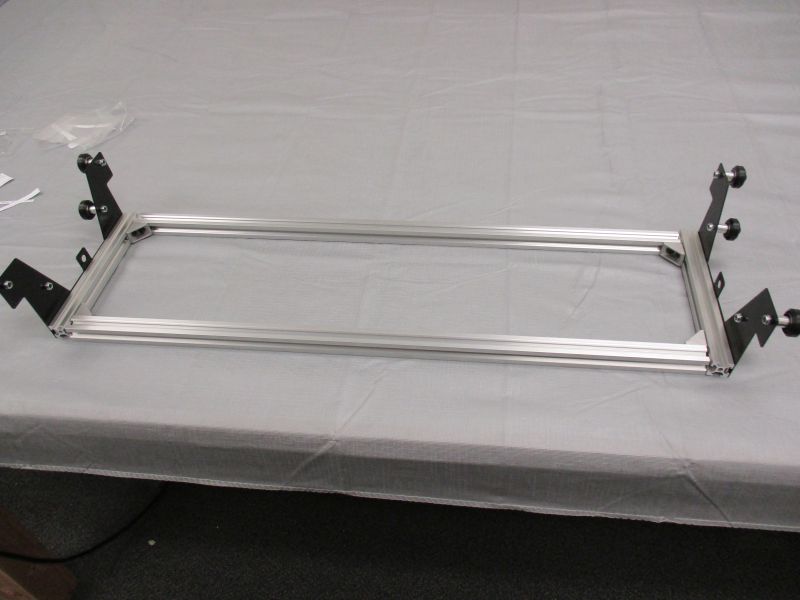
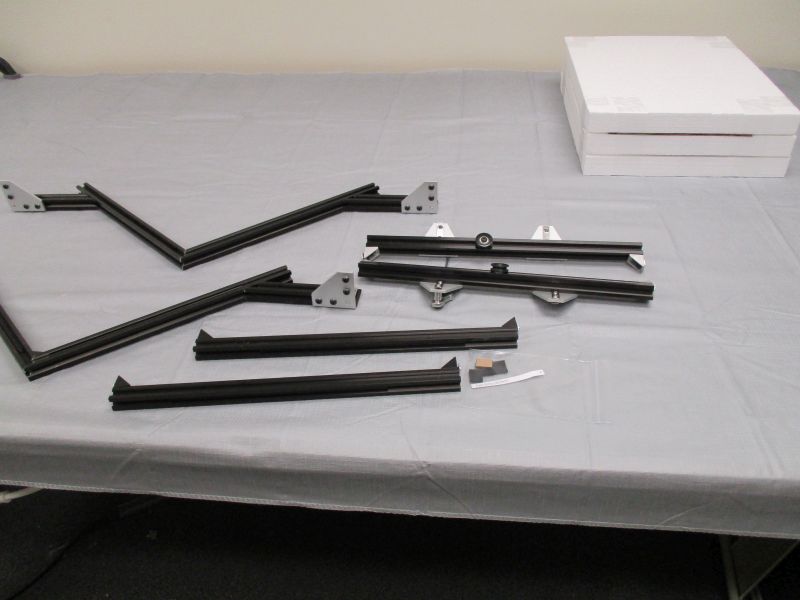
The cradle lifter is the part of the cradle that moves up and down on those vertical rails. It is pulled up using a rope on either side and has a pair of wheels to prevent racking forward and backwards. This doesn't need to be precise or pre-loaded in the same way that a CNC machine might, so I was able to use fewer wheels and dispense with the complication of eccentric spacers.
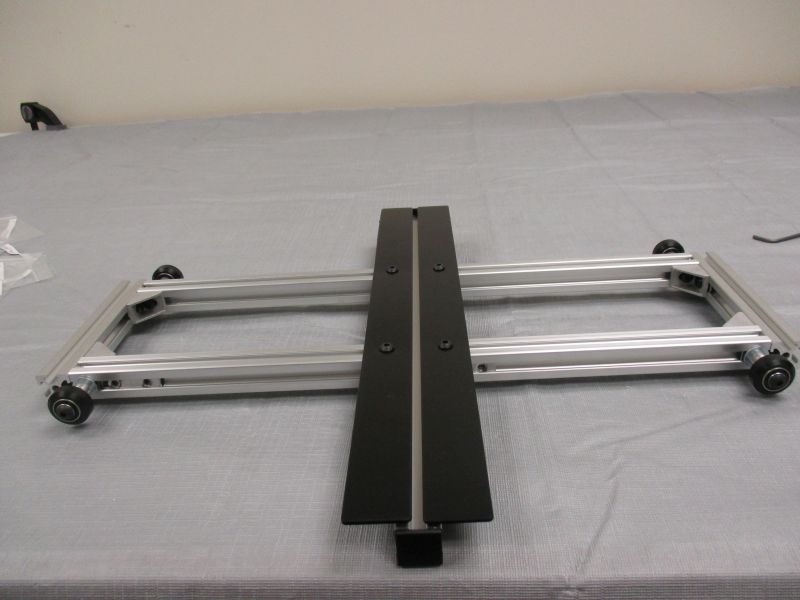
The cradle base goes on top of the cradle lifter. It has four wheels to allow it to move back and forth along the rails of the cradle lifter. This back and forth movement is needed because as you scan through a book, the center of the book moves relative to the cradle. It is just a paper thickness each time, but it is potentially an inch or two over the whole book. The wheels actually have too little friction to begin with, so we add a couple of brakes to prevent the whole assembly from moving back and forth at the slightest bump.
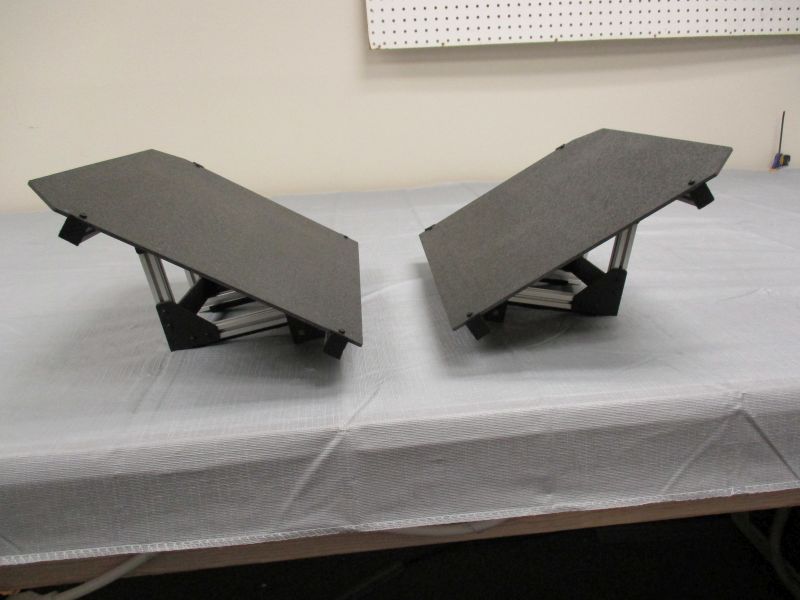
To hold the book gently and press it against the glass platen, we need a V-shaped cradle composed of two wings. But the wings of the V need to be able to move relative to each other. Some books are thicker than others. Think magazine vs phonebook. So each cradle wing must be able to move along the base but we also need to be able to clamp it. The M5 finger clamps tighten or loosen T-nuts to accomplish this and felt padding lets it move without scratching aluminum. The wings are made of the smaller 15mm T-slot because it is cheaper and lighter. The more weight we have on the cradle, the more we will have to counterweight it.
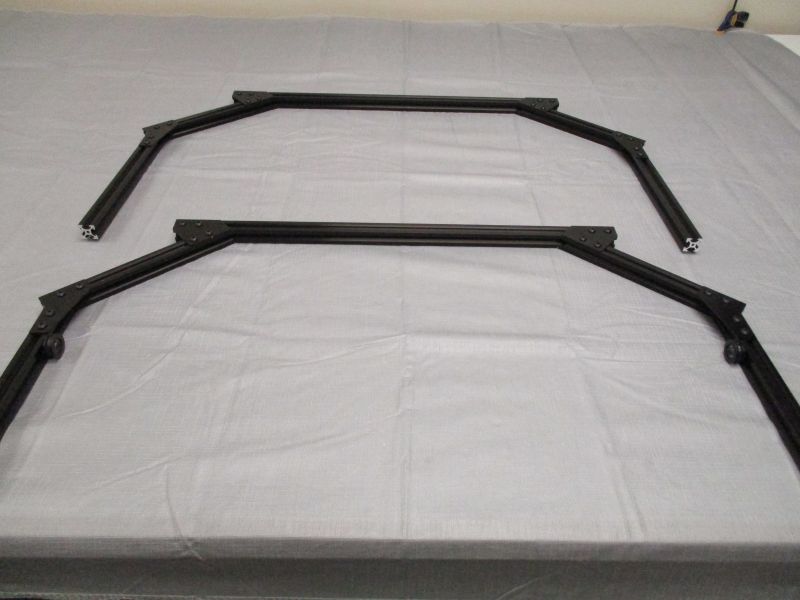
Above the platform is the platen. We need an assembly of V-slot on either side to hold the glass fixed in place.
The imaging module comes next. This is the support mechanism for the cameras and the lighting module.
Now we have all of the pieces we need for the main structure. First, we load the cradle lifter onto the platform.
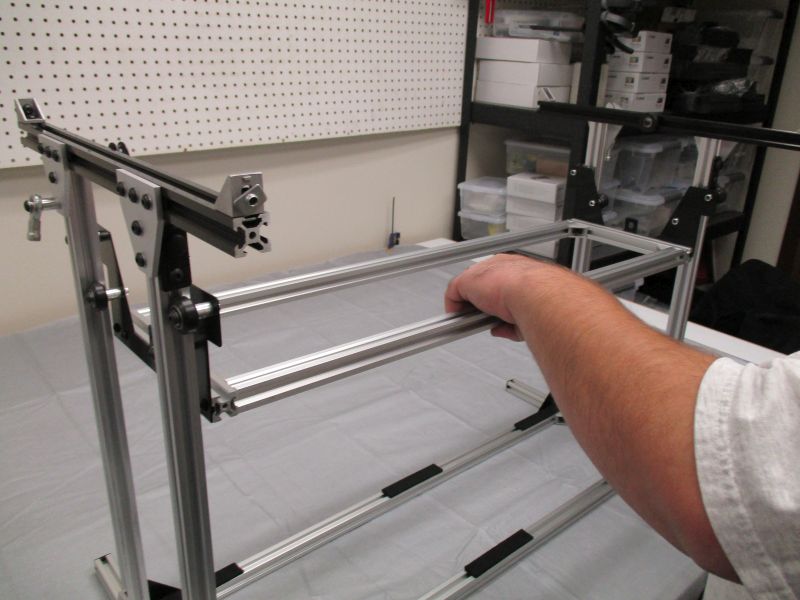
Next we add the platen and imaging modules to the structure.

The handlebar and the ropes which lift the cradle are attached via a pair of rod ends. The handlebar itself has a long canvas sleeve which you can use to counterweight the cradle. Insert bottled water, bottled sand, gym weights, or anything else.
The lighting module uses two bright CRI 95 lights. It is constructed of black ABS and has baffles to prevent light going where it shouldn't and it provides some protection from the glare of ambient light. The entire top half is black to reduce the risk of unwanted reflection. You should always scan in the dark if you can, though. The lights on the scanner itself are positioned to avoid glare completely.
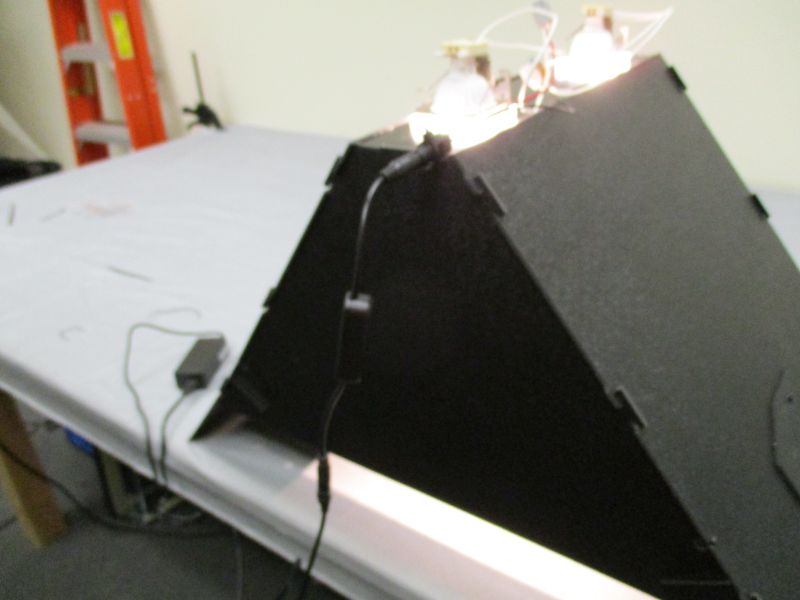
The last step is to add the lighting module on top and mount all of the electronics:
And that is how you get a book scanner. If you want to make one yourself, I do have kits of them available. Take a look at Tenrec Builders Shop if you are interested.
Archivist Quill Book Scanner
Build in 'Everything Else' published by Jonathon Duerig, Jun 17, 2016.
This is a book scanner built out of aluminum extrusion. It is designed to get high quality scans without harming the book. It is not automated. You still have to turn the pages yourself.
-
-
Build Author Jonathon Duerig, Find all builds by Jonathon Duerig
-
- Loading...
-
Build Details
- Build License:
-
- CC - Attribution NonCommercial - No Derivs - CC BY NC ND