
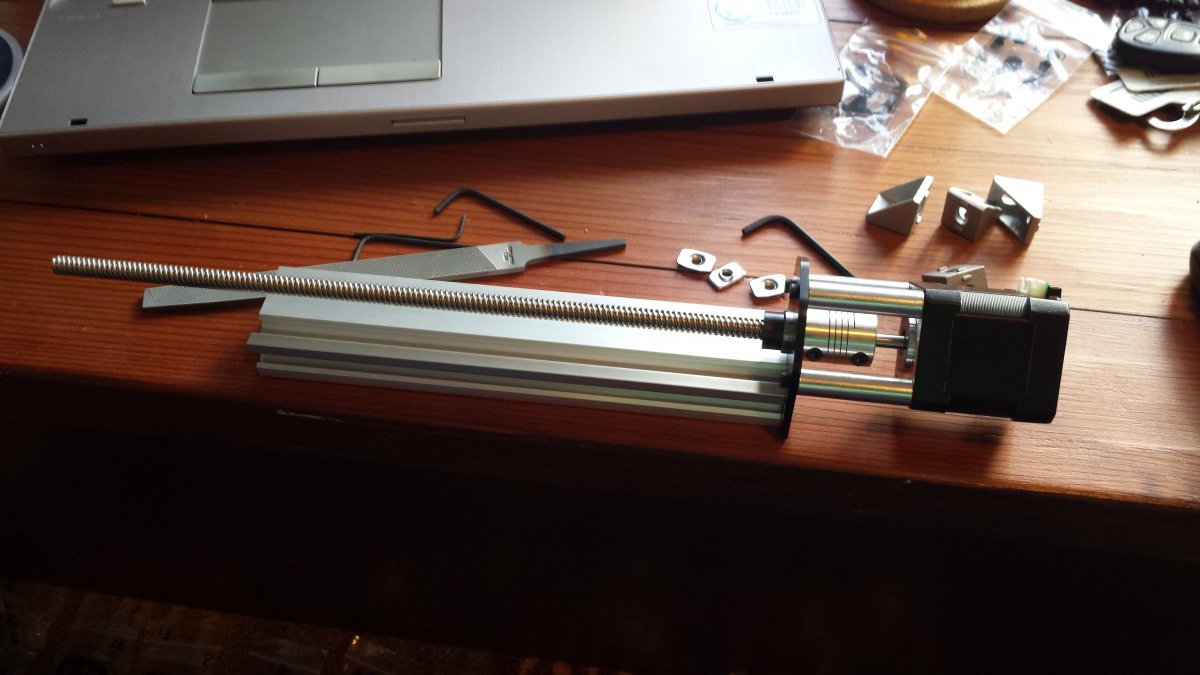
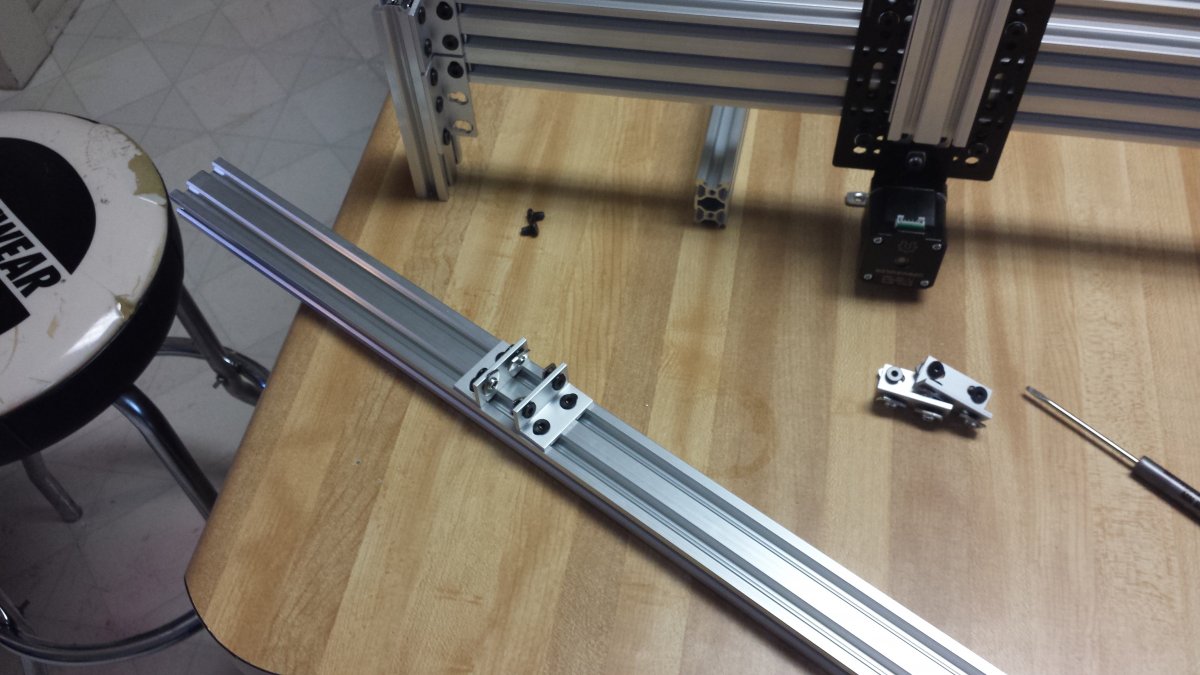
I had forgotten that I was supposed take pictures up to this point, and I didn't really do a better job of it afterwards. Here, I have cut my rails to size but they weren't as square as they should be. I machined the ends on a mill a trued them up.
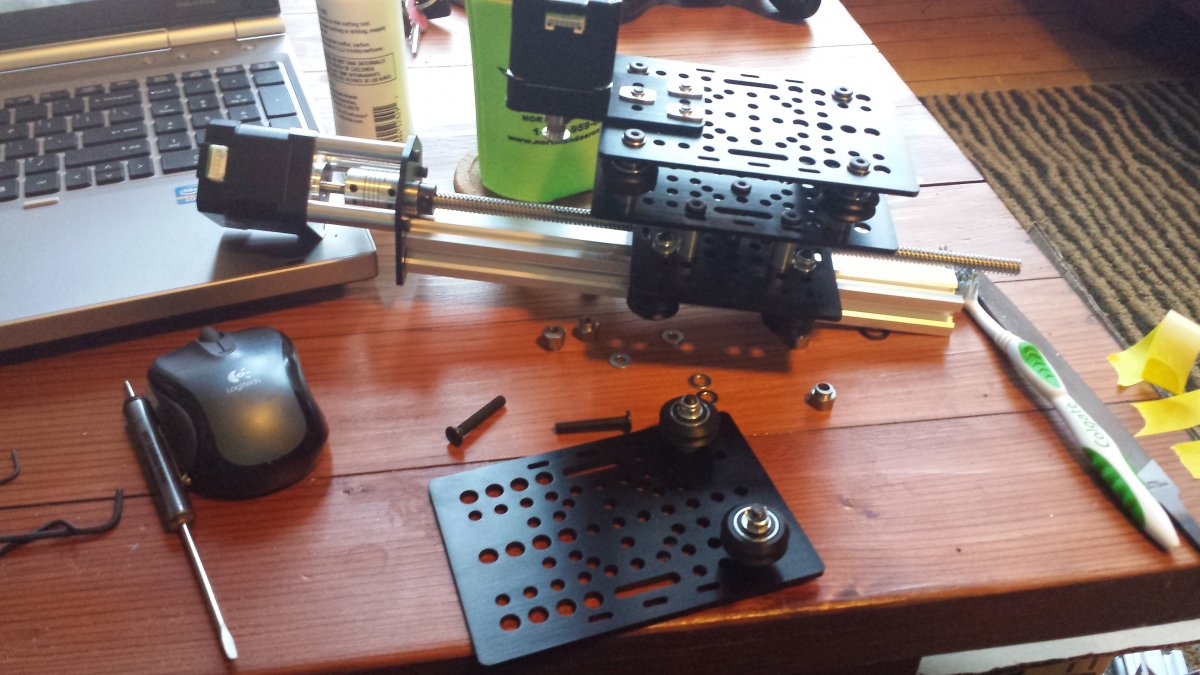
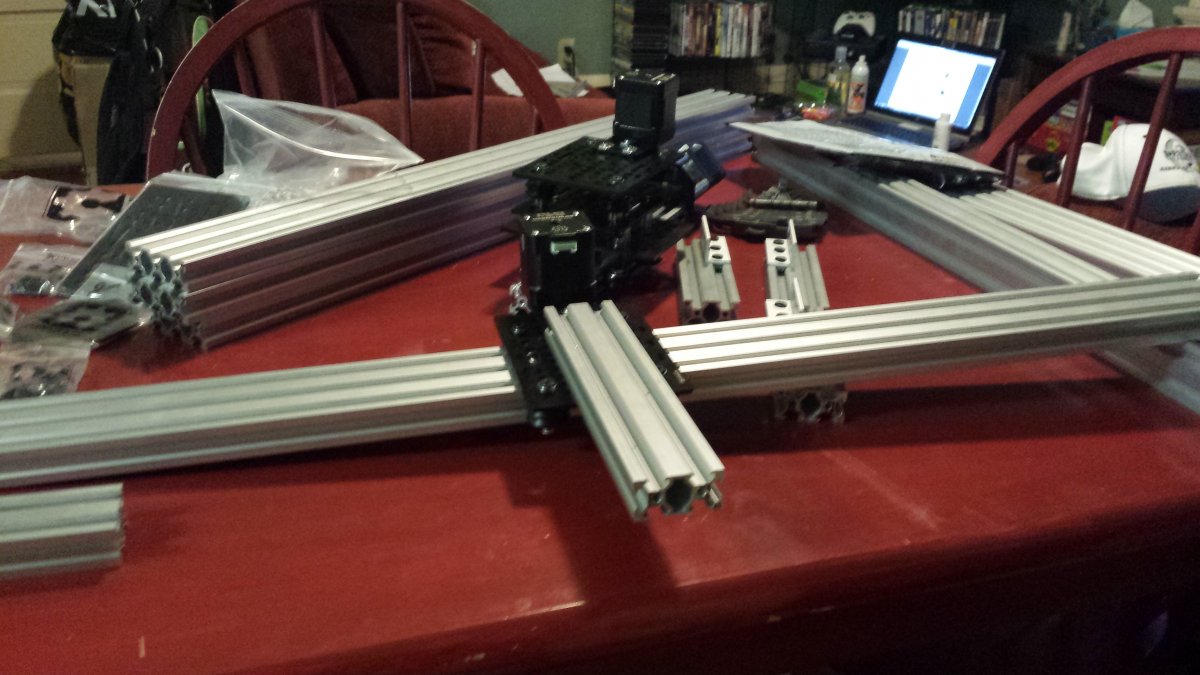
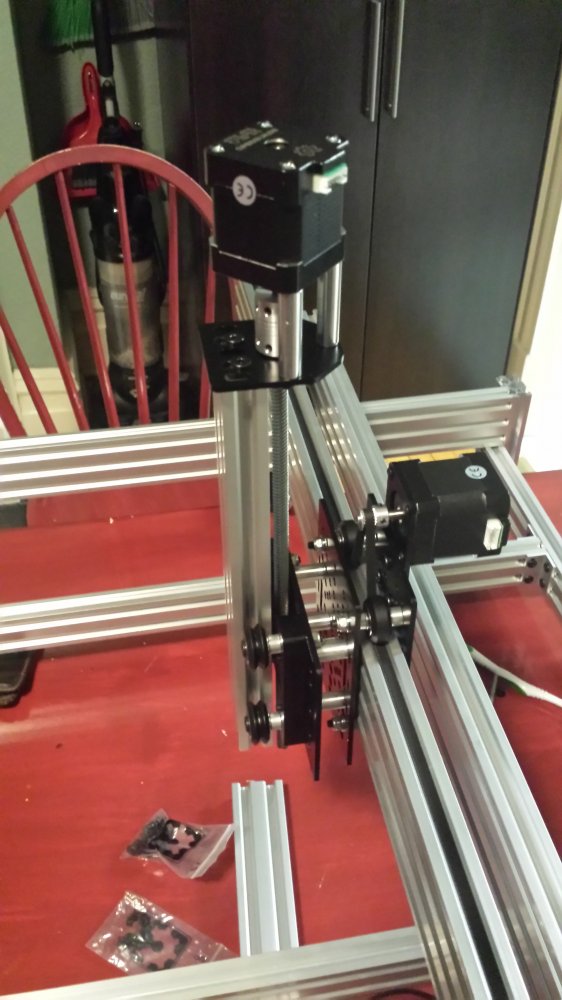
I had to wait a few weeks to start my build due to certain shims that were out of stock for a while. After they came in I started putting together the Y/Z carriage.

Here is where I realized I needed taps to thread the holes. Turns out the only ones that weren't on sale at the hardware store were metric. I'll need them again sometime anyway.
Getting things done.

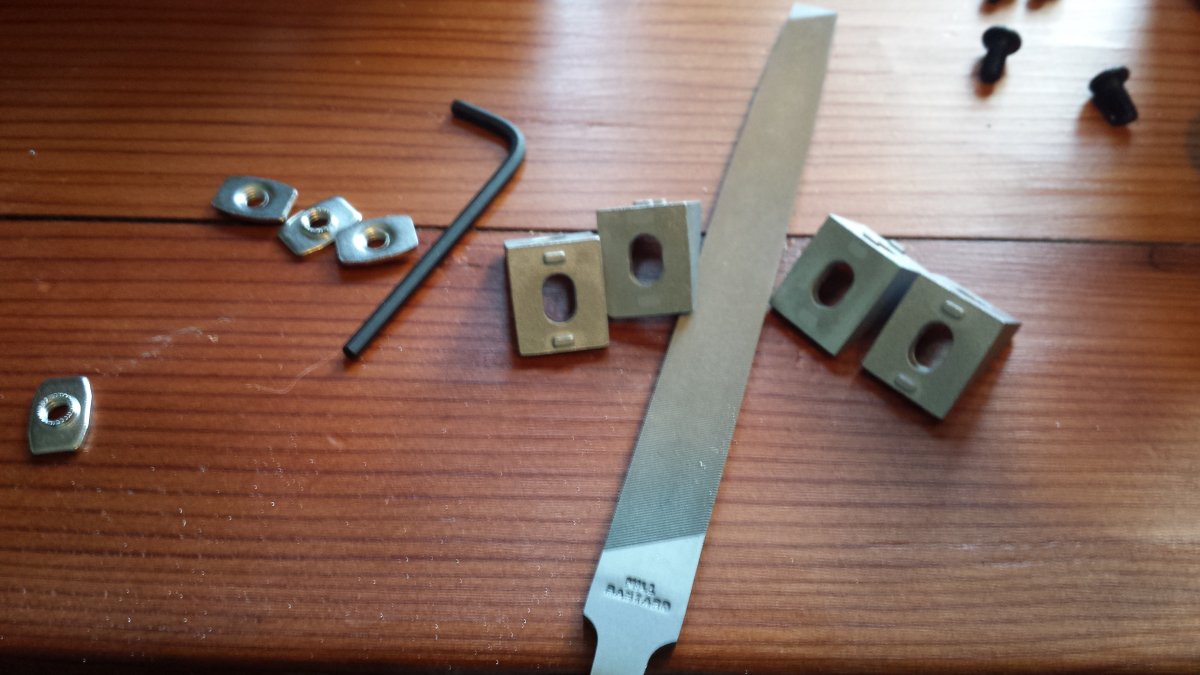
File off the tabs.
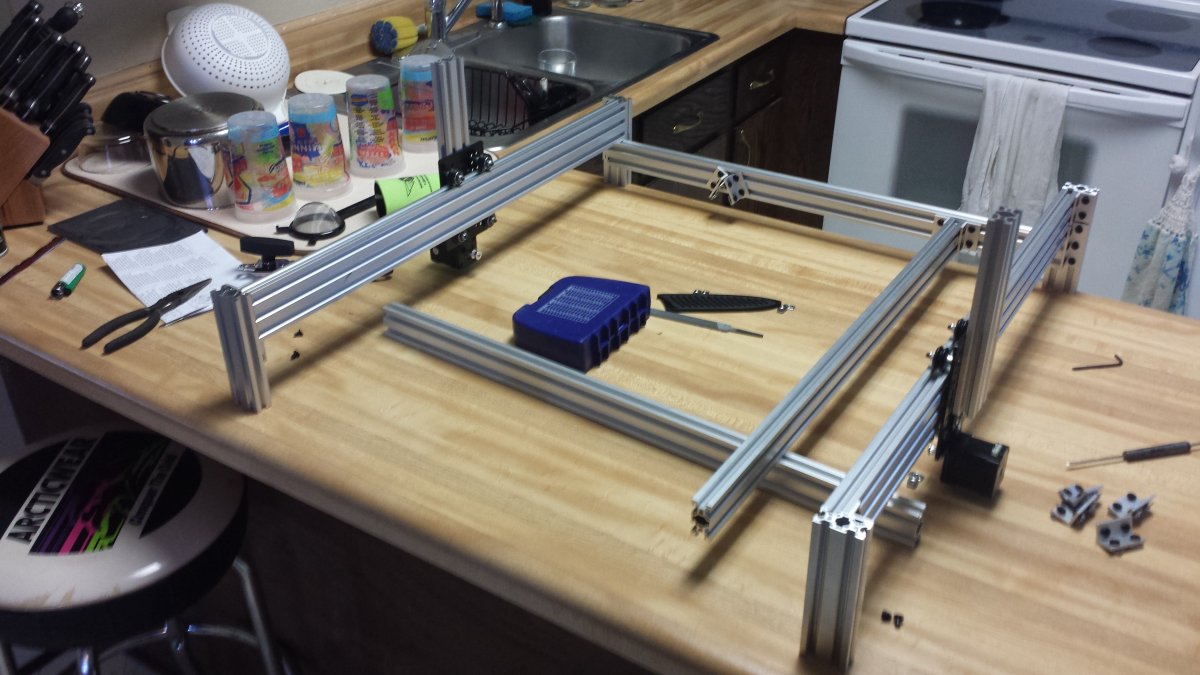
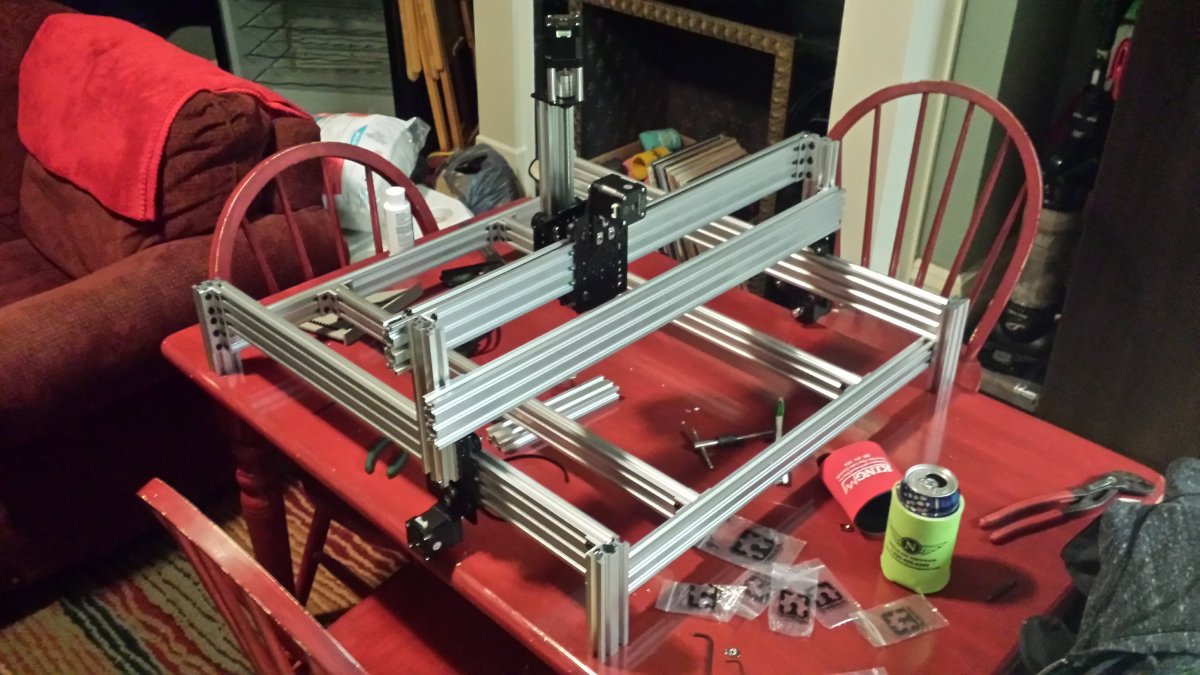
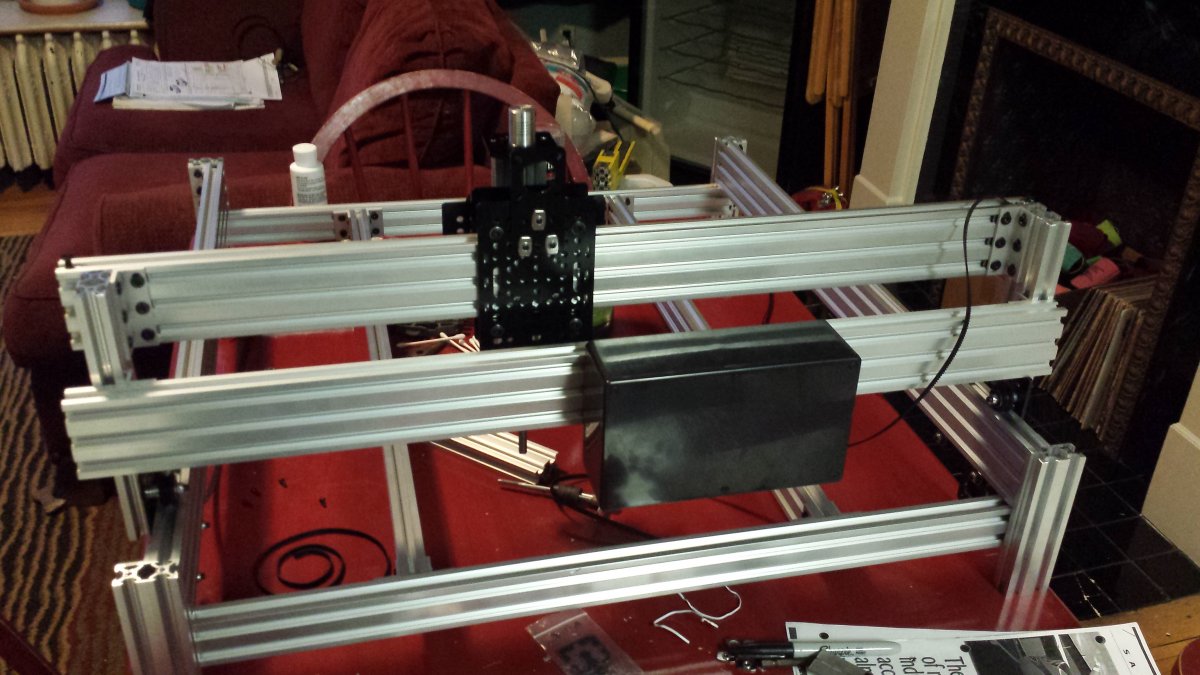
Frame is coming together.
I had to make a small change to the brackets here, I didn't take into account the offset when I machined the rails. Turned out to work great, not noticeable when everything is together.
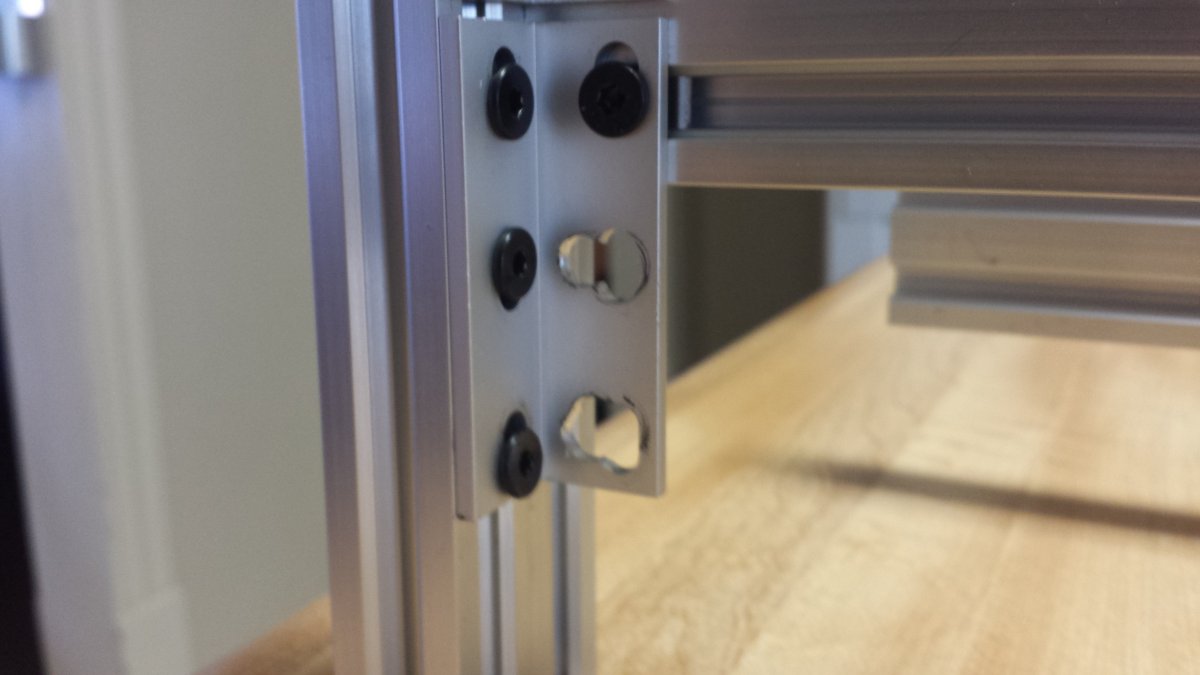
Brackets for inside stabilizing rails, this was kind of a pain to get the rail connected during assembly.
Frame is together, although after this picture I went on to disassemble a few parts more than once. Its amazing how a guy has to backtrack when he forgets to put in a tiny piece.
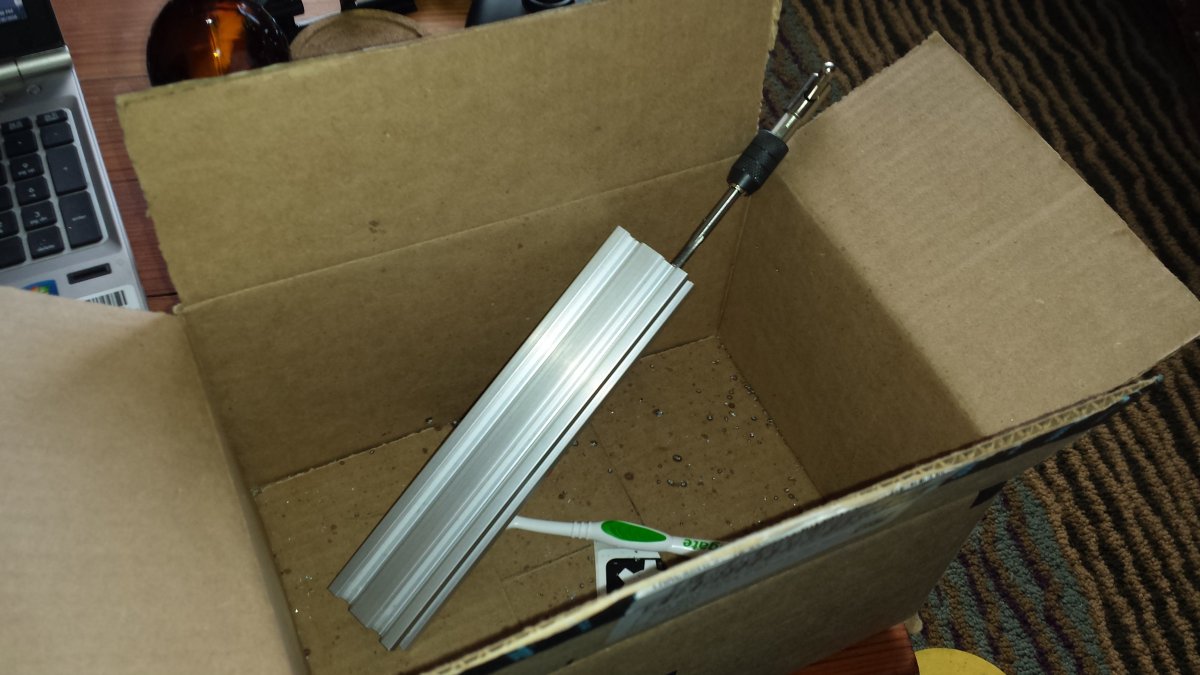
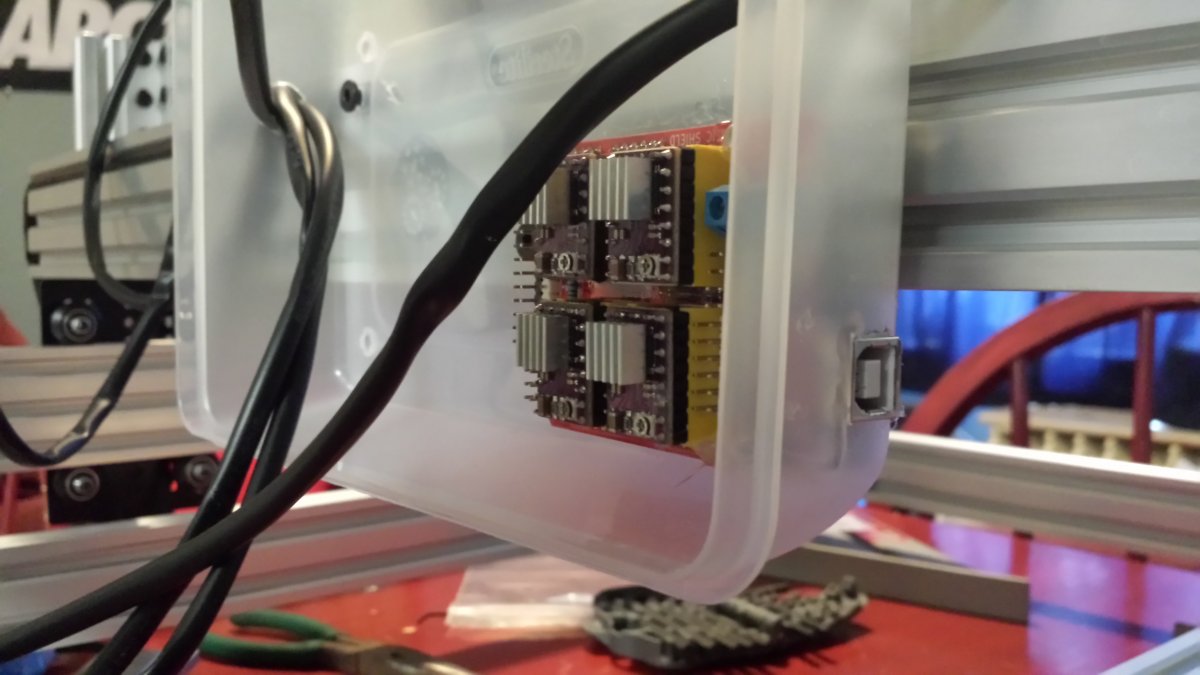
I looked all over town and couldn't find a suitable project box for the electronics. I found this off-brand "Spacemaker" at Walmart for $.97. I definitely couldn't pass up a deal like that.
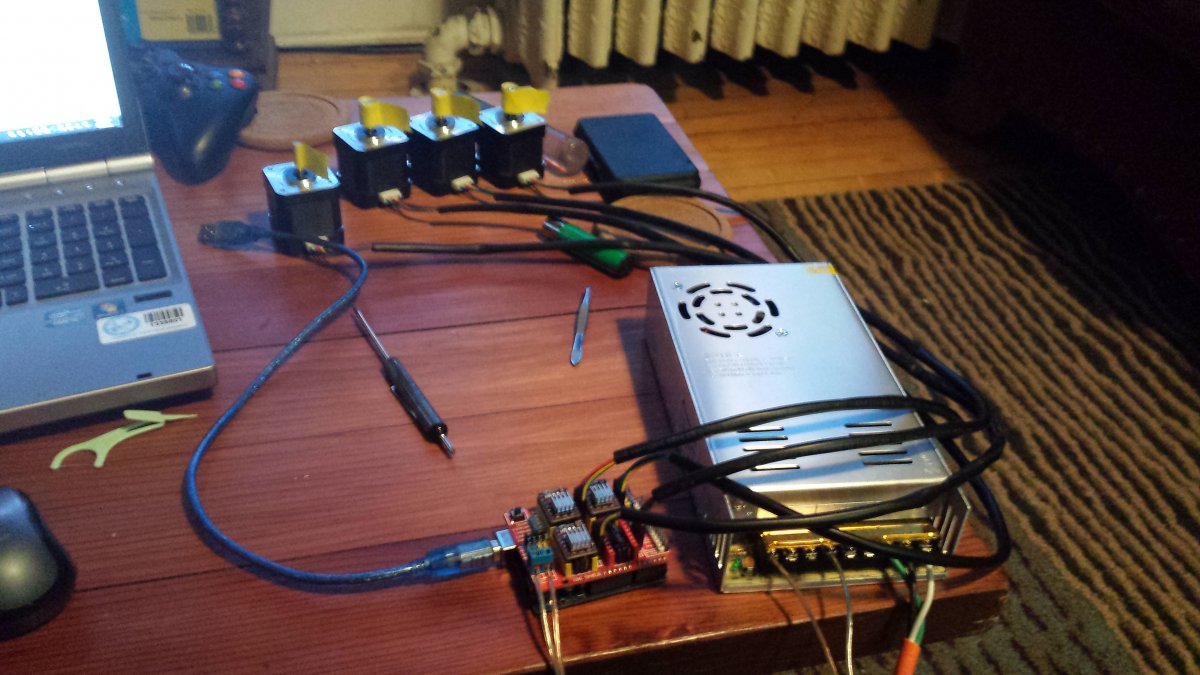
Put the Arduino/Shield assembly in and cut a hole for the port. At this point I stood back and realized my machine looked like a 6th grader's homeroom desk.
PSU is in, time to test motors. No luck on day one. Day two I found that one of the drivers was bad (the one I was testing off of). I have them moving, but more testing and practice needs to be done.
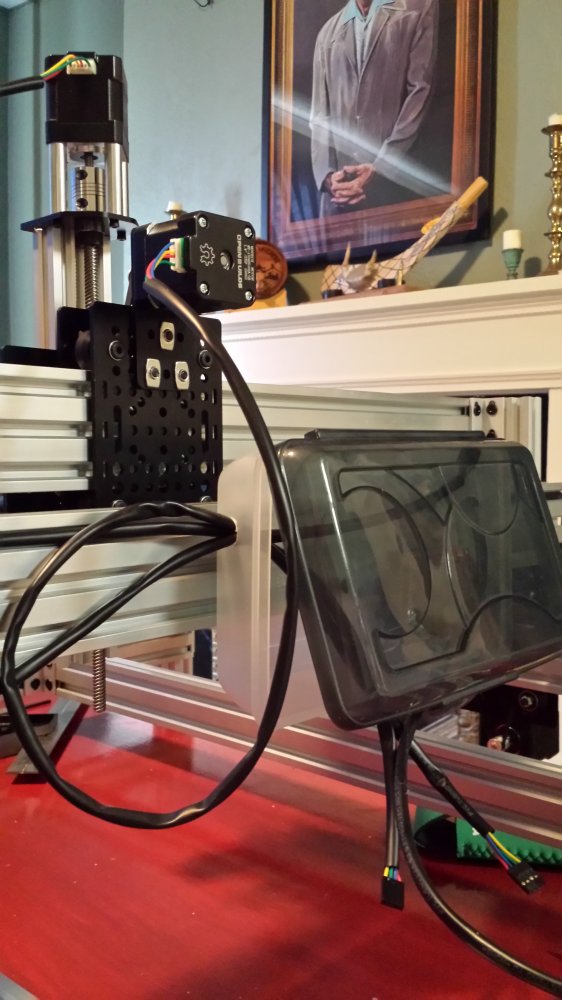
New electronics box is in, although empty. Looks much better.
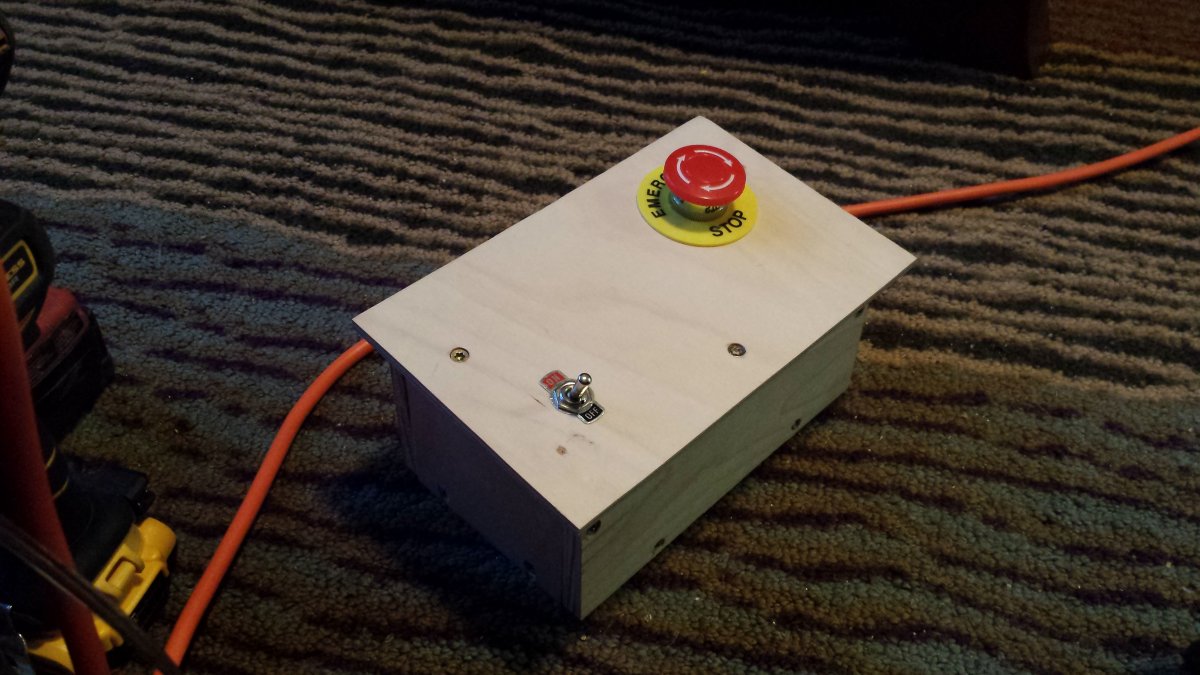
E-stop button and toggle are in. I feel a lot better about messing around with the electronics now, and I don't have to walk across the room to plug/unplug anymore.
Fans for the box are installed. Much smaller than I thought when I bought them, good thing they came as a pair. They're wired in series with each other to split the 24v coming from the PSU as they run 12v, and wired parallel with the Arduino. I'm confident they'll provide enough airflow, but time will tell. By placement of the port you can see they're located above the drivers.

I put holes in the left bottom corner (both sides adjacent to the corner) because I think it would be the best path for airflow. Depending on how much space I have when I'm done I may add some baffles to better direct the heat away from the drivers.


Expanded Routy using 290 build instructions
Build in 'CNC ROUTER BUILDS' published by jkalberer41, Apr 6, 2016.
Using the Routy290 build and an awful lot of help from puntoMX, this machine has been expanded in the X and Y axis. My first build, I'm learning a lot about all of this. I've had to disassemble parts of this thing many times due to forgetfulness, but that's ok. Also, I've forgotten to take constant pictures throughout the build.
-
-
Build Author jkalberer41, Find all builds by jkalberer41
-
- Loading...
-
Build Details
- Build License:
-
- CC - Attribution - CC BY

