Hello All,
I built my "Hobby OX" CNC purely for hobby purposes. Thought I would share my story... This is the same exact build from the original OX (I think it only differs in size)... So why did I want one?
Here's why:
I love flying RC planes but even more so I love building them myself with foam sheets. So why a CNC? Well... Printing the blue prints, cutting them out, transferring the prints to foam sheets and then cutting it manually was getting painful but mostly very time consuming... So I decided on building the "OX CNC" big enough to fit the 2' x 4' size foam sheets. Not only that but to also be able to cut wood/plywood pieces such as motor mounts, control horns, etc...
It was a little challenging for me to begin with but reading a lot on the openbuilds forum and watching other builds, it just made it easy for me - A big THANK YOU to the openbuilds community!!
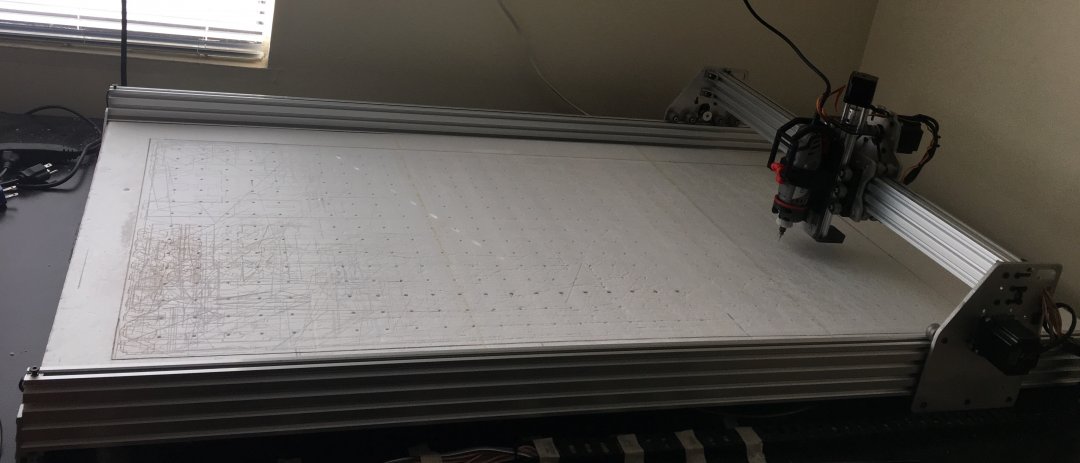
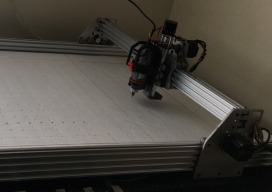
Here's how my machine looks:

Foam Cutting with Dremel:
To begin with I thought I could just use a 3W laser to start cutting the foam sheets, little did I know, a 3W blue laser is just not powerful enough to cut white foam (Depron or Model Plane Foam)... When I tried it on dollar tree foam, it would just cut the paper but not the foam! However, I was able to cut pink insulation foam (from home depot), the blue fan-fold foam (from Lowe's) and some balsa! Disappointed with white foam cutting, I moved on to using a dremel with diamond cut carbide bits. I asked my friend to 3d print me a dremel holder for this purpose to secure it in place as my initial attempts to use zip-ties were only doing a decent job, not perfect. So, here's how the 3d printed mount looks:
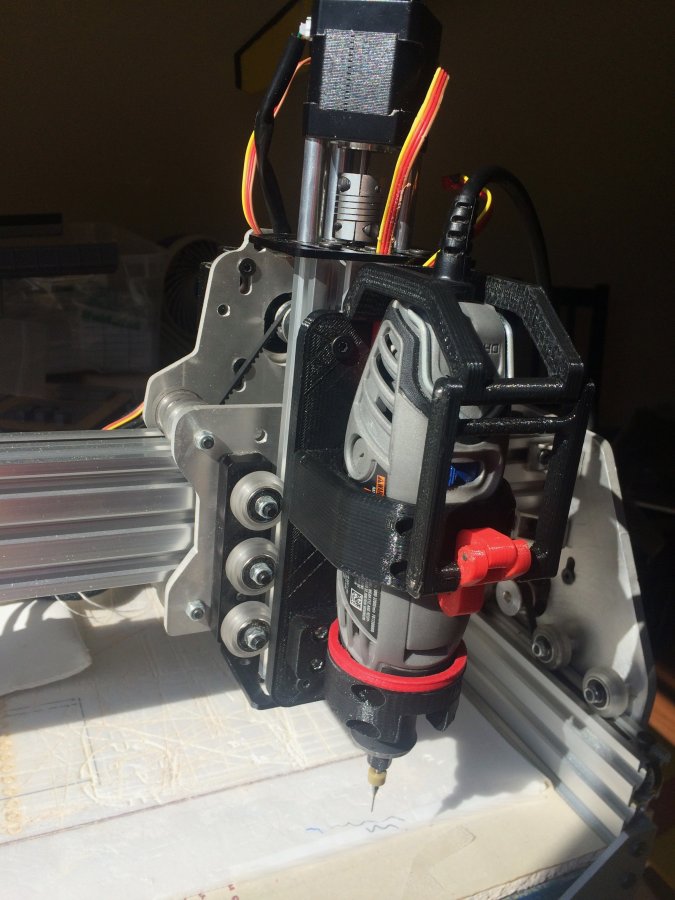
As you can see, it does a very nice job of holding the Dremel down especially when cutting wood and it won't pop-up anymore as it did with zip-ties...
Here is my first cut with the CNC with dremel attached using zip-ties:
After installing the dremel with 3d printed mount, I was able to use faster feed rates and cuts were more precise...
Here are few pictures:


Foam cutting with reciprocating needle:
Using dremel for cutting foam turned out to be successful however, it failed at cutting the dollar tree foam with paper on it... Therefore, I came across David's reciprocating "needle cutter" on rcpowers.com forum:
Mostly Printed CNC and cutting foam
It was David's idea and then we worked on it to improvise with using a brushless motor, esc and a servo controller (same things used in our RC world!)...
Here are the 3d printed parts:
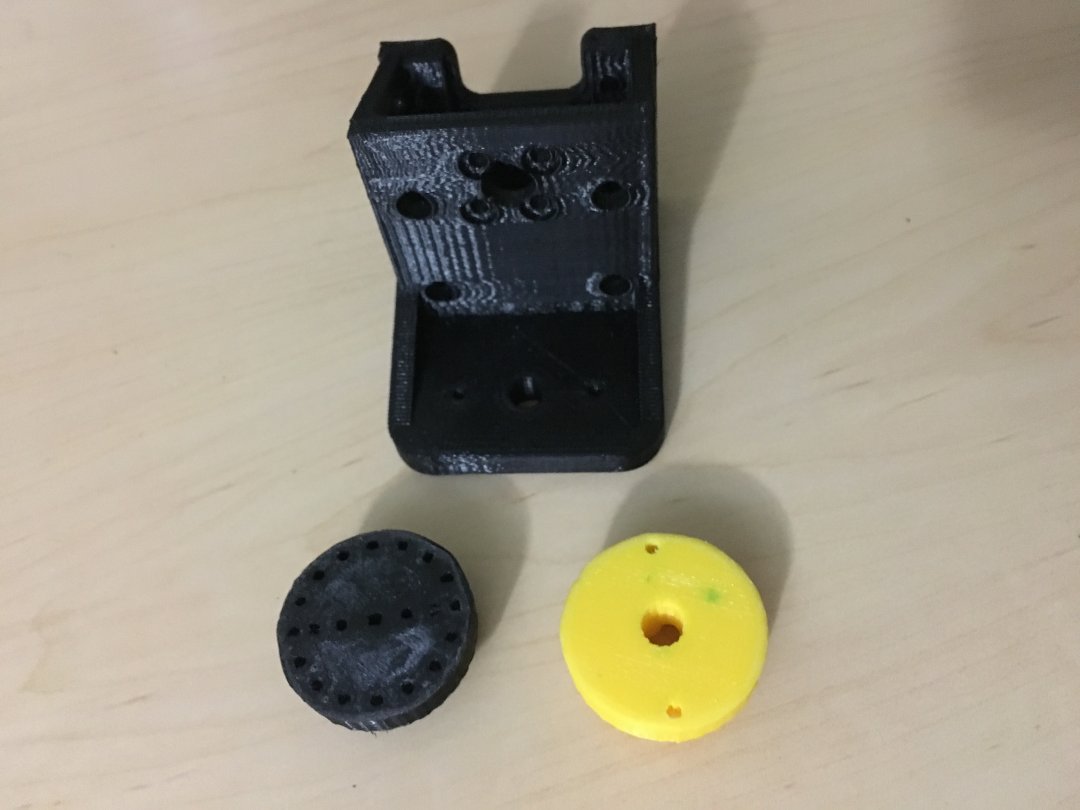
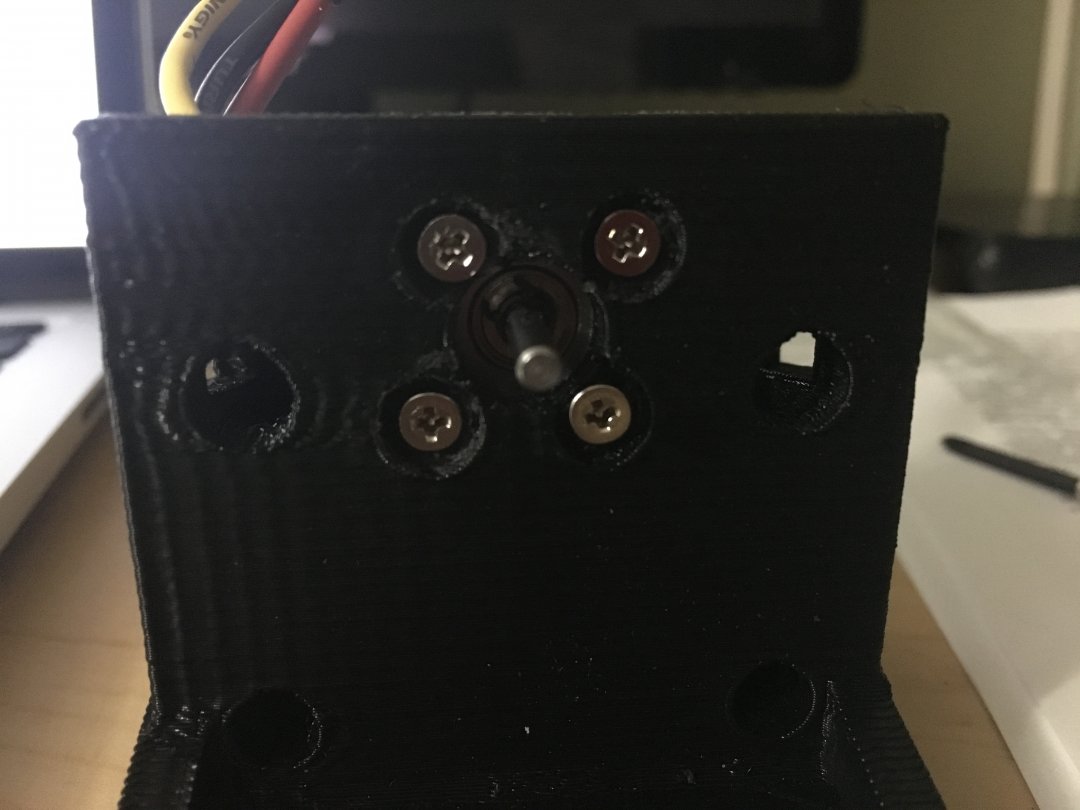
Essentially, it uses a brushless motor which is mounted on the main frame:
Next, the wheel is attached onto a brushless motor...
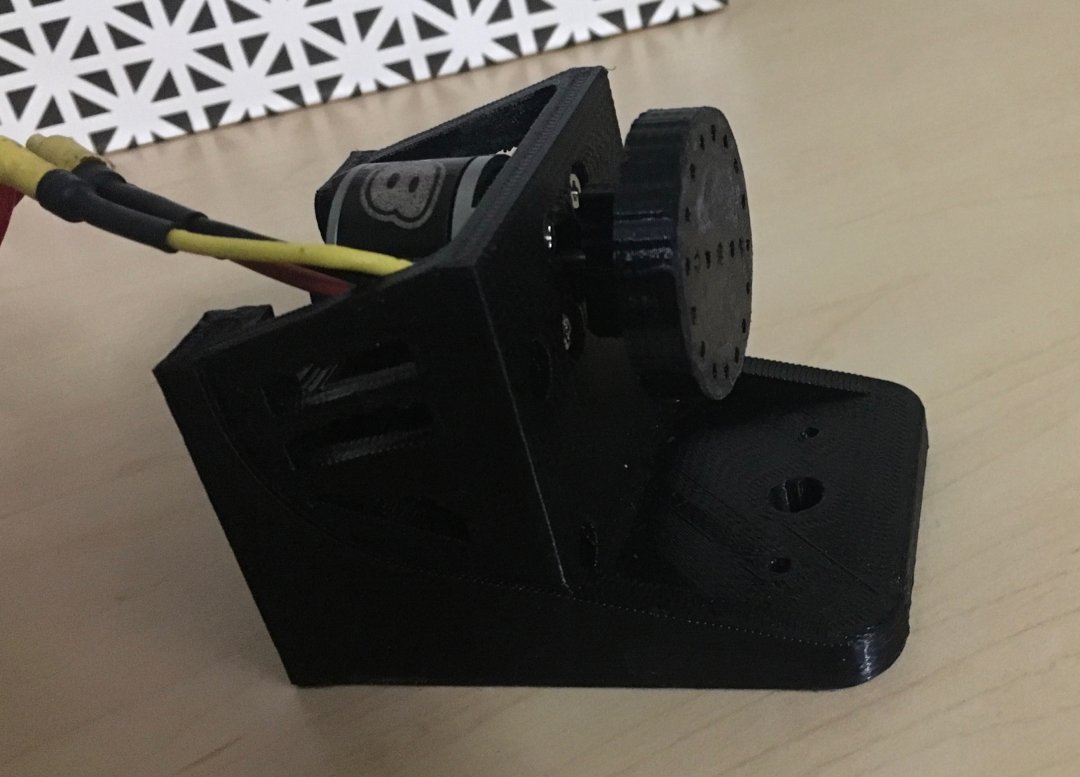
The needle (made out of 0.015" or 0.02" music wire, sharpened) is attached on the bearing mounted on the flywheel and comes down thru a needle guide (mig welding tip)


This whole assembly then simply goes onto my CNC (with ESC attached):
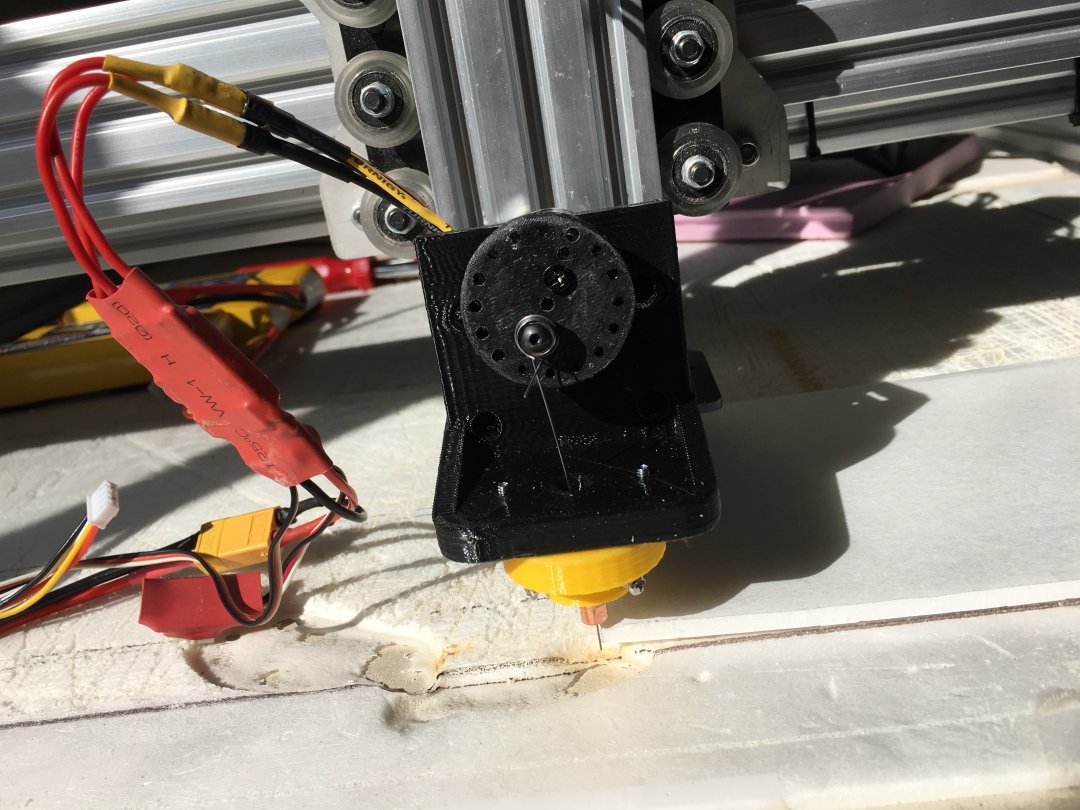
Here's the video of it in action:
So now with these tools, I am able to cut different types of foam successfully!
Vacuum Hold-Down:
I wanted to take a step further with this machine and make a vacuum hold-down bed so that I dont have to tape the foam sheet every time I cut it... Not only that but in most cases the foam sheet would lift up and I had to hold it down with hand so that the 50% score cuts are not cut all the way thru! To overcome these two problems, I had to build a vacuum bed.
Since I use so much foam for my projects, I decided to use the 1" thick pink insulation foam as the base of CNC bed... I milled out slots in it for pulling out air and also made some partitions so that I could control the vacuum area depending on the material size...
You can see that I have put painter's tape to show the partitions:


I then drilled out holes to mount the PVC pipes that is then connected to my Fein shop vac!
Next, I attached dollar tree foam sheets on top and drilled hole on top of the slots...


This works out very well and is a light-weight setup! Here's a video of it in action:
Now, I dont have to tape it and neither does the foam come up - works great!!
Etching with 3W blue LASER:
After my failed attempts at cutting white foam with laser, I had to put it to some good use... After much reading, I came across wood etching! I am still new at this and learning a lot here at this forum but I can share what I have done so far...
My first attempt was to etch my wife's name and my name on some plywood... thinking back, I should have used light wood but here it is anyways:


I have bought the picengrave software and I am in the process of making a DAC board for it, which brings me to my next attempts at PCB making with laser...
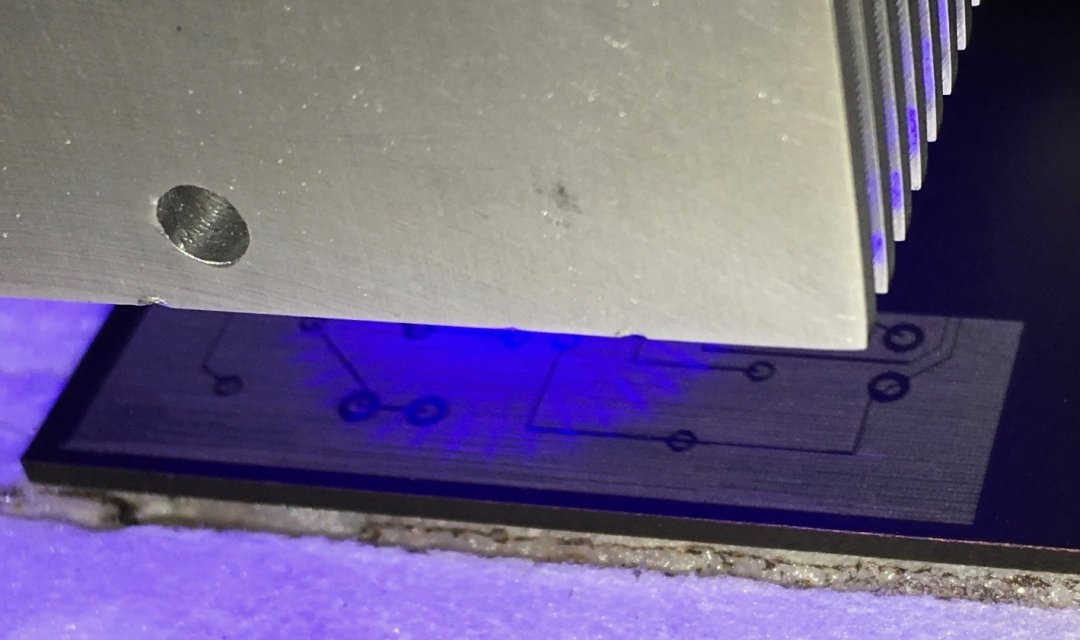
First I took a copper clad PCB board and spray painted a thin (V. Important!!) layer on top with non-glossy black color (gloss colors don't work!!)... Next, I made the circuit design in Eagle CAD and started burning off the paint to expose the copper underneath that can later be etched away... Here's a video:
This process gave me decent results but there was still a lot of paint left which I had to get rid of with acetone... so I had to come up with a better way and faster too!
My solution: First, I needed to come up with a simple circuit board design... I am mostly using arduino UNO + gshield as my controller but for my laser jobs, I use the "Laser engraver controller board" made by Oni305 in this forum... (Thanks to @Oni305 for being so patient with me and answering all my questions!)
Link here: Laser Engraver Control Board + Inkscape extension
Changing the wires every time to switch the boards was getting time consuming so I thought make a simple PCB that would allow me to use pluggable terminal blocks as well as separate out terminal blocks for the two stepper motors on Y-axis...
So here's what I did:
-> I masked the entire copper clad PCB with painter's tape.
-> Burned the entire outline of my circuit design with Laser - this was quick
-> Peeled out the pieces of tape that were cut to expose the copper
-> Now, I spray painted the entire PCB to cover the exposed copper
-> Once the paint was dried, I peeled away rest of the painter's tape - now I ONLY had my circuit design protected by black paint!
-> Then I simply etched the copper, cleaned up, drilled holes and soldered the pluggable terminal blocks on and done!
Few pictures (I'll try to take pictures from entire process and update)... Its not the cleanest job but not bad for my first attempt!


This method works well, quickly and is much easier than etching paint away!
Summary:
I am using this CNC for many purposes like cutting and engraving wood, foam, etc with various tools... I also use it for laser etching and in the process of using picengrave to etch pictures on wood! This is a great platform for hobbyists like me as it saves a LOT of time while providing accuracy and precision! Finally, this couldn't have been possible without the openbuilds community so I really appreciate all the information and happy to have come across this great community!
Thank You!!
Hobby OX CNC
Build in 'CNC ROUTER BUILDS' published by Krishnakumar, Oct 24, 2016.
This "hobby OX" CNC is built for multiple purposes such as cutting and engraving various materials, laser etching and cutting, etc... Its a great platform for hobby enthusiasts like me where this machine can be used for so many different purposes effectively and efficiently!
-
-
Build Author Krishnakumar, Find all builds by Krishnakumar
-
- Loading...
-
Build Details
- Build License:
-
- CC - Attribution - CC BY
Reason for this Build
Hobby Purposes:
Mainly to cut RC airplane designs on foam sheetsInspired by
OX CNC -
Parts list
Qty Part Name Part Link Comments 0 Link Please see Mark Carew's original OX build