
MakerSL MSL-21 OB Minimill Enclosure
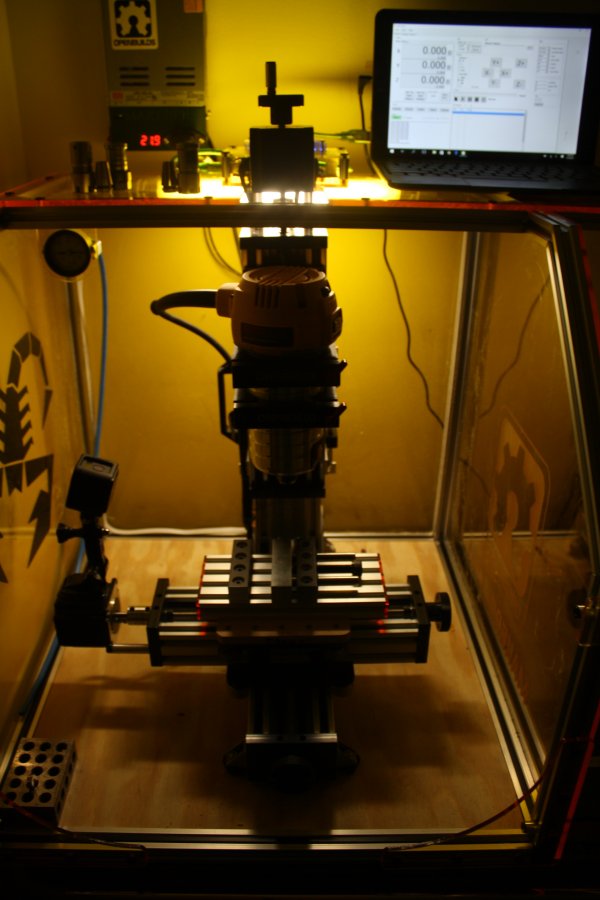
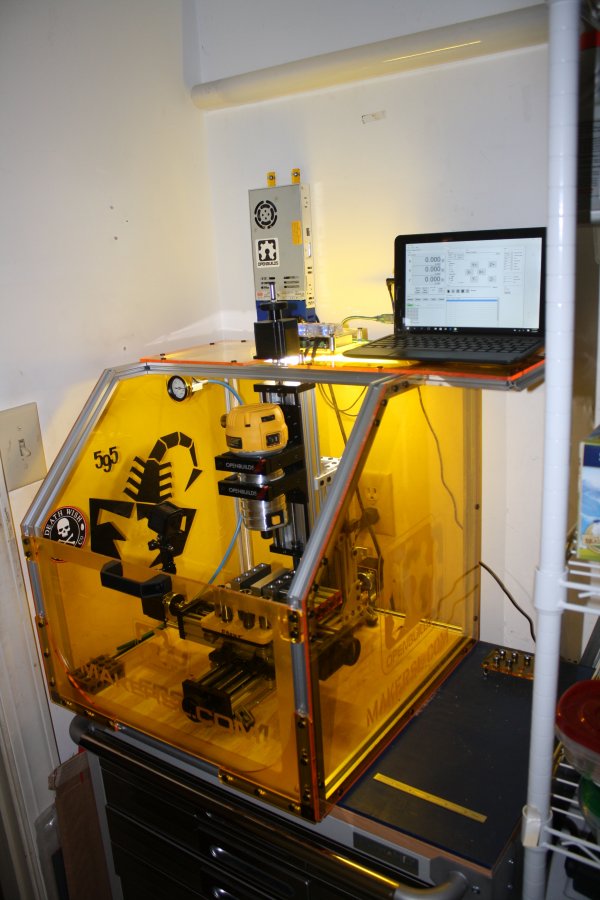
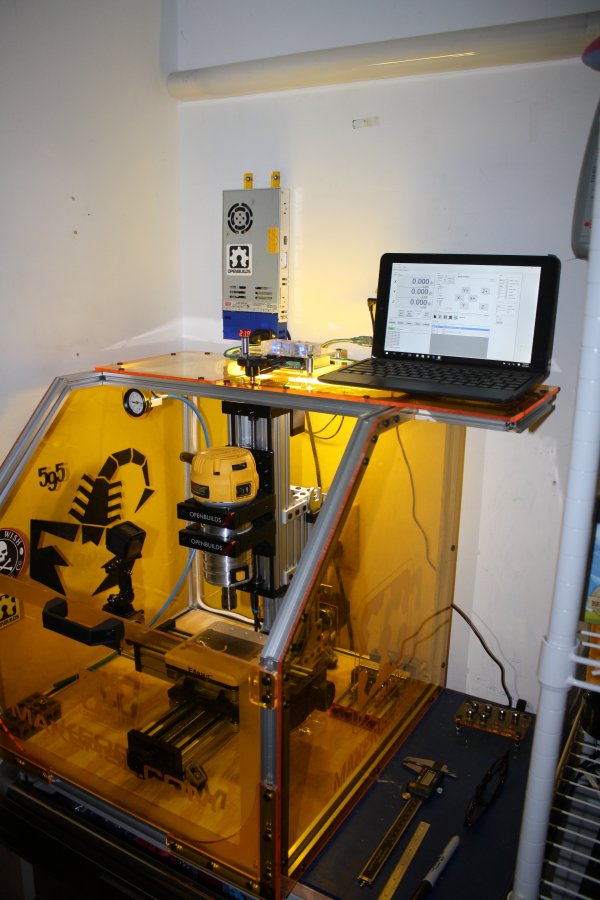
This is a fairly simple enclosure built for the OB Minimill. Rough dimensions are 500mm cubed. It's made from all OB V-Slot rails and hardware. The skins are plexigalss and attached with M5 screws and T-nuts. The front panel simply sides into place and is intended to keep chips from flying out the front. This is not a sealed enclose, although it could very well be made that way. I find this to be a perfect desktop size and it does a really good job of keeping the work area around the mill clean.
Here is a LINK to the OnShape CAD file, it is view only, but you can still, pan zoom, and I believe even measure components. If you have an OnShape account you can save a copy and edit it at will.
I'll post more details in the next day or two, and provide any CAD files you guys might want.
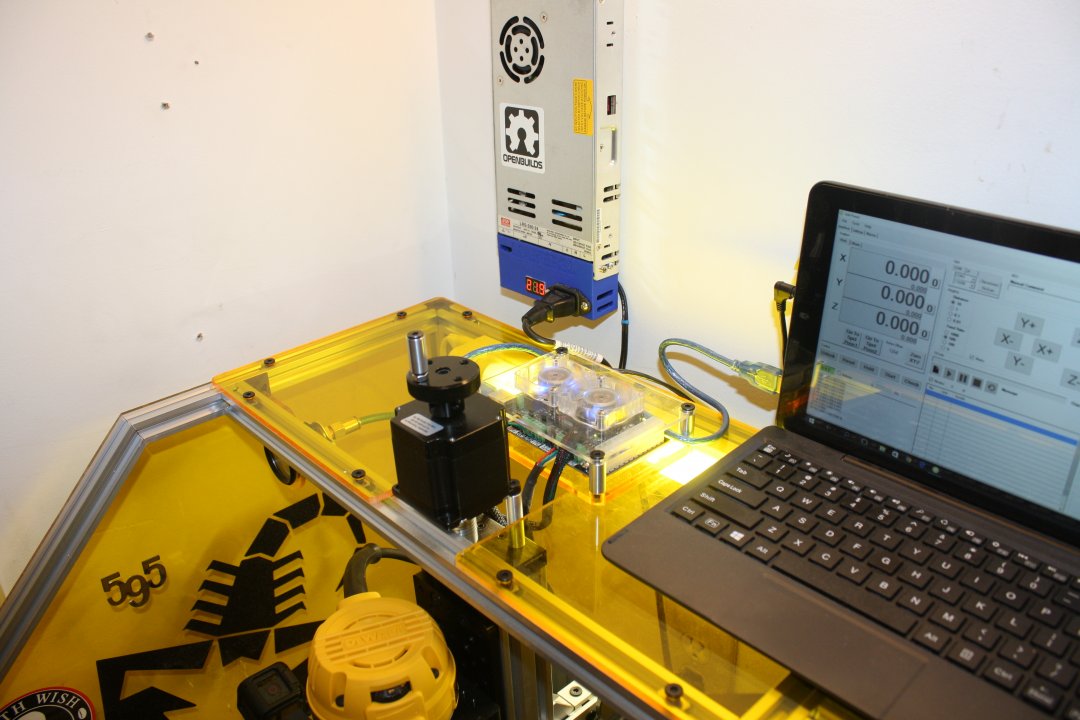
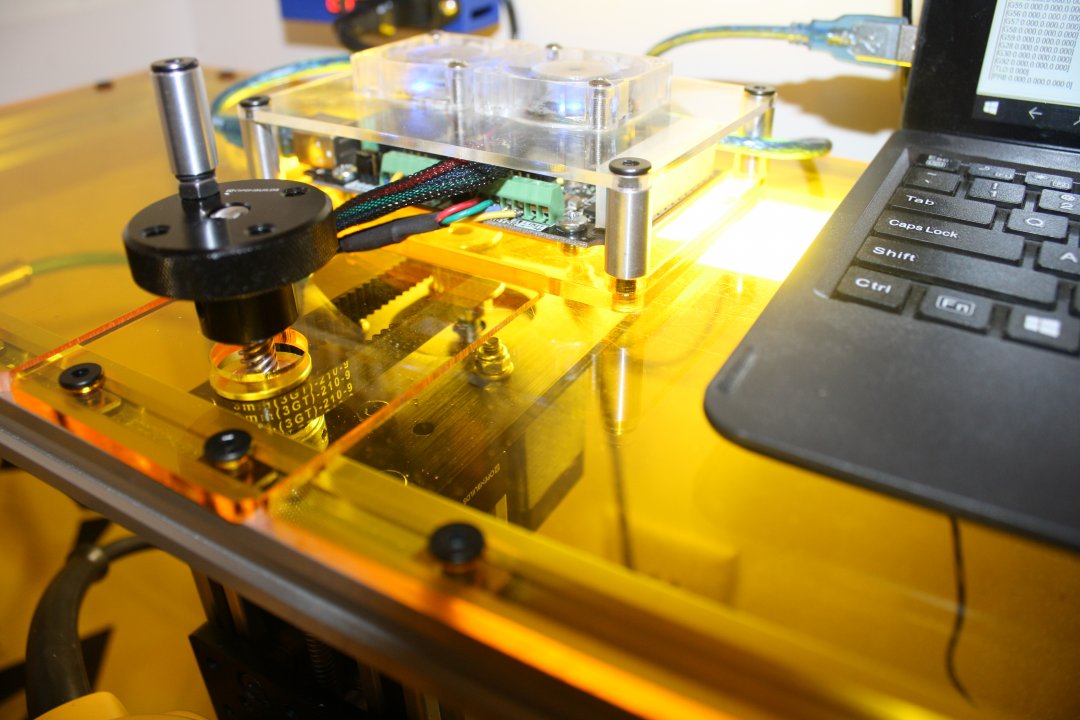
Here are a few photos, the original enclosure had Z motor above the top panel so I could use the Jog Knob as well as all the electronics on the mill itself. I have since switch over to the reduction plate setup on the Z motor (now behind the Z Rail) and moved all electronic outside of the the enclosure. The electronics could be mounted to the outside of the enclosure to keep it as portable as it would be stand alone. i mounted my power supply to the wall because it was easy and I have no plans of the moving the mill.
Since have a few minutes I though I'd quickly share the build process of this enclosure. As mentioned before it is a very simple build, it uses ~12 20x20 x 500mm V-Slot rails, and 6 Cubed Corner Connectors and lots of T-Nuts and low profile M5 Screws. I'll populate the parts list for my exact build, however depending in your own preferences your milage will may

Update 6-18-2017

I cut all my full length rials to 460mm, this makes the enclosure exactly 500mm outside dimensions. You could just as easily leave them the factory cut 500mm as long as they are all the same length from the Store. I assemble all the full length rail first, then cut all four "single" angled rails. After assembling those I physically checked the required length of the rails require two cuts, compared that to my CAD model (it was spot on) and cut those. I chose to cut those a bit long (just in case) and check fit them, I was a tad long (expected, but better than ;-) so I recut them and they fit perfectly. I used two laser cut corner brackets i designed, however, the Maker Link 135° brackets could be used in their place, you would just need to cut the small portion off the top so the rail could side together. You could also use the hidden 90° T-nut and bend it into submissionif you don't have a means to cut miters into the rails then Maker Links could be used all around...so many option with OB Hardware...you gotta love it
After the frame was completely assembled and squared, I installed the 3/4 plywood floor, I made mine flush the bottom of the enclosure (it's current modeled different), I drilled side holes through the V-Slot and attached it with small wood screws (they are completely hidden). I then took actual measurement for all the Plexi sheets required and cut those. The holes paces on the sheets was done of the fly and simply spaced them evenly across the span, the only exception was I doubled up screws at each corner fort some added stiffness.
One thing I wished I'd done was to know exactly how many T-Nuts I needed so I could have installed those during the frame assemble, some foresight here will save you a little over the run long. However, it was pretty easy to remove on rail at time and install the required number os T-Nuts. Make sure you do this to all the rial prior to installing any panels (yeah, it was another slight mistake). If you do that them you should be able to remove one end of each rail at a time, making it easy to slide in the T-nuts.
After all the T-nuts are start bolting things together, this is the point were a small magnet will come in very handy!!! As you will find out it always easy to get the T-nuts into the correct location, so just place the magnet of the T-nut you want to move ads slide it into position. Once there remove the magnet by sliding it 90° to the slot and the T-nut should stay put...easy peasy
I'll drop back in when I have a chance and add details for the front panel, it used a few laser cut parts, however, OB Joint Plates can be used in place of them
To be Continued...
Update 6-19-2017Added a parts list, please keep in mind, this is for my exact build, if yours vary so will the parts list...but you already knew that
To be Continued...
MakerSL MSL-21 OB Minimill Enclosure
Build in 'Cartesian Style CNC' published by Sonny Lowe, Jun 20, 2017.
Simple enclosure for the OB Minimill
-
-
Build Author Sonny Lowe, Find all builds by Sonny Lowe
-
- Loading...
-
Build Details
- Build License:
-
- CC - Attribution - CC BY
Reason for this Build
To contain the chips from the Minimill -
Parts list
Qty Part Name Part Link Comments 14 V-Slot® Linear Rail 20 x 20 x 500 http://openbuildspartstore.com/v-slot-linear-rail/ Link 6 Cube Corner Connector http://openbuildspartstore.com/cube-corner-connector/ Link 5 Low Profile Screws M5 x 10mm Long http://openbuildspartstore.com/low-profile-screws-m5/ Link QTY is a guess...but you can never have too many ;-) 5 Tee Nuts (25 Pack) http://openbuildspartstore.com/tee-nuts-25-pack/ Link Just like the screws, QTY is a guess 2 2 Hole Joining Strip Plate http://openbuildspartstore.com/plates/ Link For Slide in Front Panel 0 90 Degree Joining Plate http://openbuildspartstore.com/90-degree-joining-plate/ Link For Slide in Front Panel 1 V-Slot™ Door Handle http://openbuildspartstore.com/v-slot-door-handle/ Link For Slide in Front Panel...buy a longer screws and nuts to mount this 1 Low Profile Screws M5 (length, see note) http://openbuildspartstore.com/low-profile-screws-m5/ Link Figure out what length you need for the handle and use for the Front Panel Stops 4 Aluminum Spacers http://openbuildspartstore.com/aluminum-spacers/ Link Buy Spacers to match the screws about, they should be just long enough to allow the screw to go through the spacer and attach the the V-Slot rial via T-Nuts. 1 Plexiglass of choice Link This is very subjective, it all depends on what you want and were you buy it, I used about a half sheet (4' x 4') but again, your milage my vary!?!? 0 Link