
For my first build I had to learn and research a lot. I am not an engineer nor a mechanical person (at least I did not consider myself one until this build), I am an artist, sculptor and woodworker. First I found that the instructions that came with the OX Kit were very vague and the photos did not help any either, and then I went online only to find that the instructions in the videos were conflicting with the sequence in the paper instruction (not only conflicting but different equipment. So I had to make a decision as to how to approach it. This projectt has been a great learning tool about electronics, electricity and mechanics in general.
There was a couple of considerations judging by some of the builds I've seen in this website. 1. some people mount the controller board directly to the X rail. I have not used the machine yet, but logic tells me it will get dirty very quickly, and being very delicate component, it has to be protected. Second, I've seen people mount the power supplies to the X rail on the side, which it adds more weight on the wheels on that side.
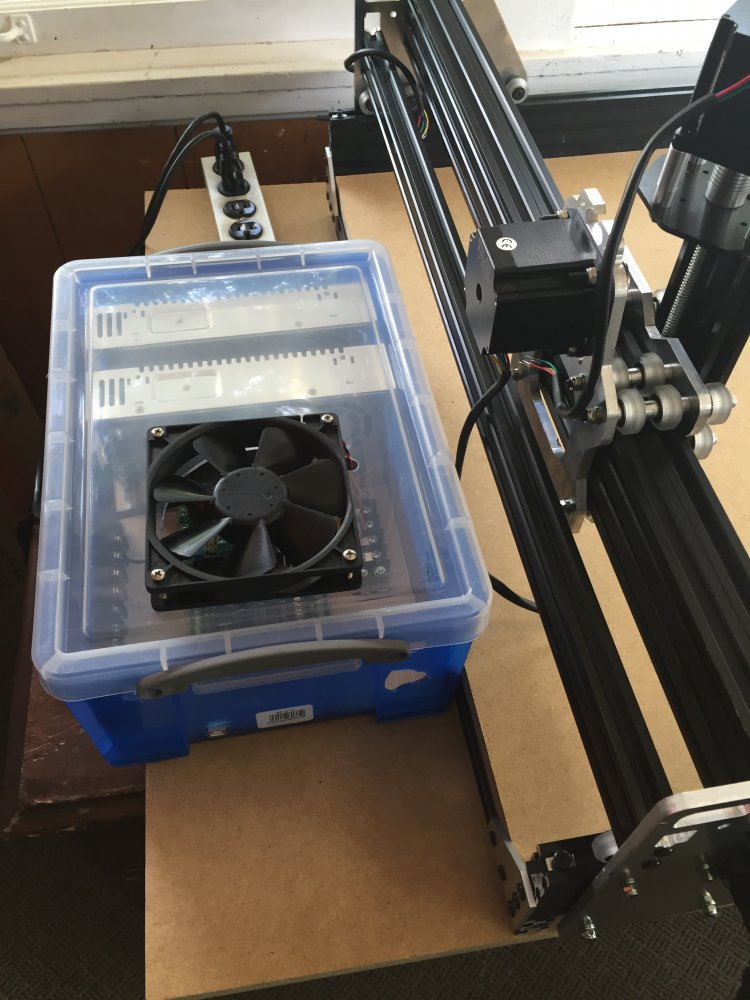
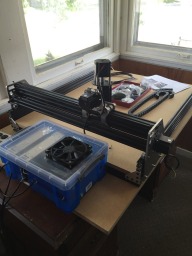
Knowing how bad things can turn out with dust from a router (I use a plunge router regularly) , or aluminum shavings etc, I decided to to create an enclosure for my first build, to try to keep electronics clean and protected. I'll be experimenting a little more in the future but my idea, or intention is to create an enclosure of box for the TinyG, Spindle Controller and Power boxes. This is what my build looks like so far. In the near future I would like to build a metal/wood combination once I figure it this one works as I expect it.
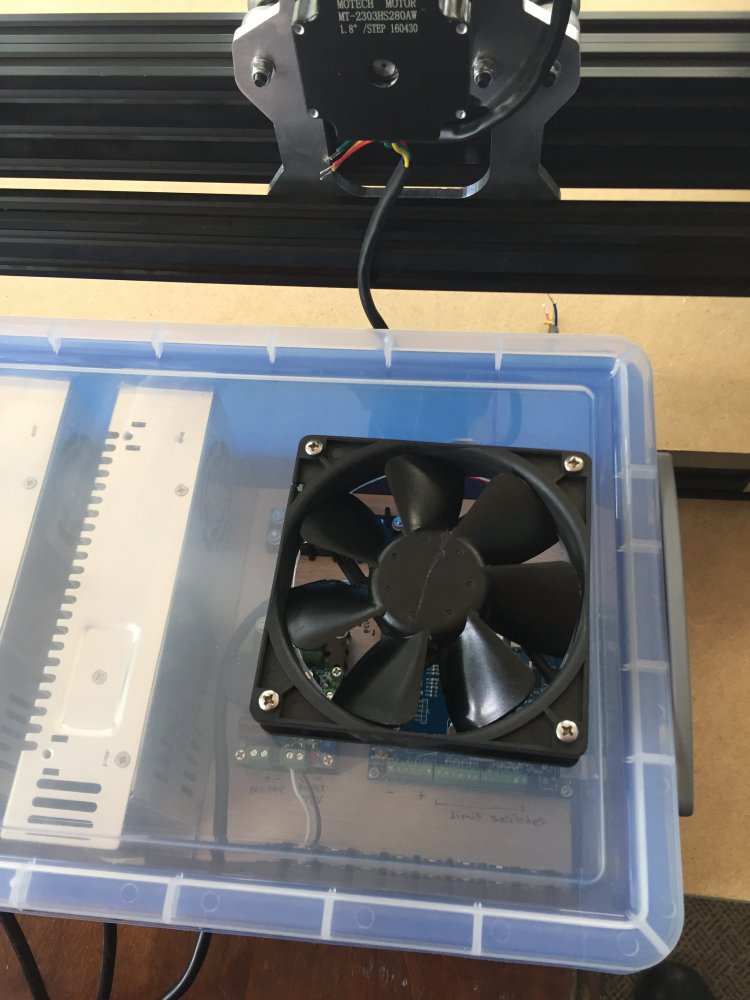
I opted for the bigger fan because I don't have air conditioning in my shop and things can get really hot, besides that the fan that came with the kit was too small for the box. I got the fan from an old Mac G3 computer lying in the shop and connected it directly to the TinyG power supply. It works great and it is powerful enough to cool not only the TinyG but also the spindle and to some extent the power supplies (you can feel the air coming out of every hole in the box.
It is nice seeing how with a little patience and time I can accomplish something that before was considered geeky. (excuse the expression)
I'll post more as I get on my journey of discovery with this technology. Thanks for reading.
OX with a Custom Electronics Case
Build in 'Cartesian Style CNC' published by eddyg, Jun 20, 2016.
Embarking on my first build and trying to start with a clean setup by creating an enclosure box for my controllers and power supply.
-
-
Build Author eddyg, Find all builds by eddyg
-
- Loading...
-
Build Details
- Build License:
-
- CC - Creative Commons Public Domain (CCO 1+)
Reason for this Build
To aid in the creation of parts and sculpting in my shopInspired by
Michael Burns Tiny Ox Setup


