
This is my build of Schematix's Ox-Metal CNC router. I have mostly followed the original design, except for the addition of a 0.8kw water cooled spindle. Thanks to Schematix for his videos and files.
I sourced almost all of my parts from makerstore in Melbourne. It was really nice to be able to get almost everything from one vendor and even organise local pickup. Thanks Steven and Heidi!
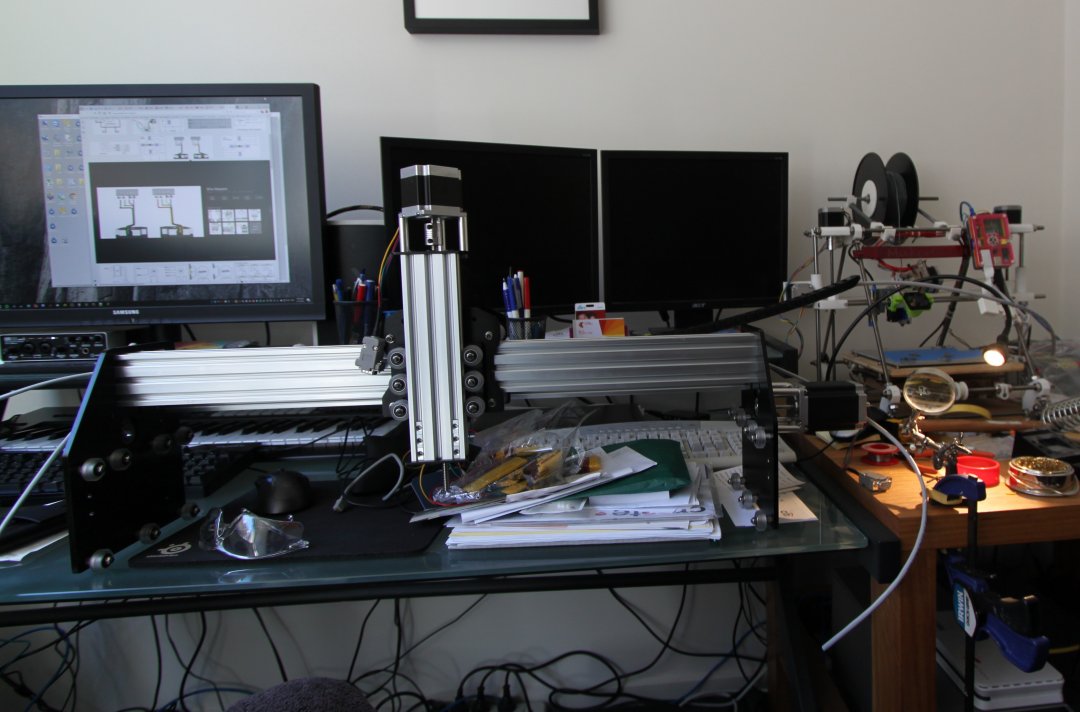
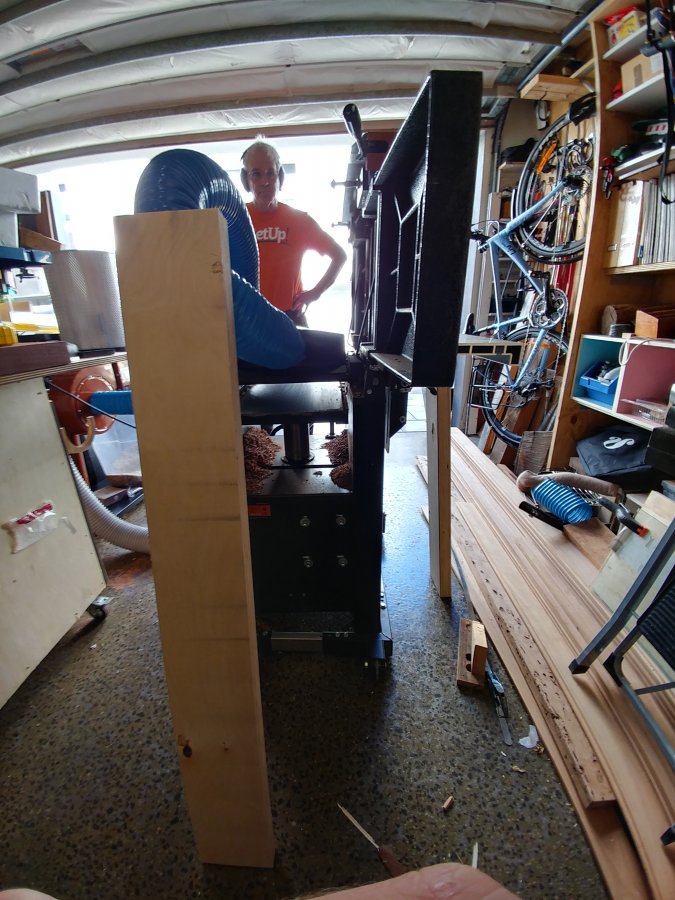
This was an upgrade from my first cnc I built a few years ago (see below). There were so many things wrong with the old machine, that all I will say is that it was basically unusable. I only used it to make a single speaker stand, and that was such a scary experience and I didn't make anything else on it. Fastforward a few years, and Dad said he wants his bench space back, so I can either destroy it, or build a new one that is actually usable. I recently got my first job post uni so had some money, so I thought it was time to get back into the hobby.
The only parts I could recycle were the electronics. It was using a gecko G540 with 3 Nema 24 steppers. All I needed to buy was an extra motor. I thought about reusing the threaded rod, but they were 12mm and 16mm rod, which meant I would have to come up with my own way of mounting the nuts which I didn't want to do. I wanted an easy build, so went with the 8mm acme on all axes.
I have also since moved out of home, but don't have any workshop space in my apartment, so the cnc will live at my dads. This made it a bit of a pain to build, as I could really only work on it on the weekends. I did the small stuff at home, then brought it over.
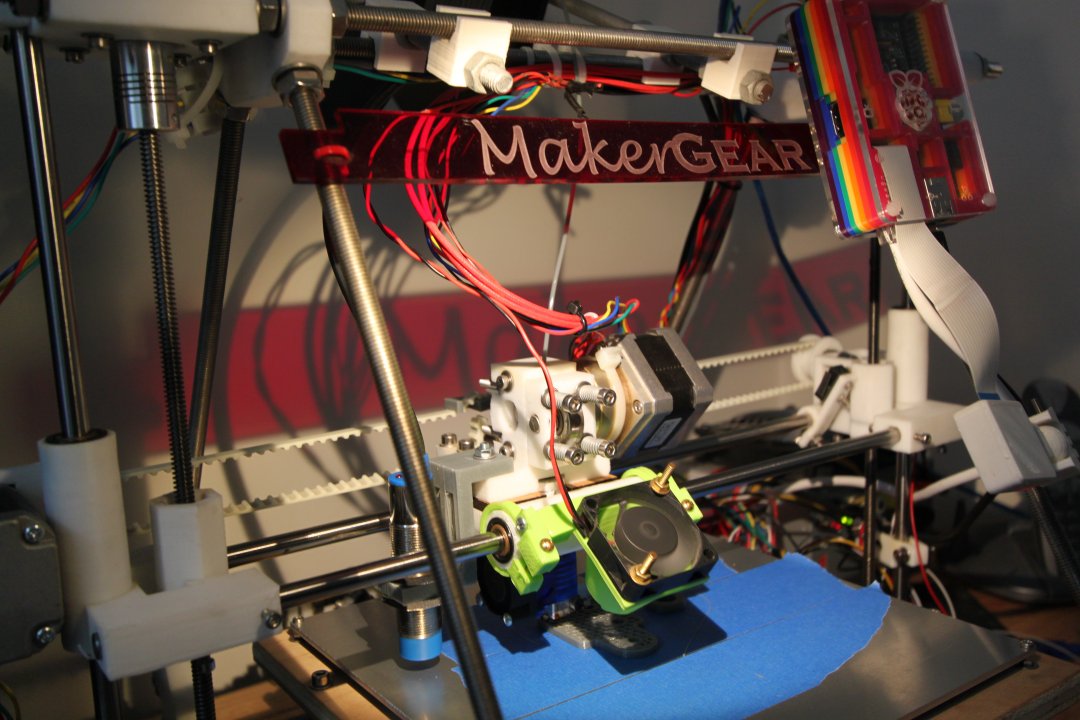
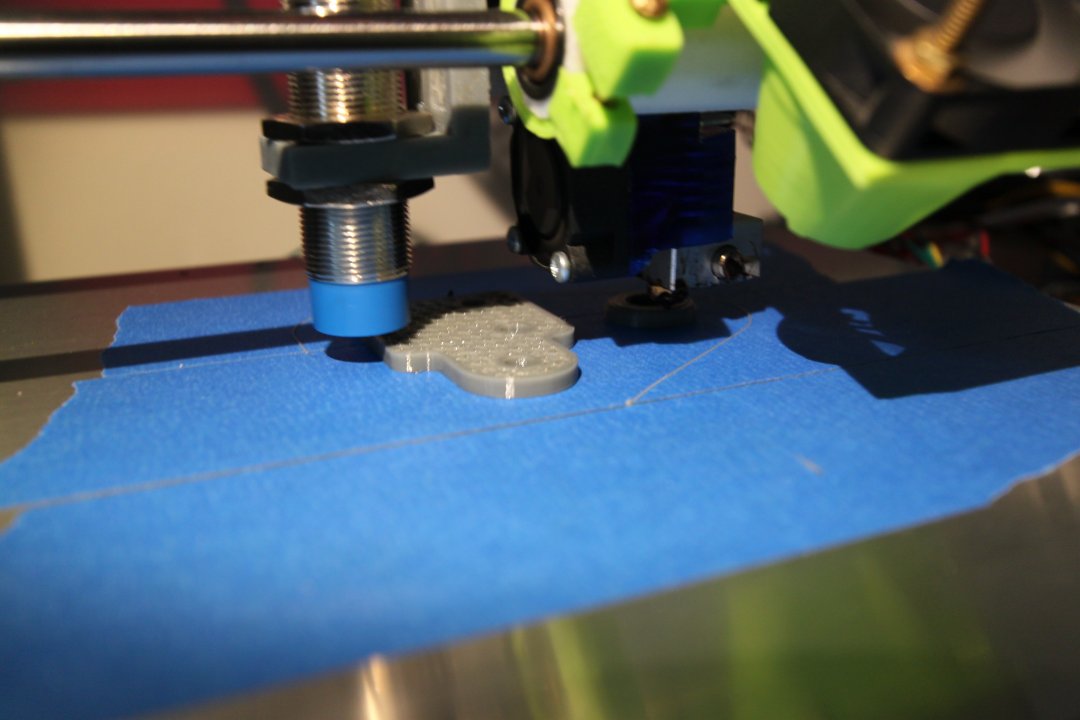
First up 3D printing.... I had to pull my reprap out of the cupboard and spruce it up a bit in order to get good prints again. Was a pain but I am happy with the parts it gave me. Not perfect, but close enough. Next time though I will probably just outsource it to my cousin who has a much better printer. I used zortrax petg, as I wanted to be sure of the quality and strength. I have to say it was easy to print with, and the strength seems great. I had to design my own mounts for the dewalt router, as it has a bigger diameter than the makita. I only realised this after printing...
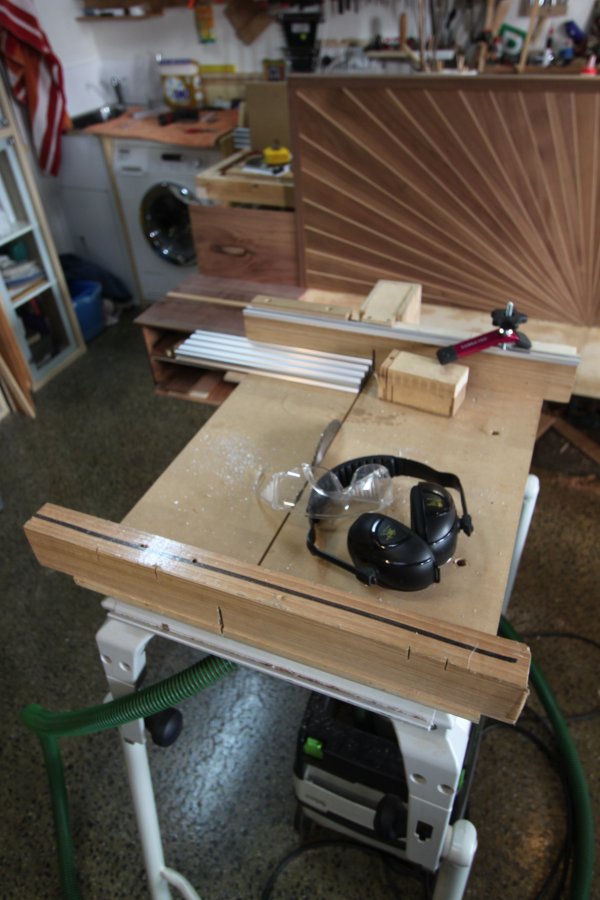
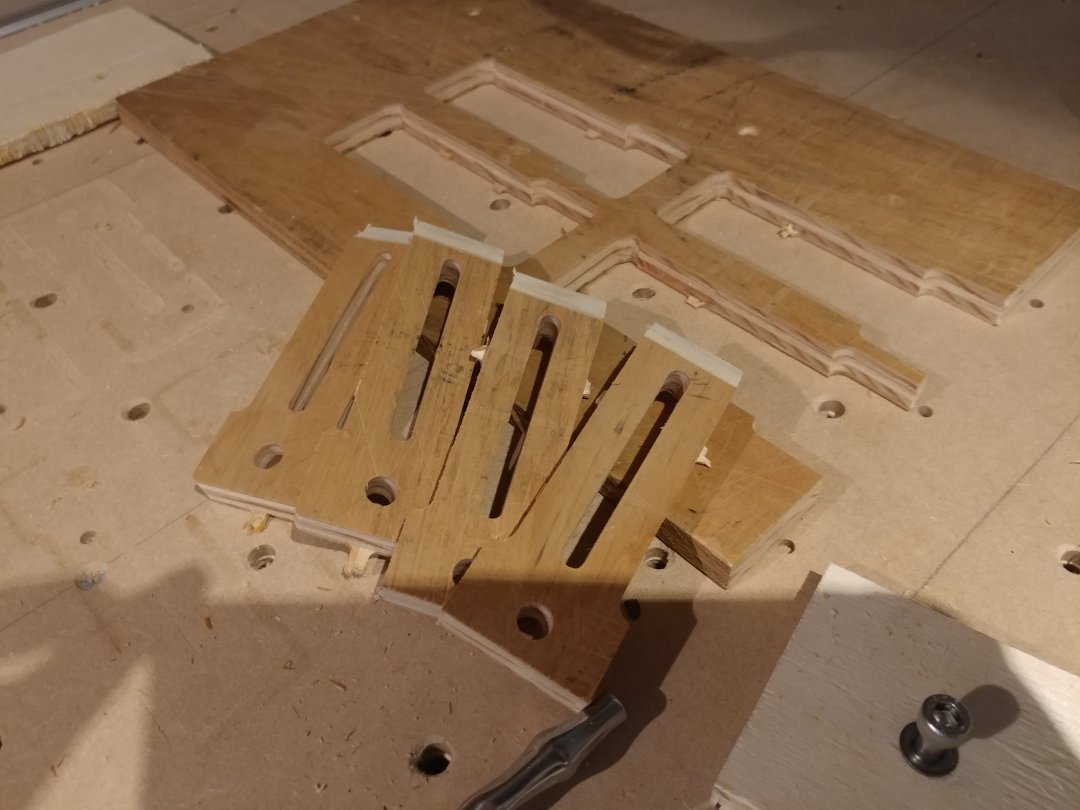
Next Cutting the profiles to length... Not much to talk about here. I think I got the dimensions pretty accurate. Used my small table saw, and a sled my dad built.
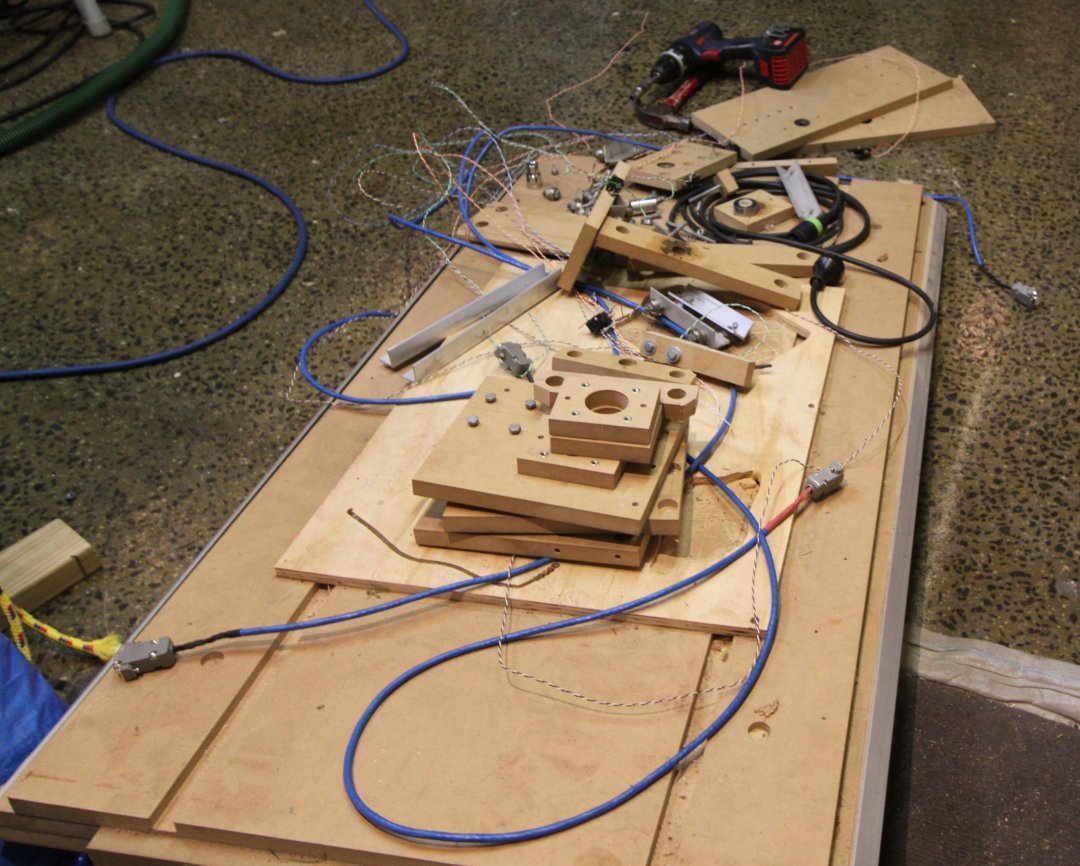
Parts laid out:
Saw setup:
Completed Cuts:

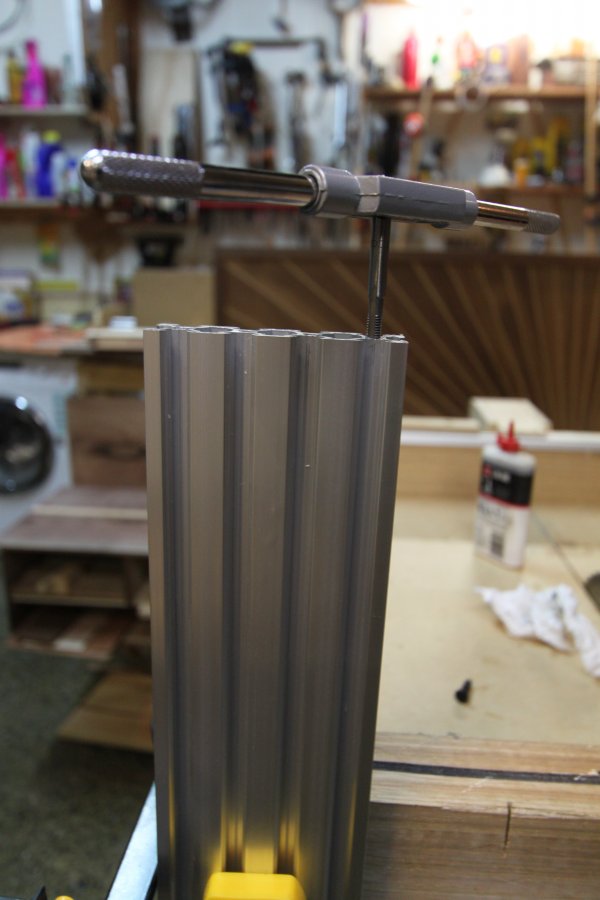
Next was tapping holes... This was by far the most tedious job. Took me much much longer than expected. So.. many.. holes...
Drilling the holes for the threaded rod mounts... In order to them to line up, I put two bolts through before drilling.
I must have forgotten to take photos of the wheel assembling, but it was very straightforward. Heres the gantry and z axis assembled...
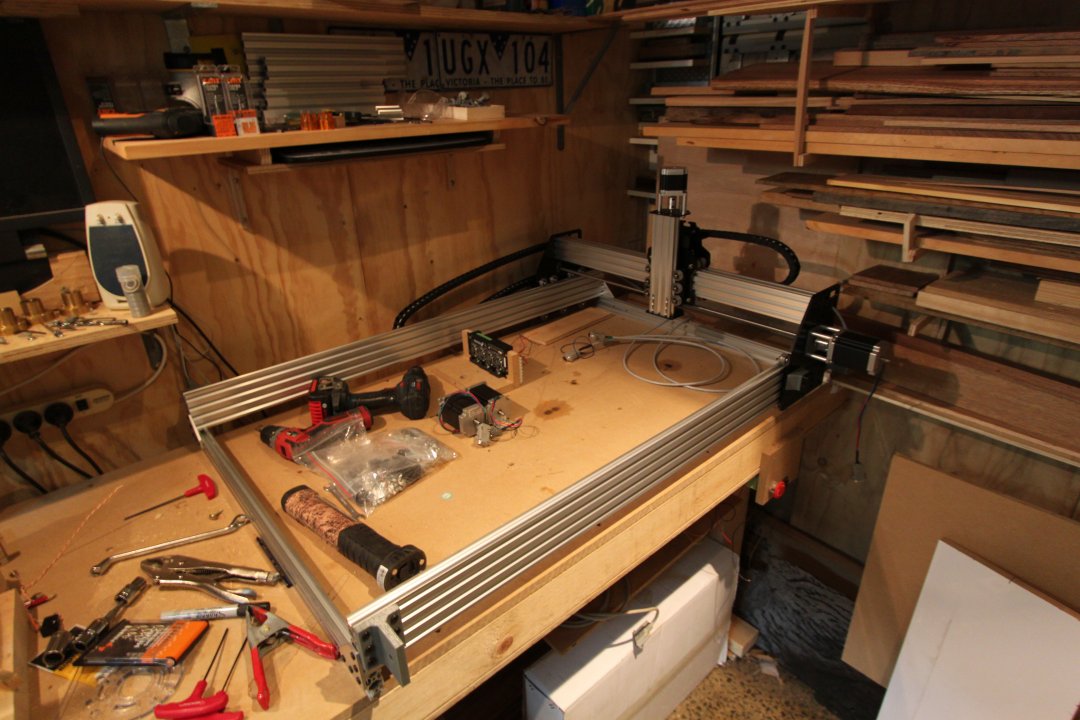
Frame assembled:
Thicknessing the cross members to 40mm, with dad cameo...
With ply base and wasteboard in place.
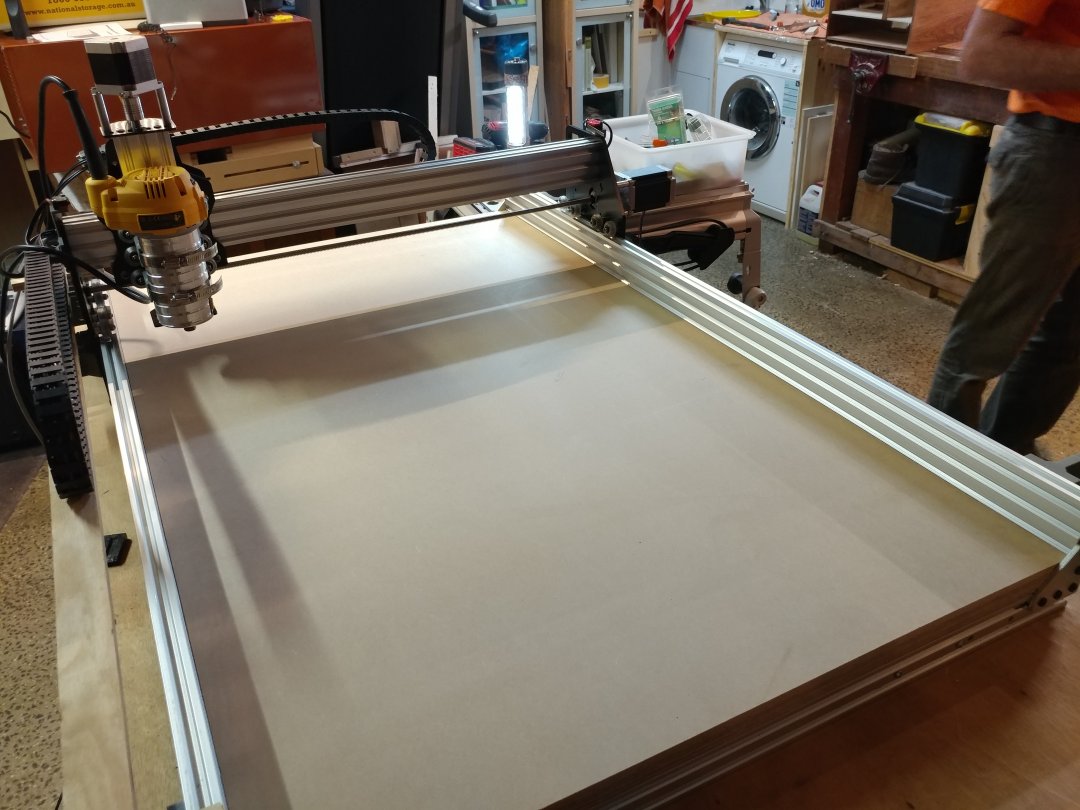
I used the cnc itself and a simple drill pattern using a Mach3 wizard to get the holes marked out. Took a few trys to get it wright, because I am an idiot, but this was much easier and hopefully more accurate than measuring by hand. The holes were then drilled bigger, and t nuts inserted. I did 3 wasteboards at once, to save time later on when they get worn out.
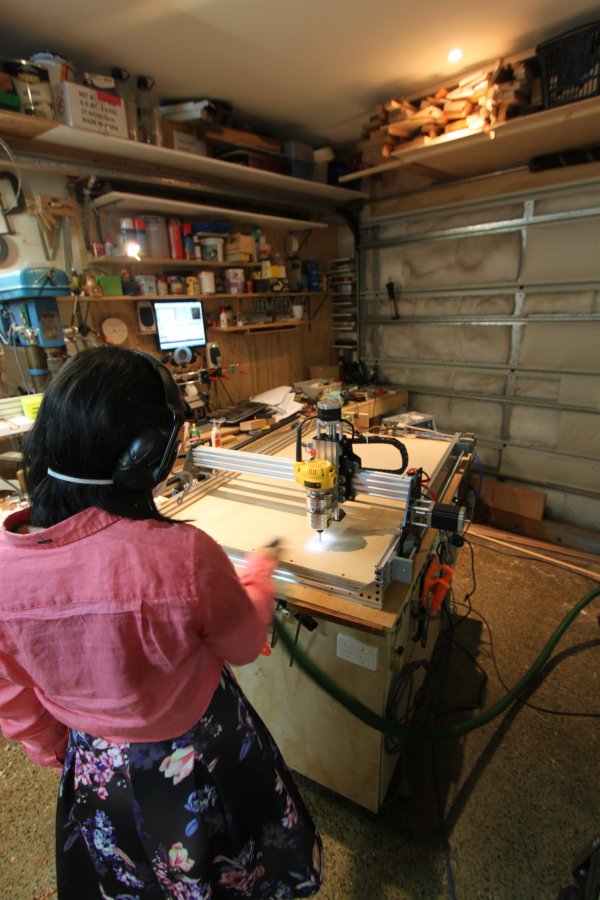
CNC in action, with girlfriend cameo...
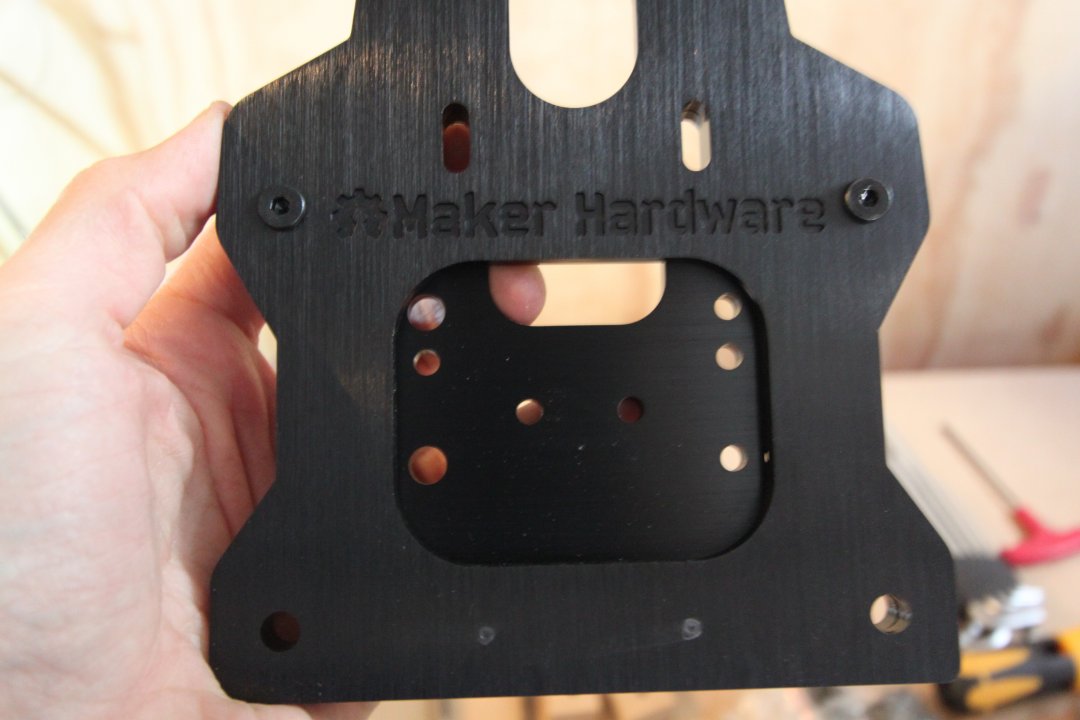
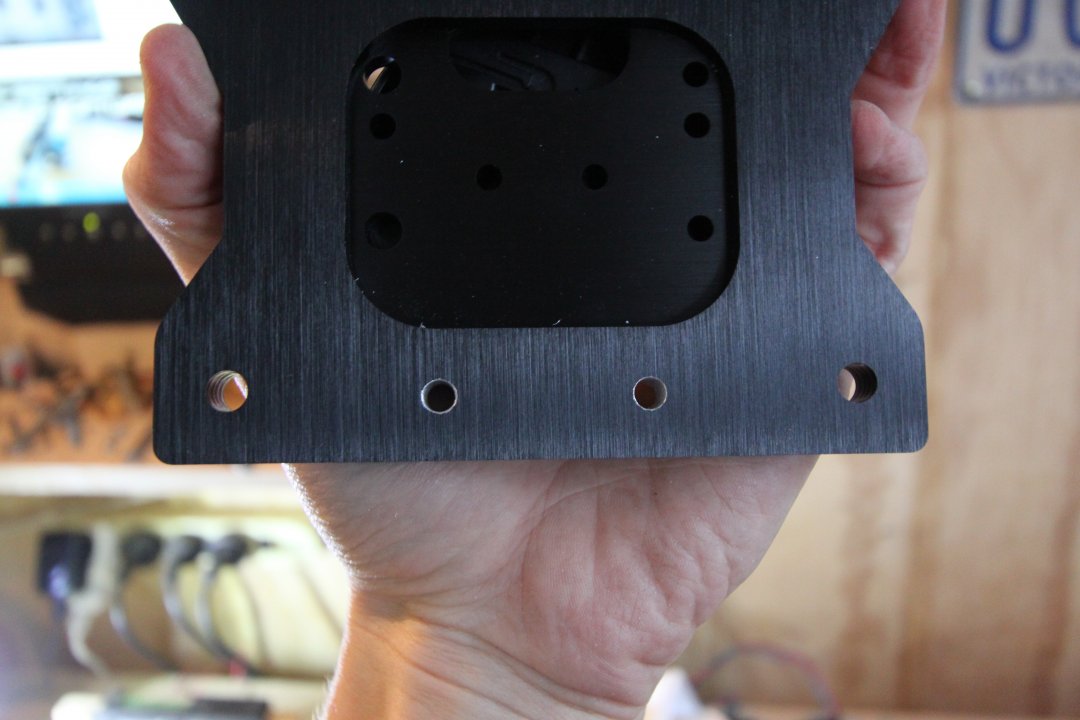
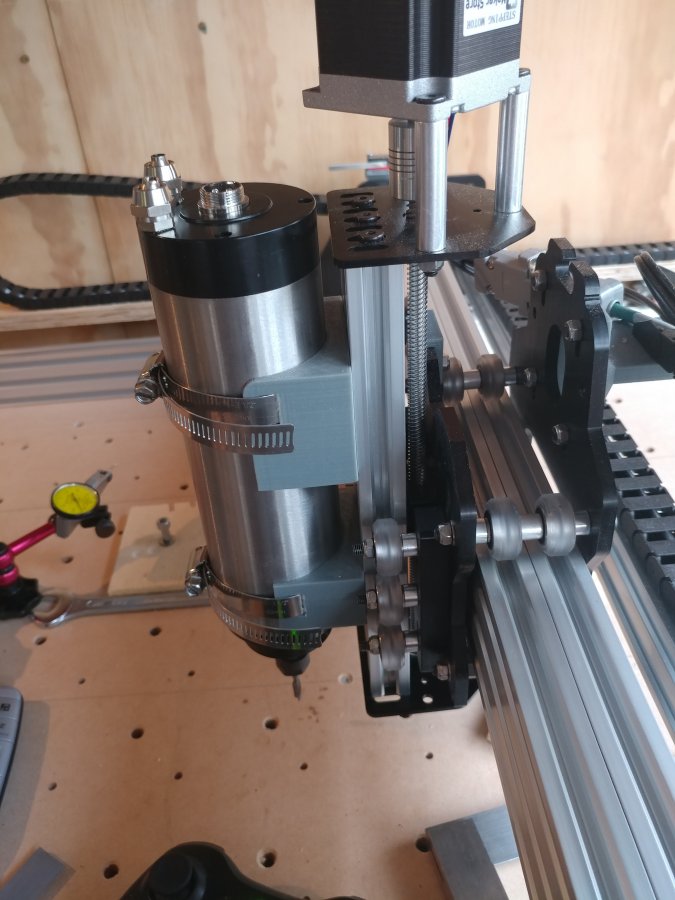
The dewalt router is actually my dads, so I needed to buy my own. I wanted a more flexible collet, and the best option seemed to be the ebay spindles. I went for the 0.8kw water cooled with a 1.5kw VFD. I had already printed the mounts for the makita router, thinking they would fit the dewalt. As it turned out they didn't go to waste as the fit the spindle perfectly.
Finished wasteboard and spindle mount... See all the holes that are wrong in the wasteboard. I had the steps per mm wrong.
Spindle mounted...
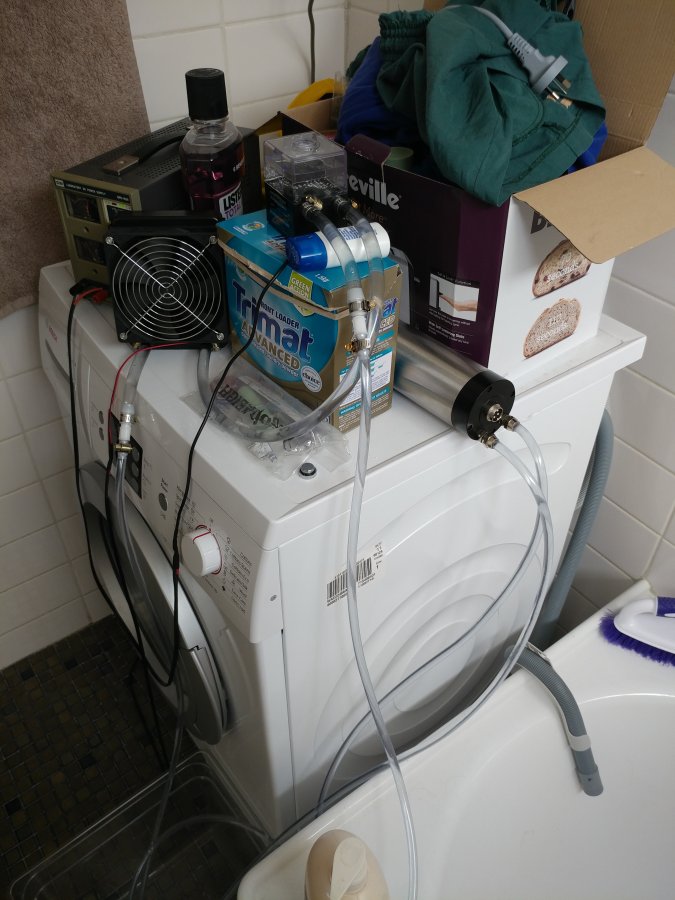
Setting up the closed loop water cooling...
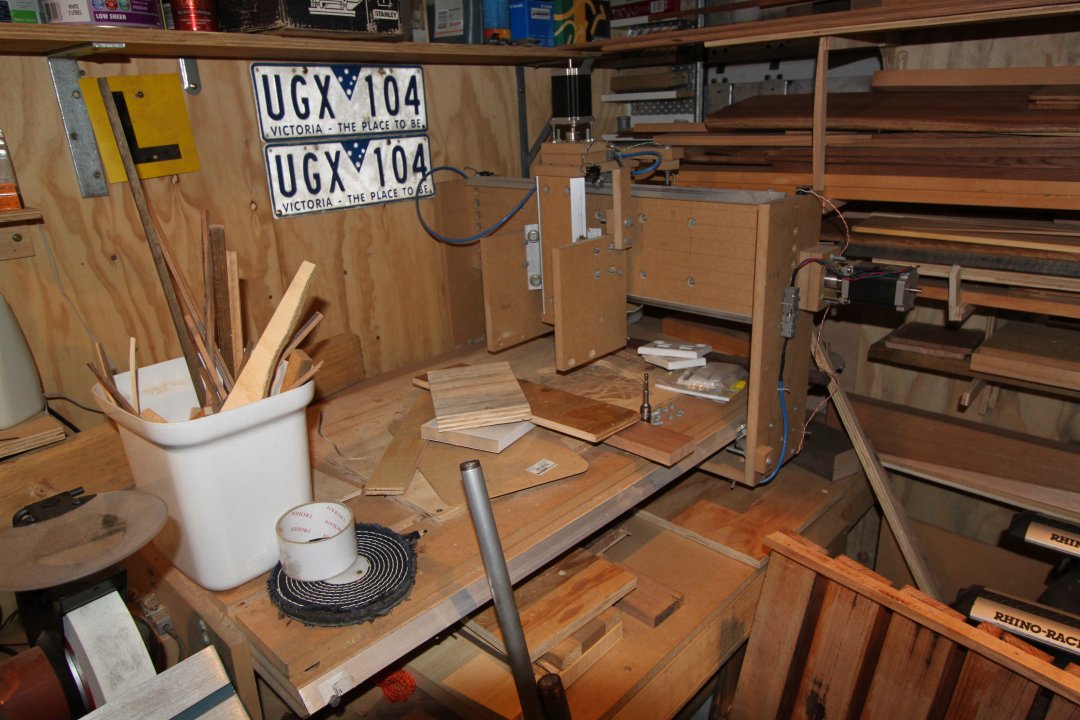
And.. ITS DONE!!!!

First project was some clamps, they came out great...
This was a fun build, although it took about a month longer than expected. I am looking forward to finding its capabilities. I really want to give aluminium a try.
To do list:
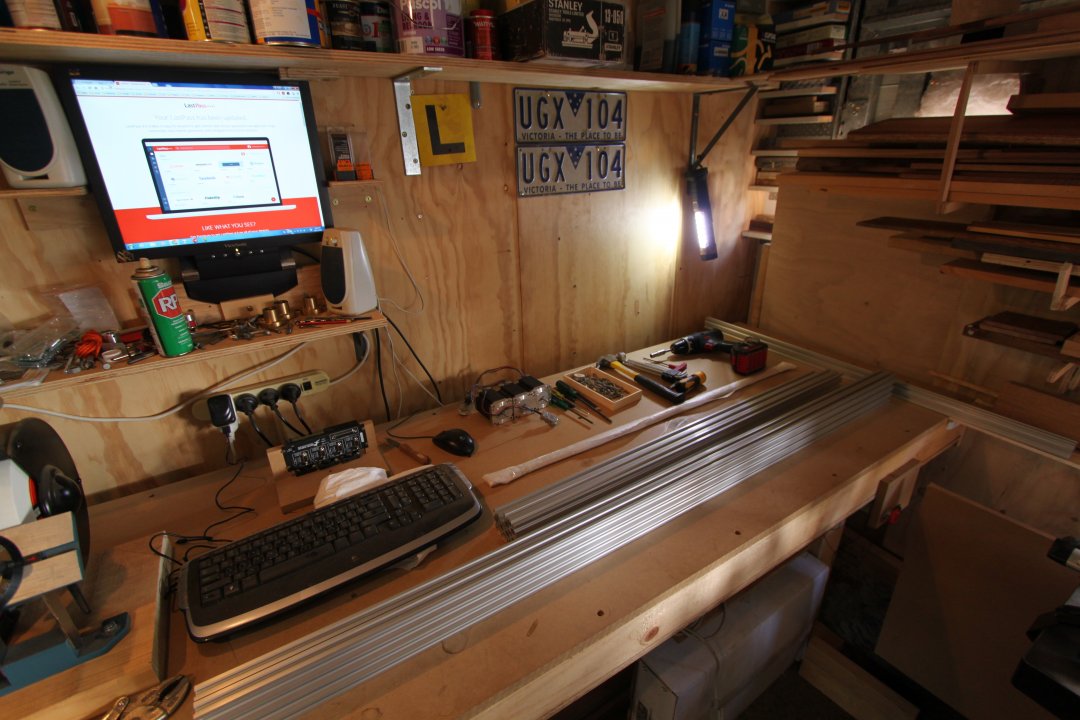
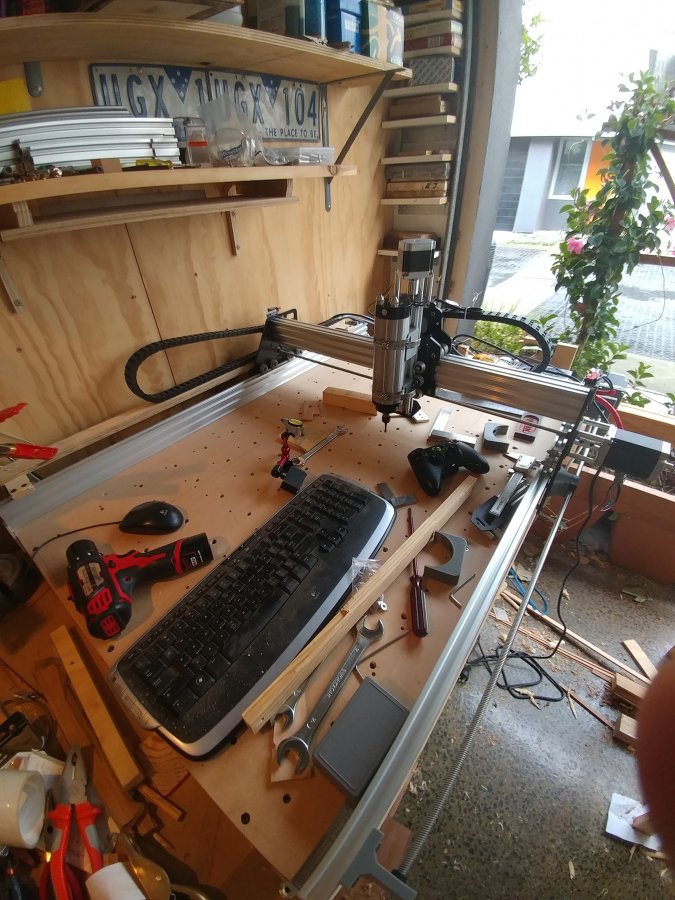
I need to build a good electronics enclosure, and a dust boot. At the moment my computer is just sitting on a shelf, with no protection from dust or anything else.

Schematix Ox-Metal Build
Build in 'Cartesian Style CNC' published by Jonathon Harms, Jan 8, 2017.
A build of Schematix's Ox-Metal design, with a 0.8kw watercooled spindle.
-
-
Build Author Jonathon Harms, Find all builds by Jonathon Harms
-
- Loading...
-
Build Details
- Build License:
-
- CC - Attribution Share Alike - CC BY SA
Inspired by