
This router is inspired by the Openbuilds OX, but with a ground up design that improves upon the OX's weaknesses.
My first CNC machine was a shapeoko and while it was pretty cool for what it was, my first mod was to make it bigger. Then I began to notice that it had serious rigidity issues especially when I got brave enough to tackle aluminum. So I designed a replacement for it, and while it was leaps and bounds above a shapeoko (the router mounts were the only remaining piece from the original machine), it still had some limits. With a maximum cut of 14x14, I decided I needed something bigger.
Design Considerations
When sat down to design this router, I did a lot of research as to what was out there and made a list of things that were important to me.
And of course, it must look tough and not like some cobbled frankenrouter. I managed to hit every one of those points except overall cost. In all it was not super expensive and for someone who works on a pretty tight budget that is important. Heads up though, the hardware alone is the biggest expense!
- Cut area
- Strength
- Rigidity
- Speed
- Ease of maintenance
- Overall Cost
Specs
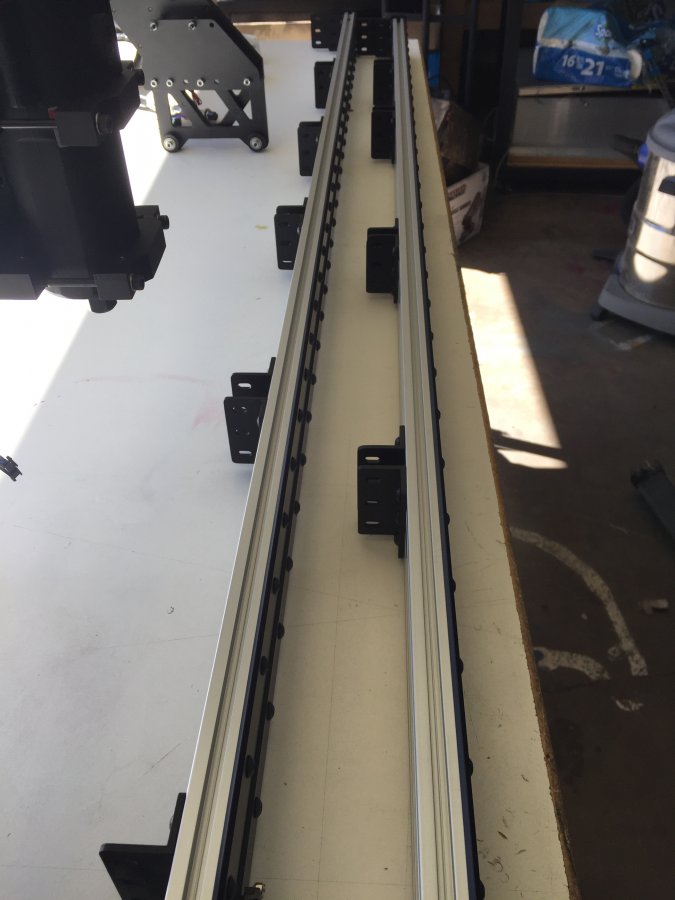
- X axis: Misumi 4080 x 1000mm with openrail
- Y axis: Misumi 2060 x 1500mm with open rail
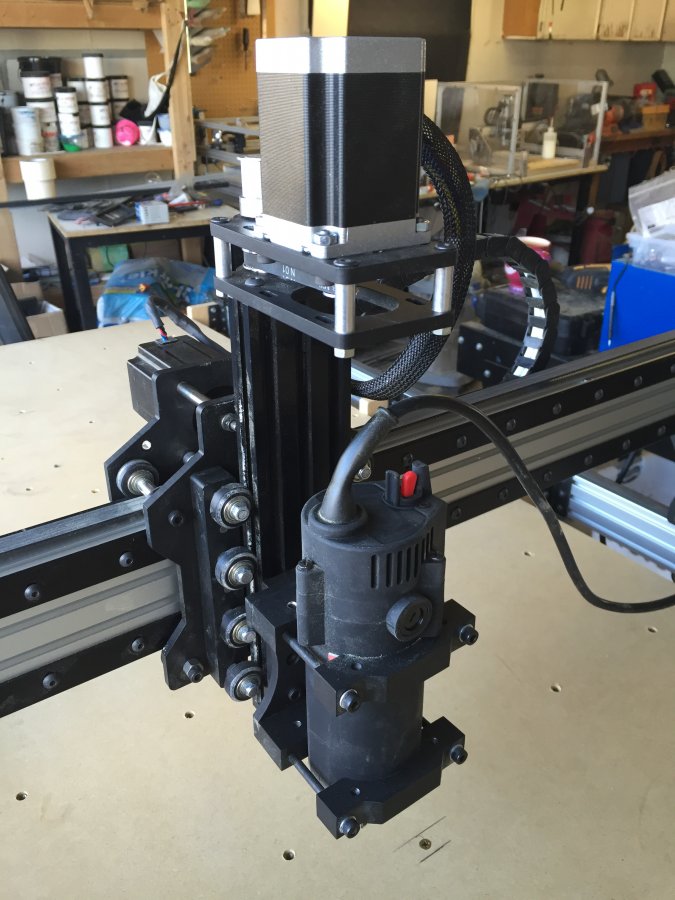
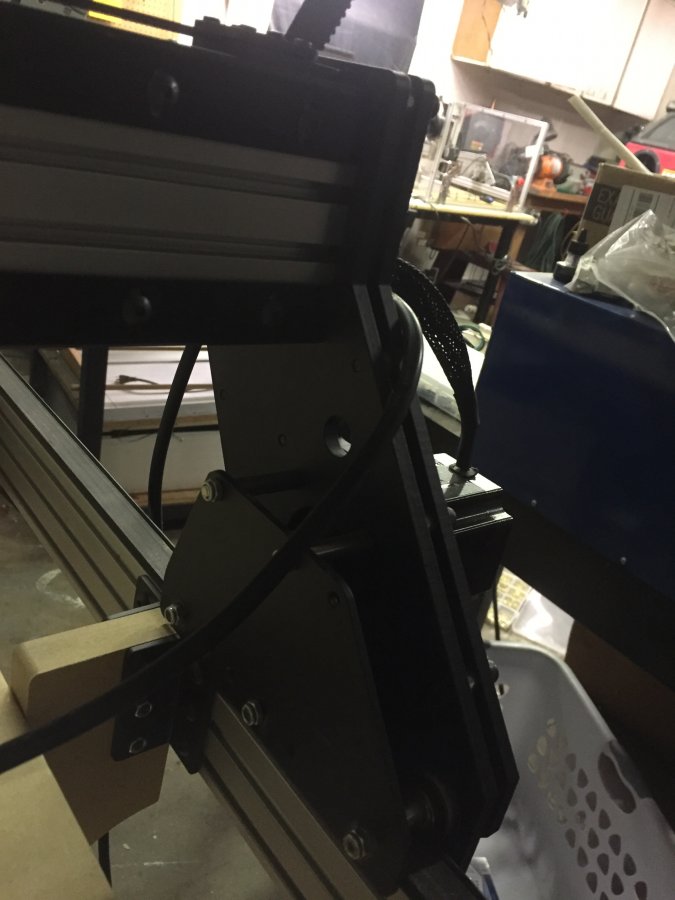
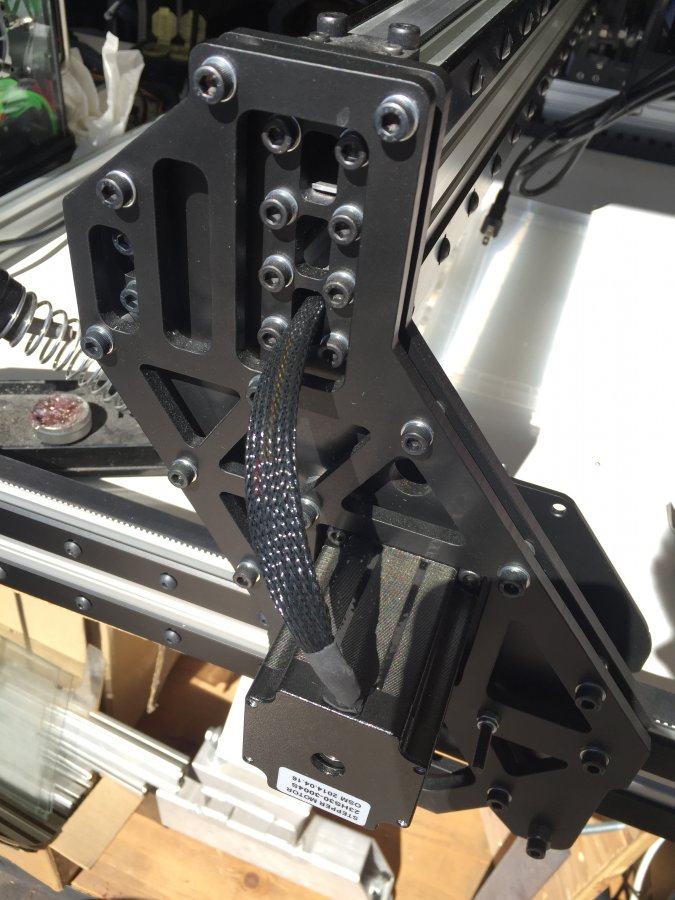
- Z axis: 2060 Vslot with 8 solid wheels, 8mm Acme rod, 3:1 ratio gearing through 2 threaded blocks
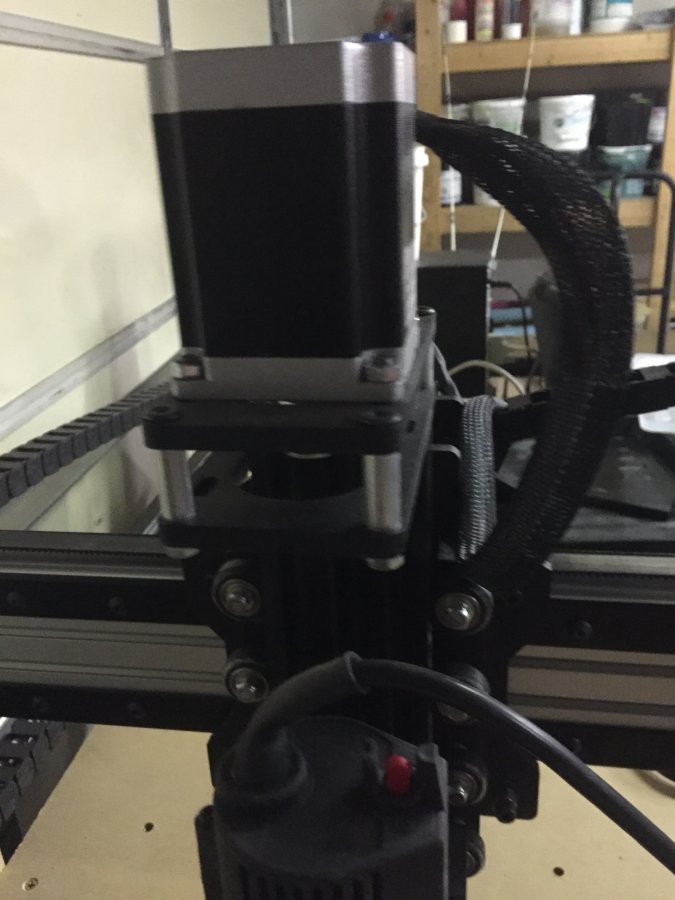
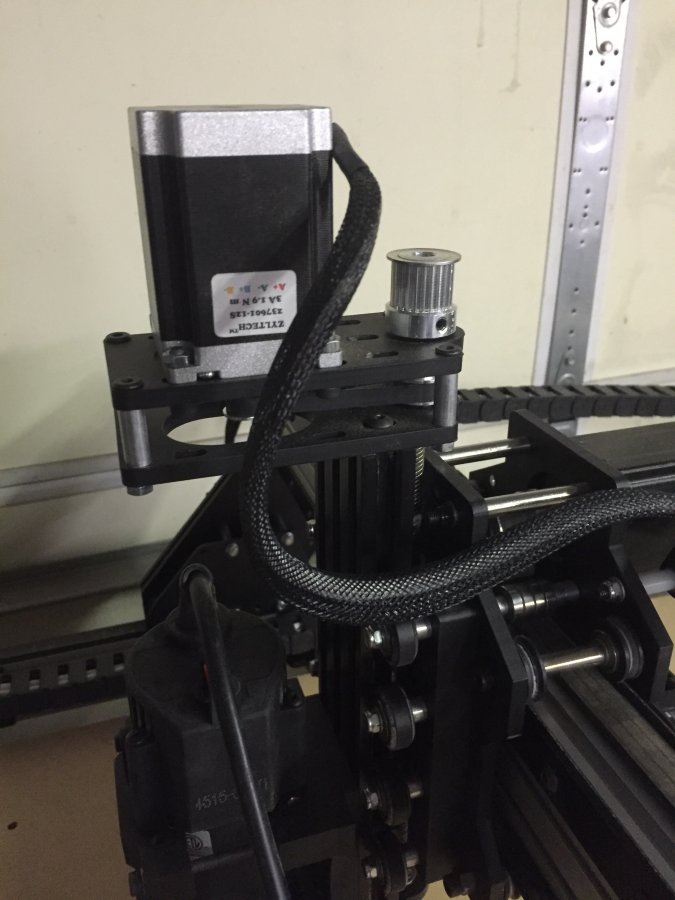
- 4 NEMA 23 steppers @ 269oz/in
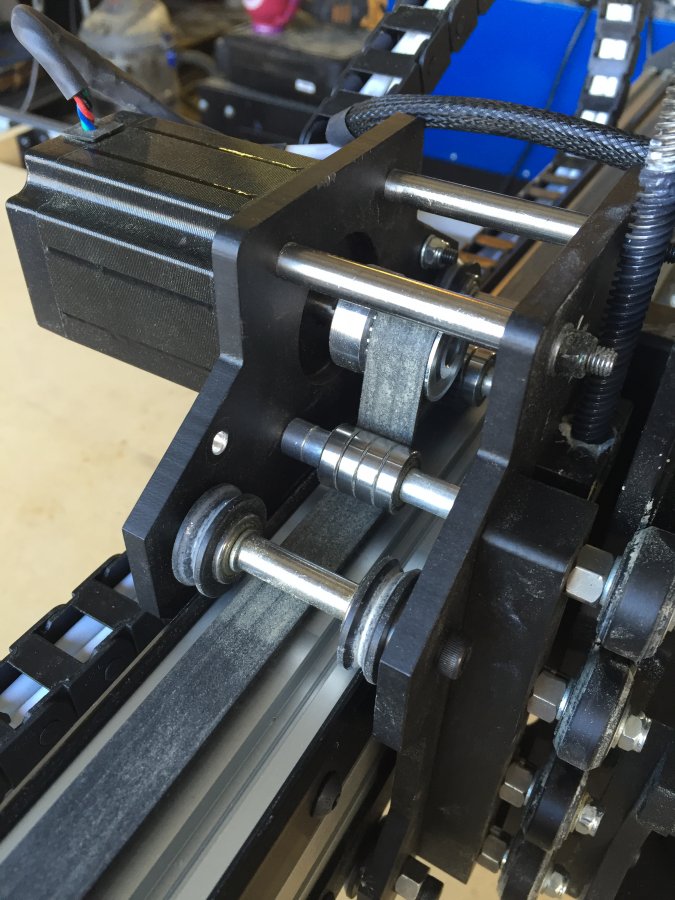
- 15mm htd-3m belts
- 0.75" MDF open torsion box
- 5 axis parallel breakout ran on LinuxCNC
- Dual Y homing switches for auto squaring in LinuxCNC 2.8pre
- 4 TB6600 driver modules @3 amps (1 X, 2 Y, 1Z)
- 24v 30A power supply
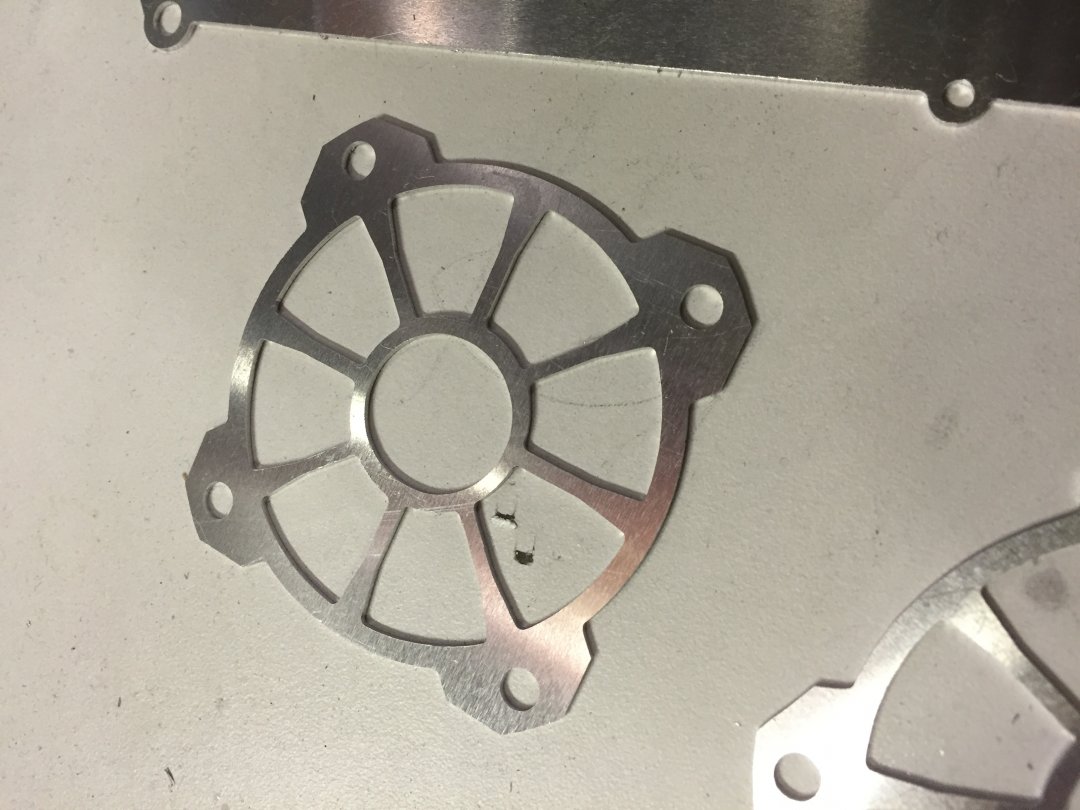
- Aluminum plates 100% recycled from local scrap yard
Remember, Ebay is your friend!
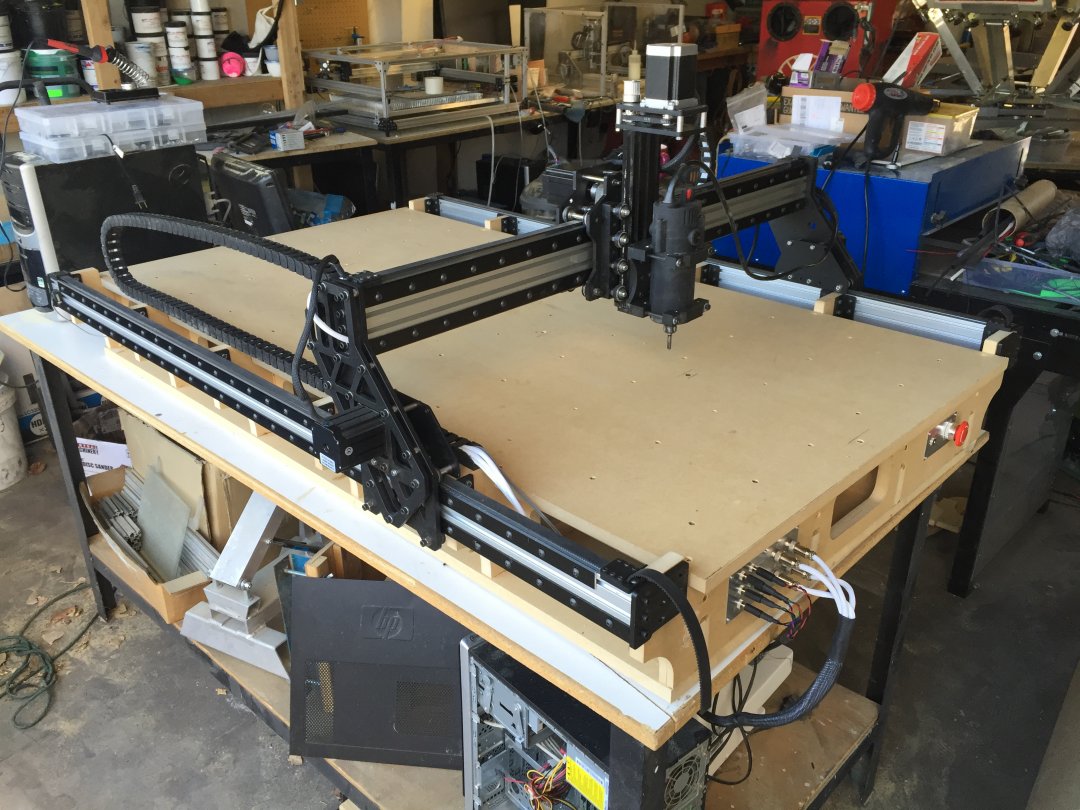
So here are the pics...
This is the finished product looking pretty mean.

(UPDATE)
This is my second version, Black Rabbit 750
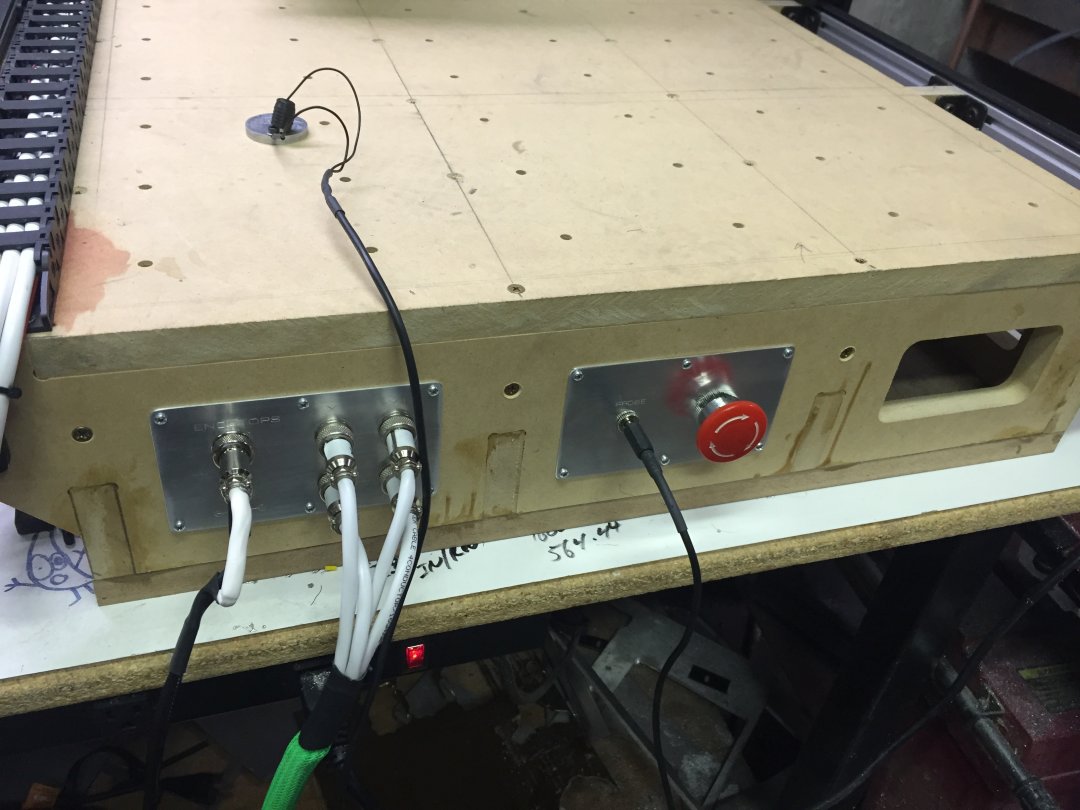
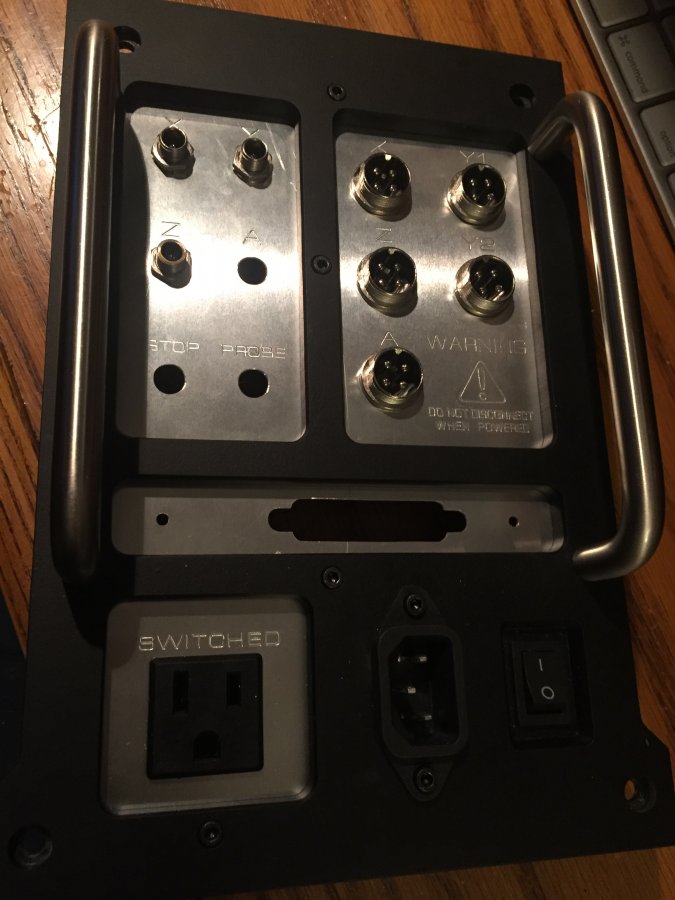
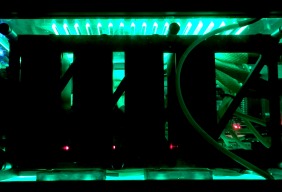
The Controller
The controller is designed to use a parallel breakout and separate stepper driver breakouts. I use linuxCNC as my main software because it gives me more control over the machining process than using a GRBL board. It incorporates separate drivers for the Y axis so that I can do tandem homing so that squaring the gantry can be done in software rather than the shim and measure method. (Being able to cut square every time over a large distance is amazing)
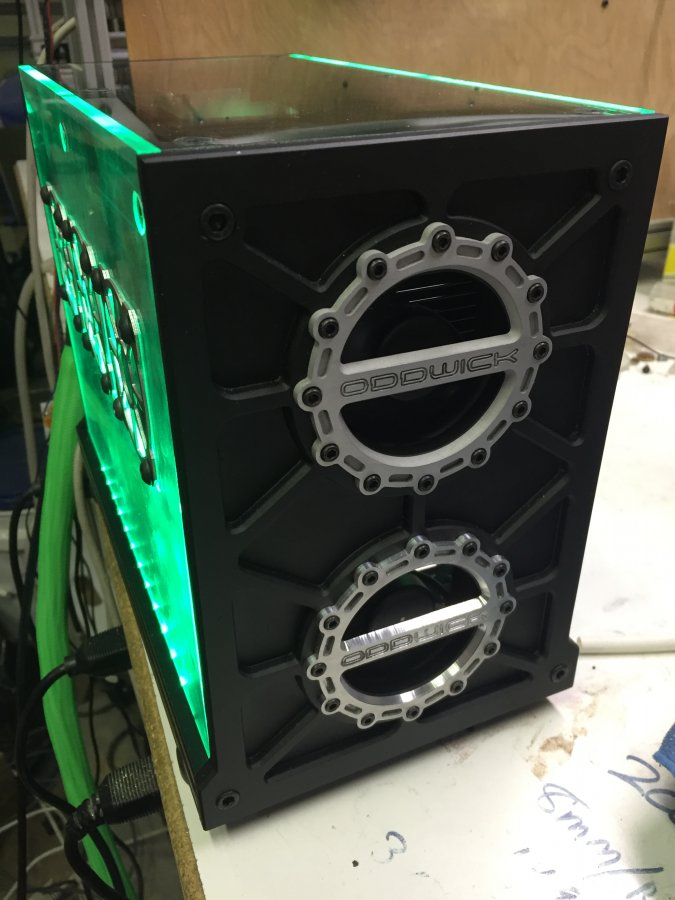
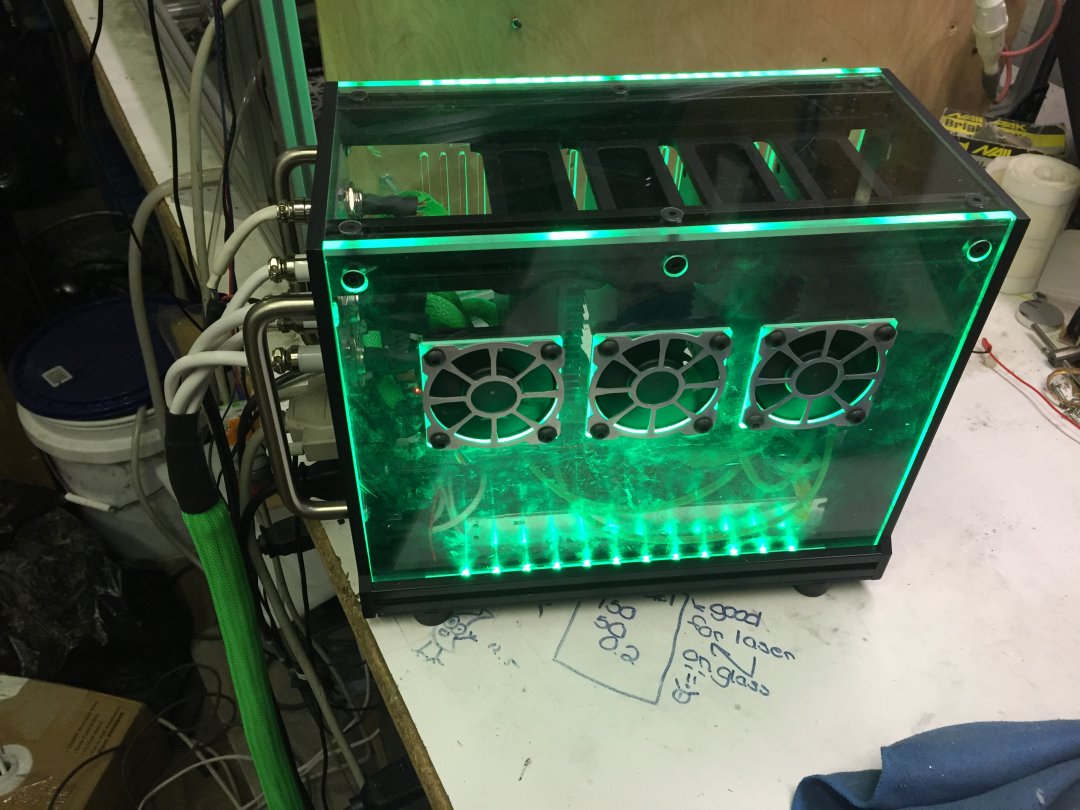
(UPDATE)
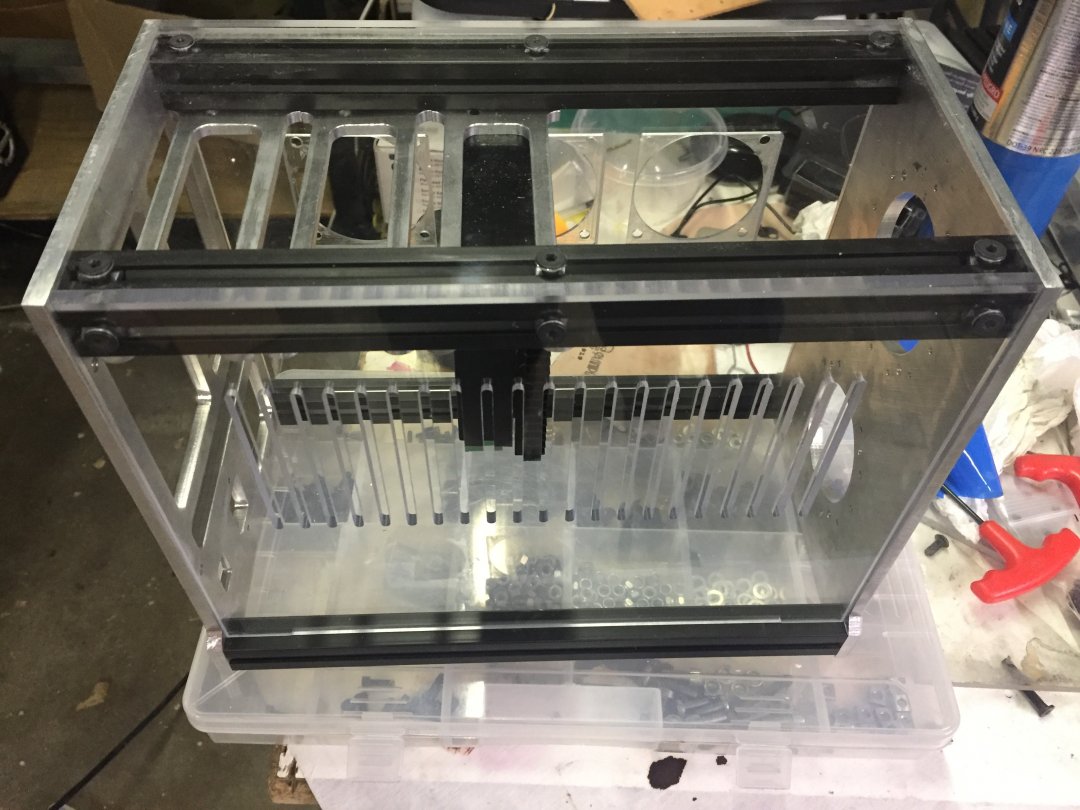
Some of the lessons learned from controller v1 to v1.5:
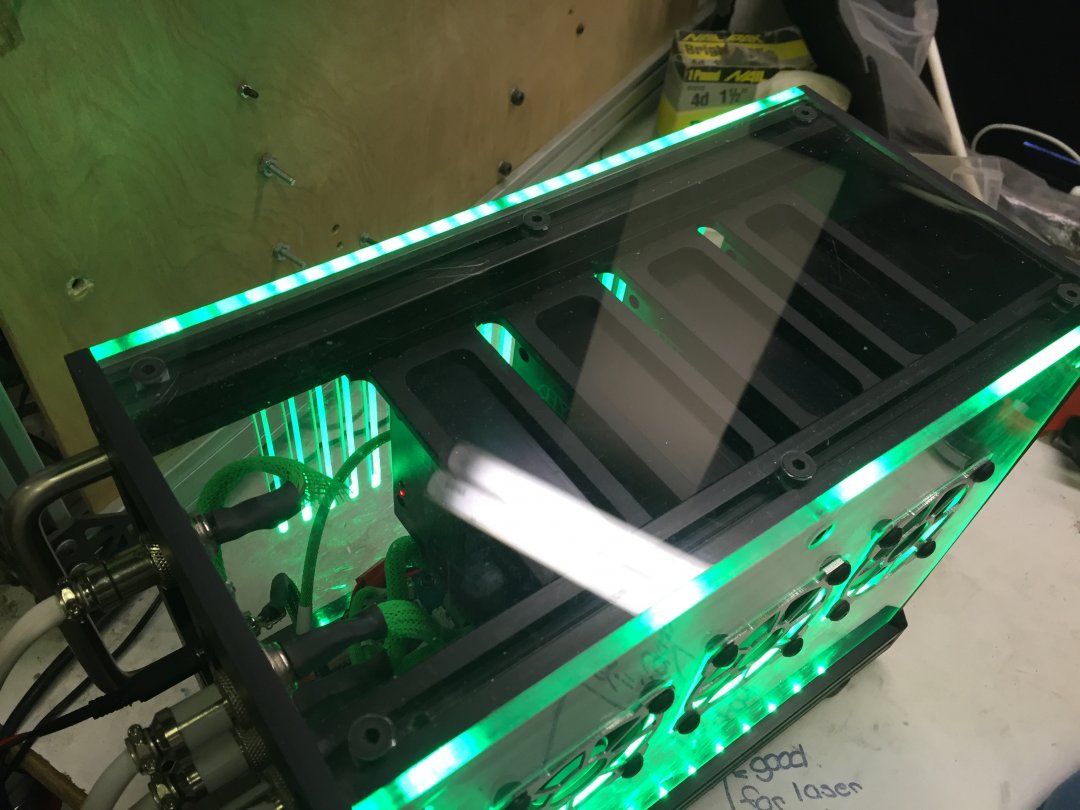
- Redesigned the side panels because as cool as it looks, it is also awesome to be able to get into your controller without having to dismantle the whole thing!
- Created modular rack system for the drivers which attach to the extrusions rather than the acrylic top plate.
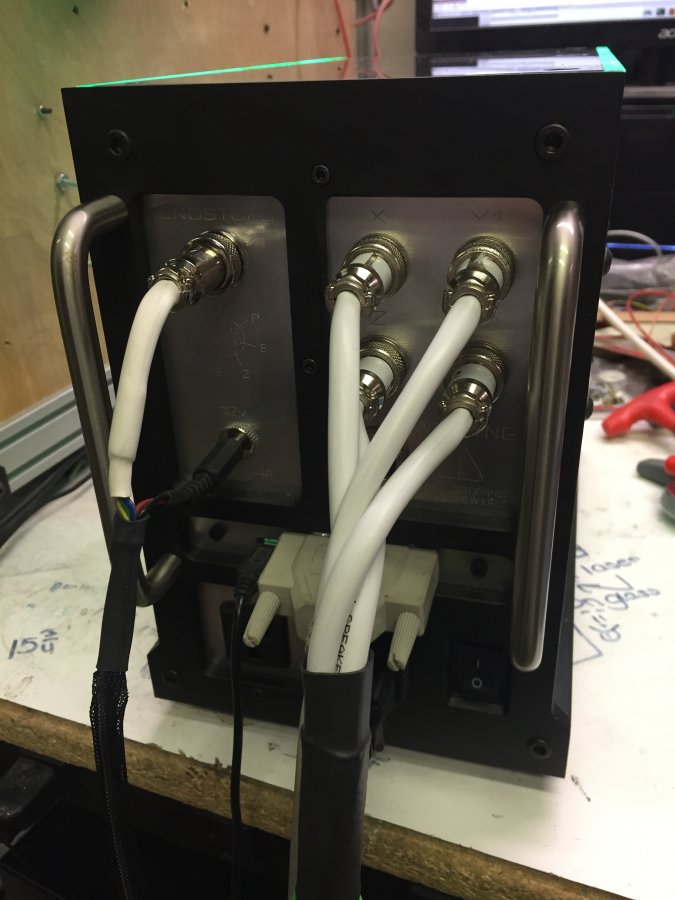
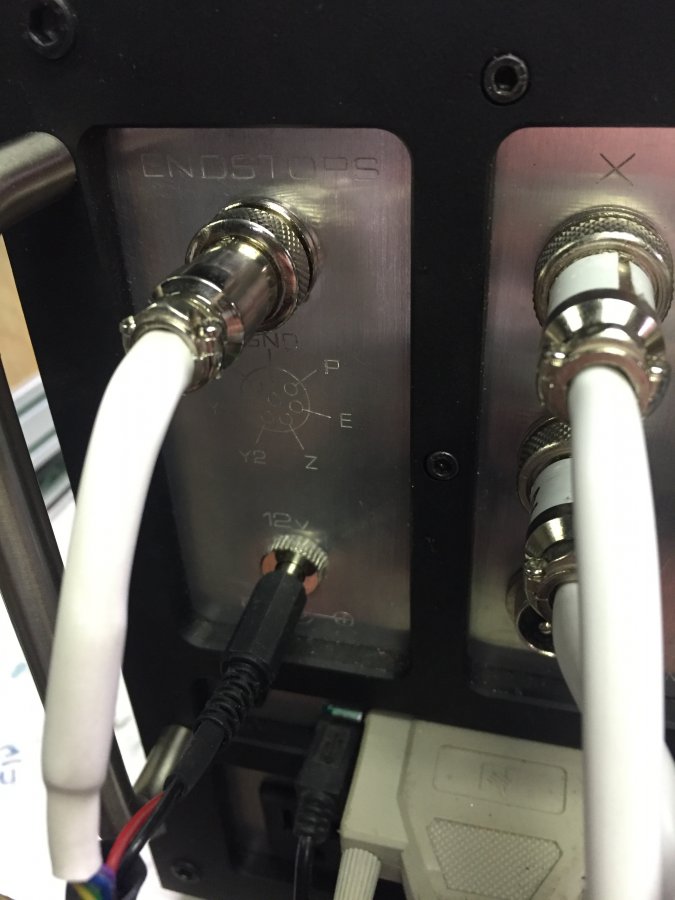
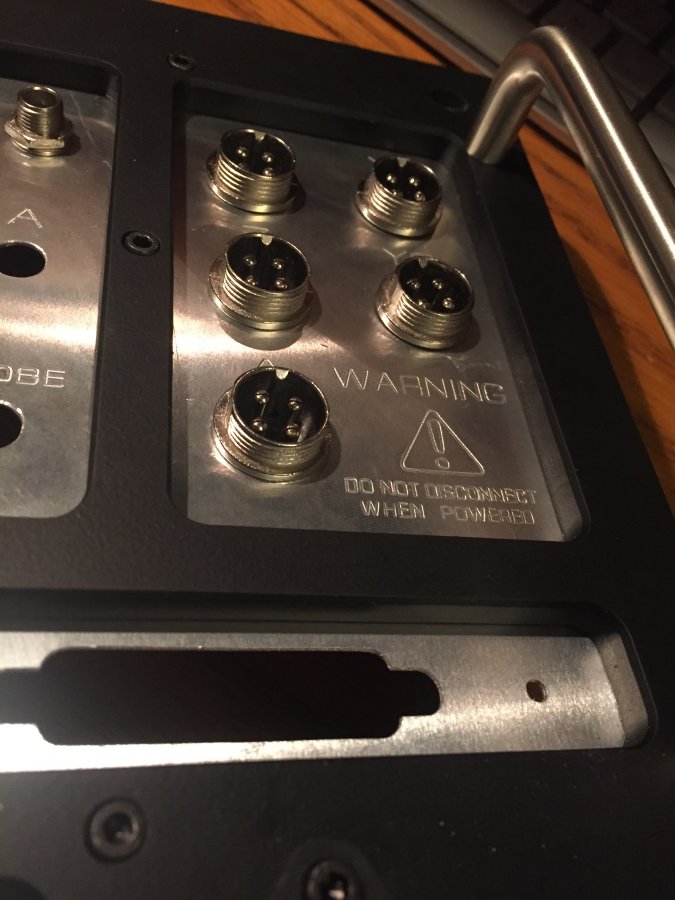
- Used 7 pin aviation plug with common ground for limit cable rather than separate connections for each one.
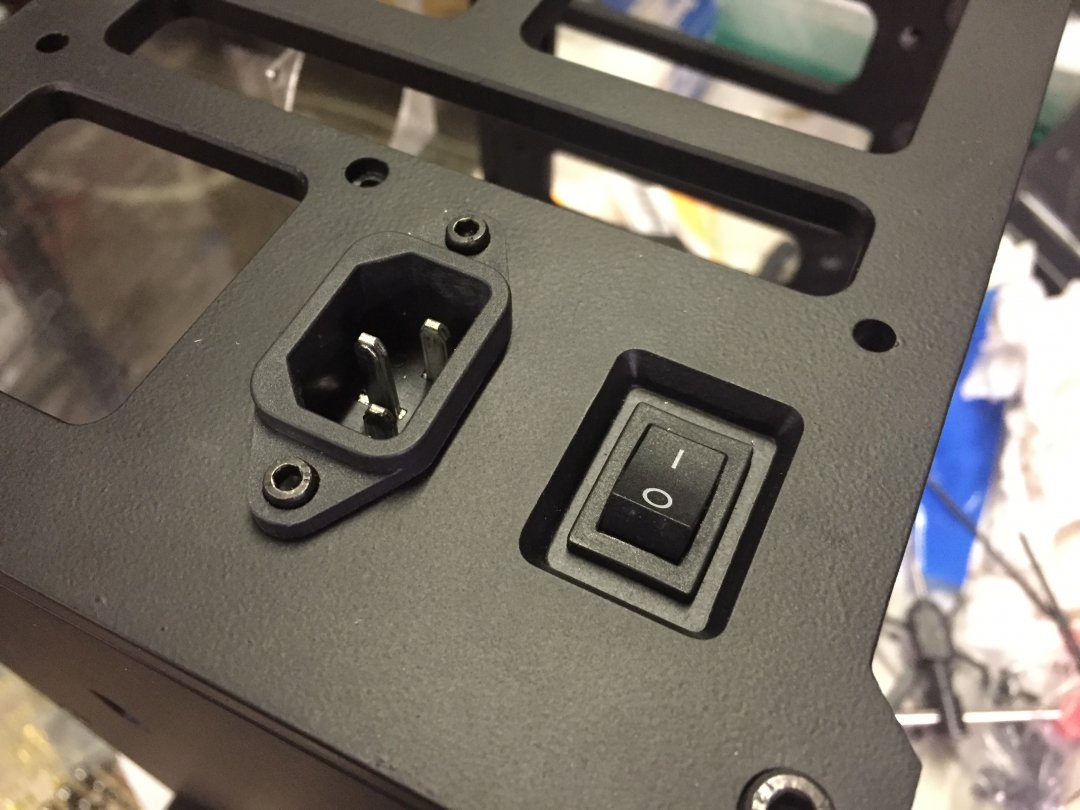
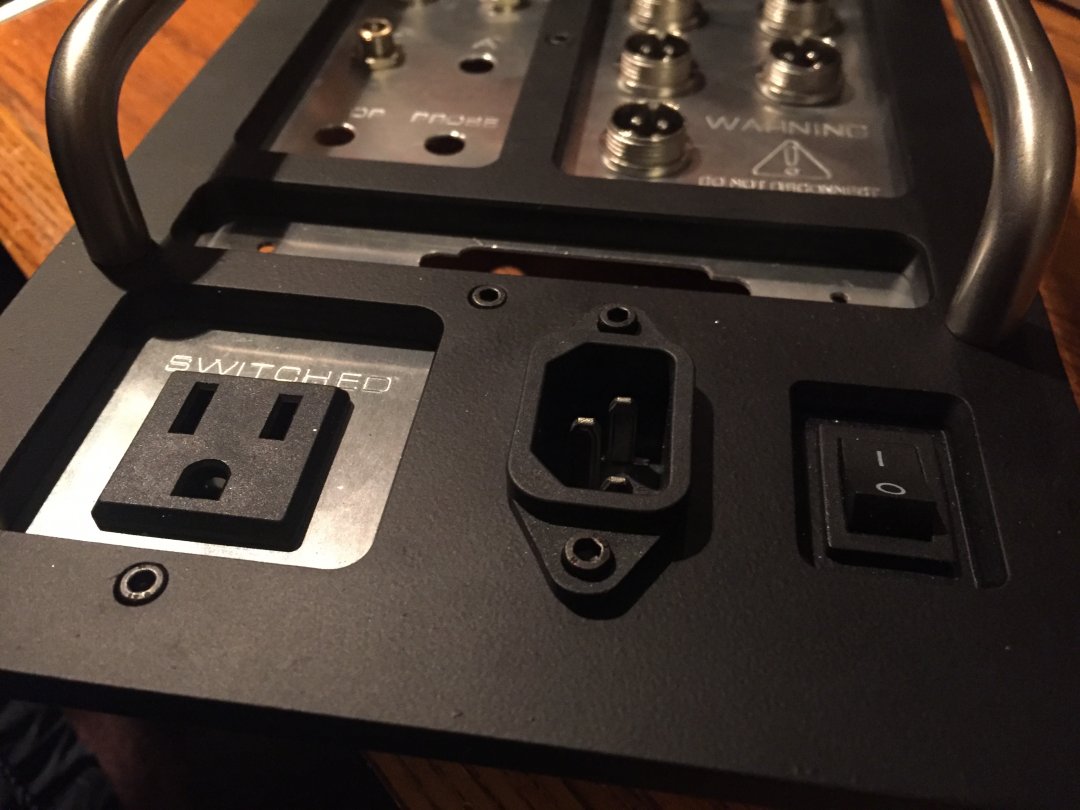
- Added rocker power switch on back for power instead of key system. Will probably still use if for my laser though, but need to find a switch that captures the key when turned.
- Included 12v out to power laser guides and dust shoe lights
- Added 3rd fan on side panel to make sure airflow is spread evenly
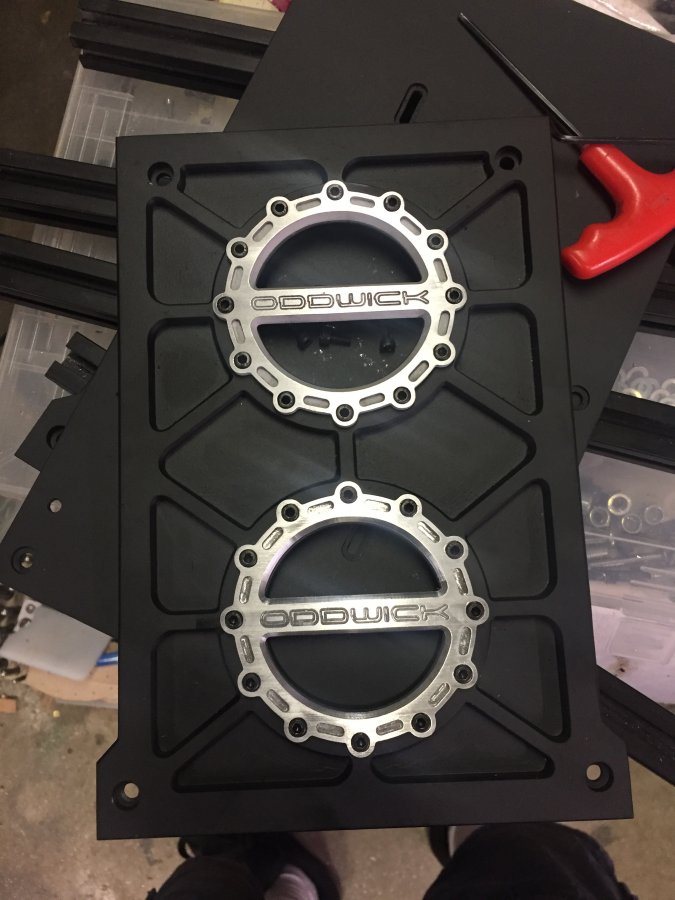
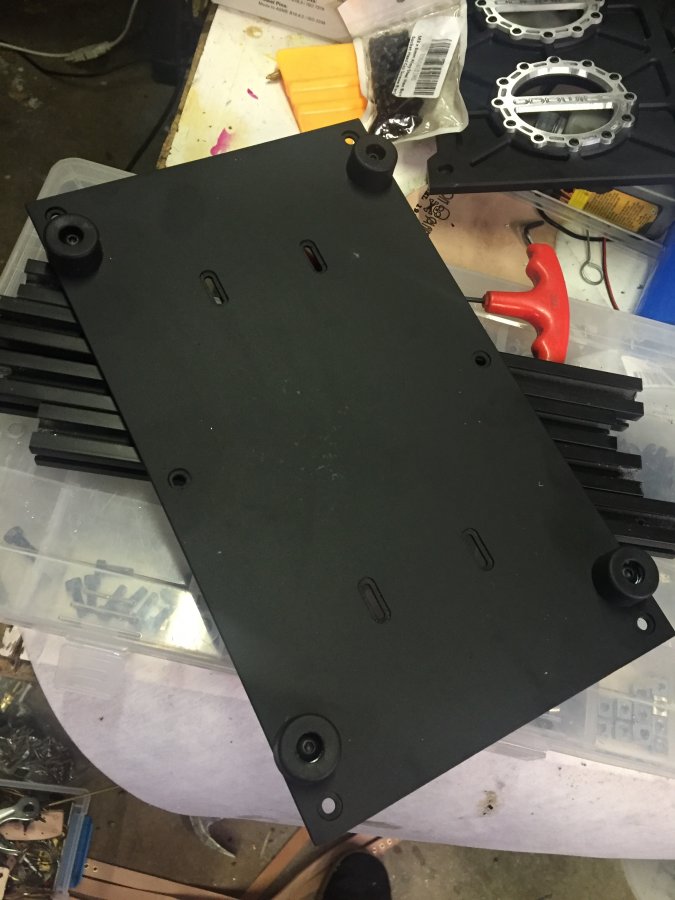
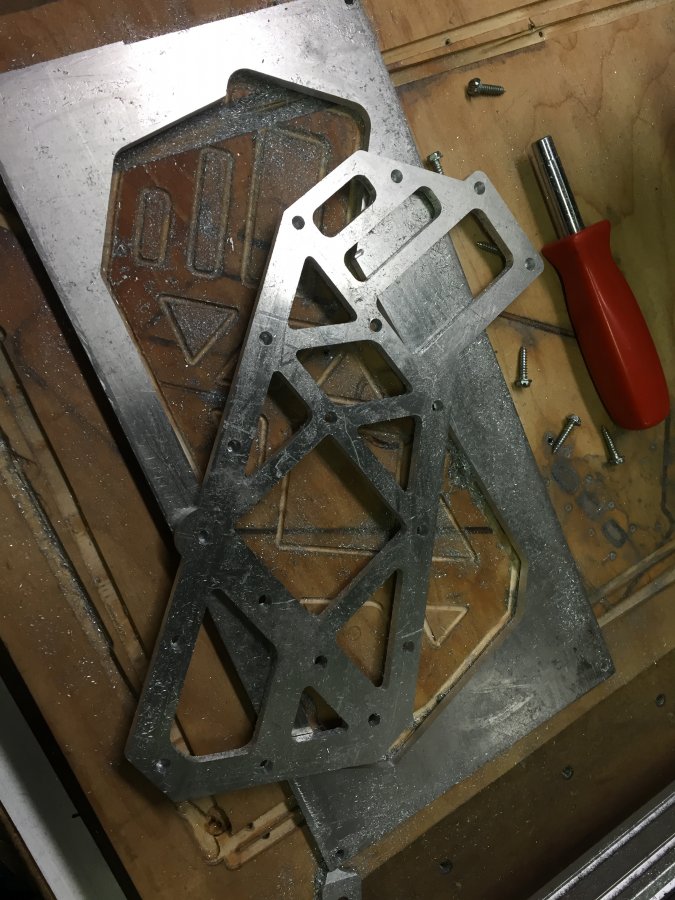
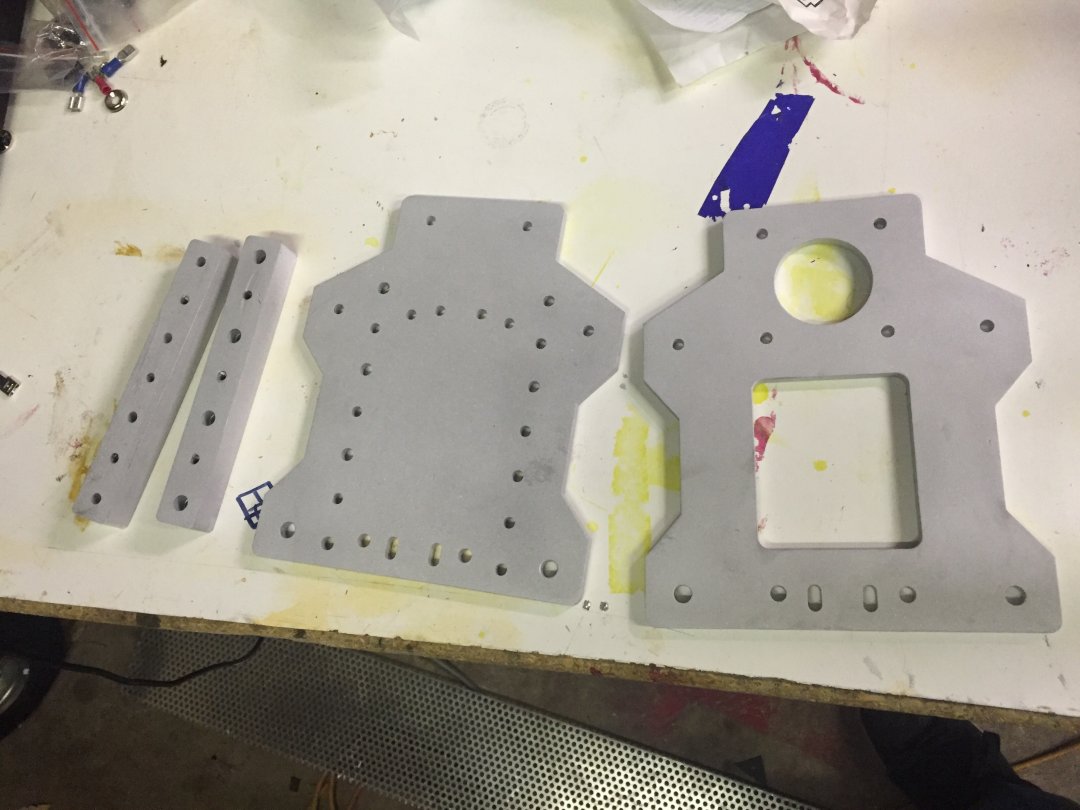
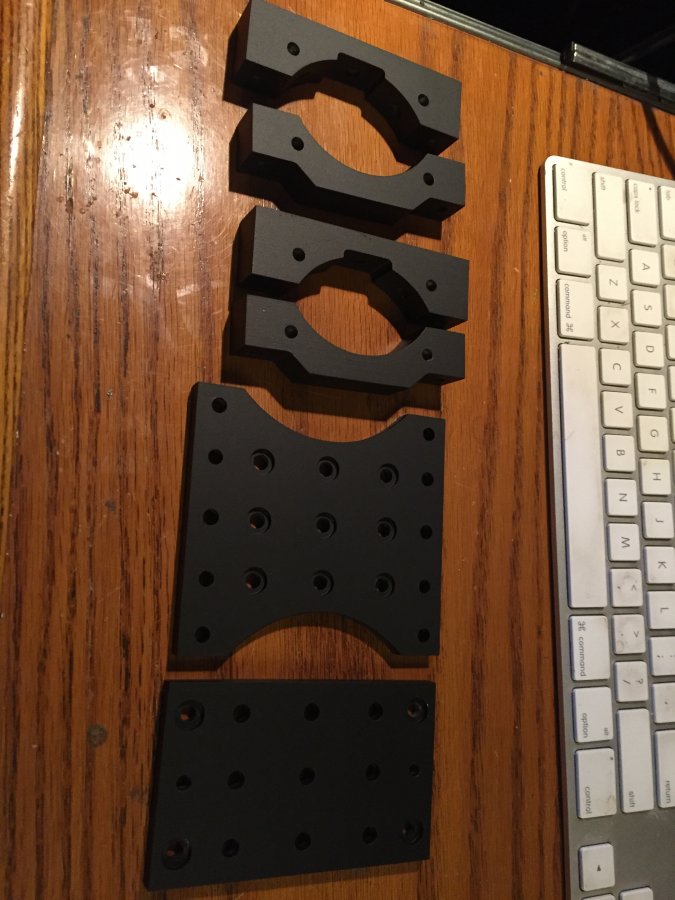
This is the building process of the controller.
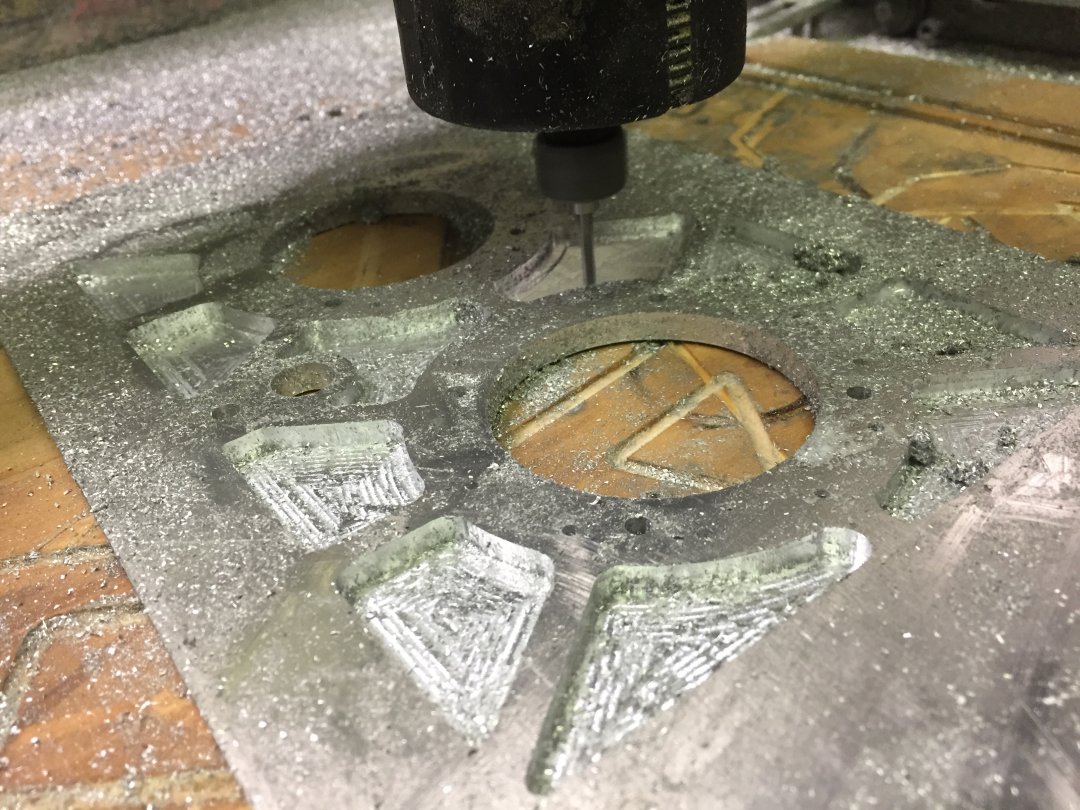
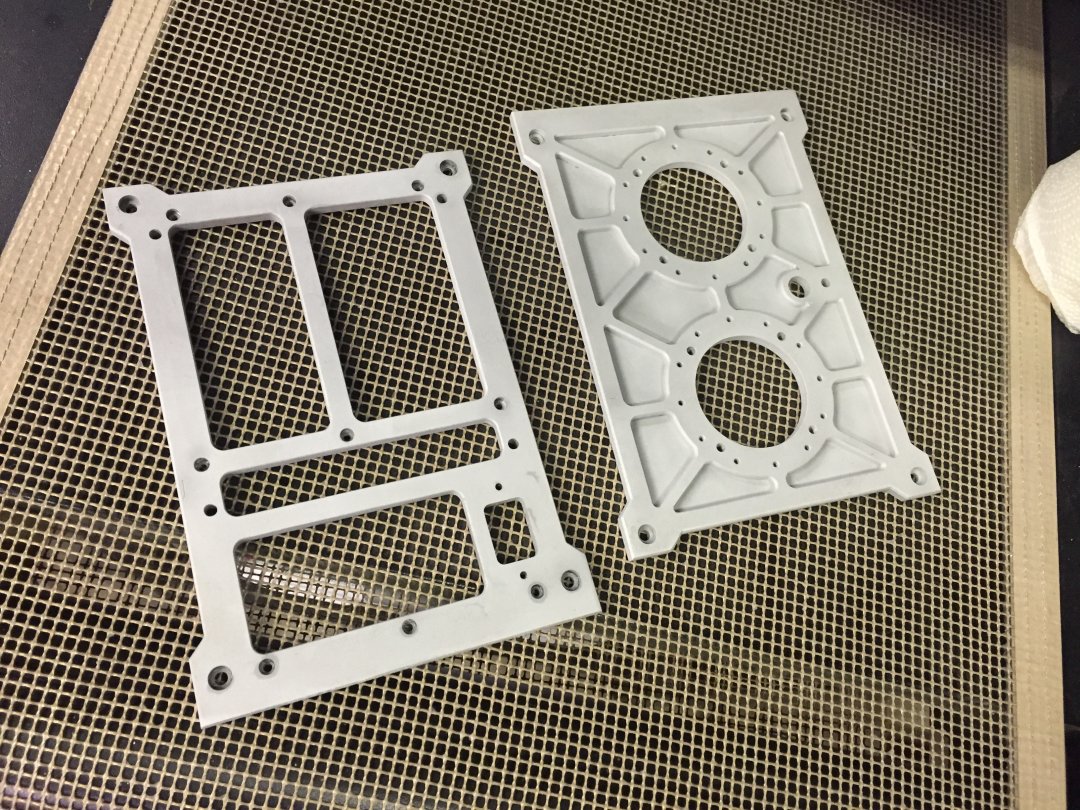
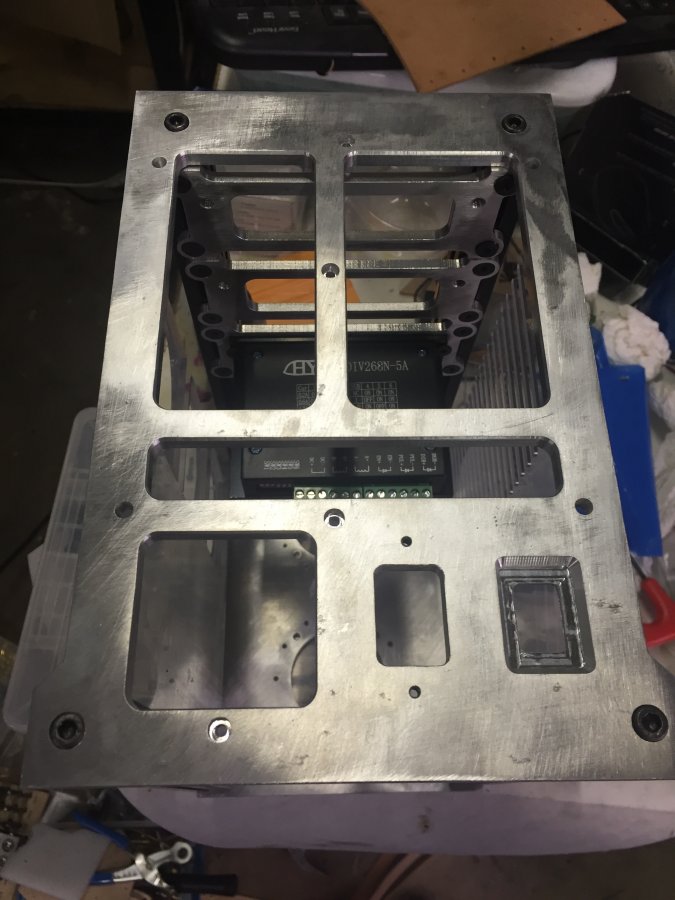
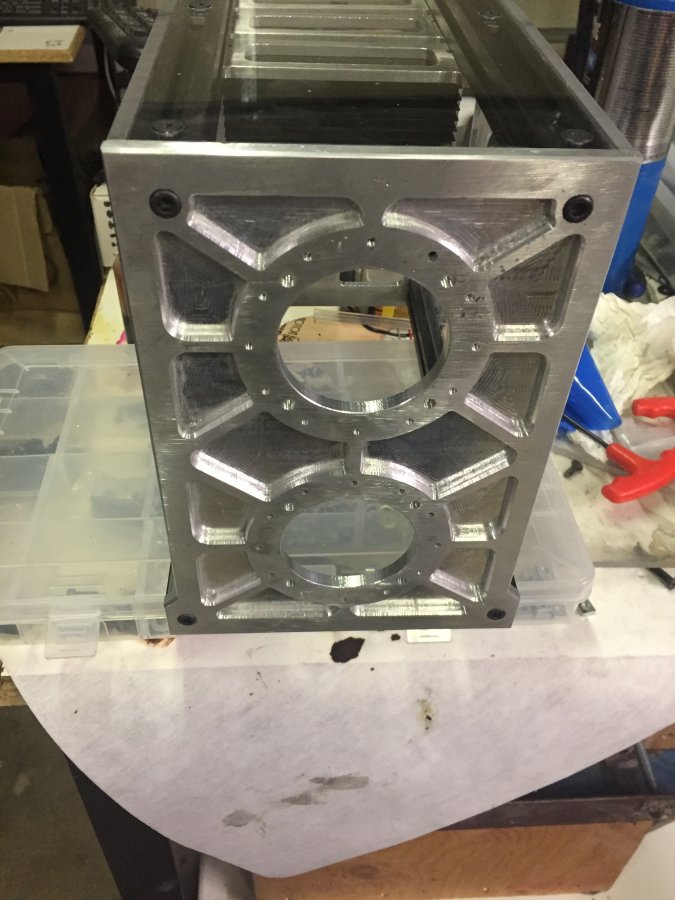
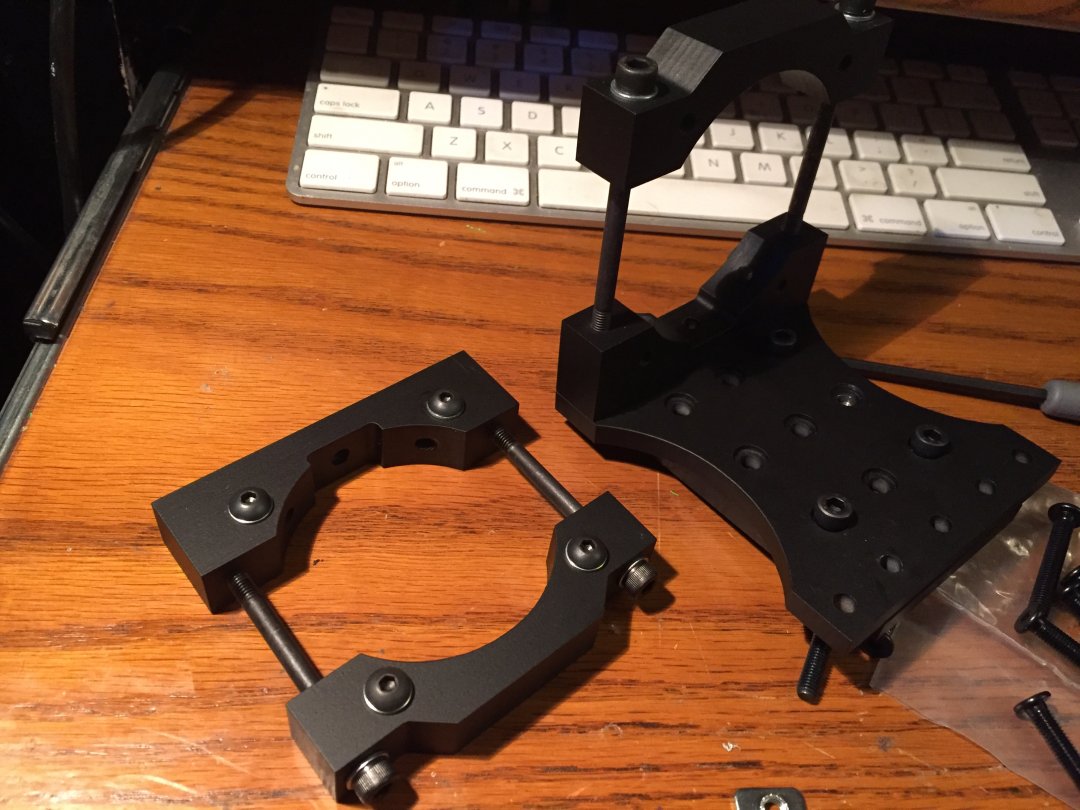
Test fitting the parts together


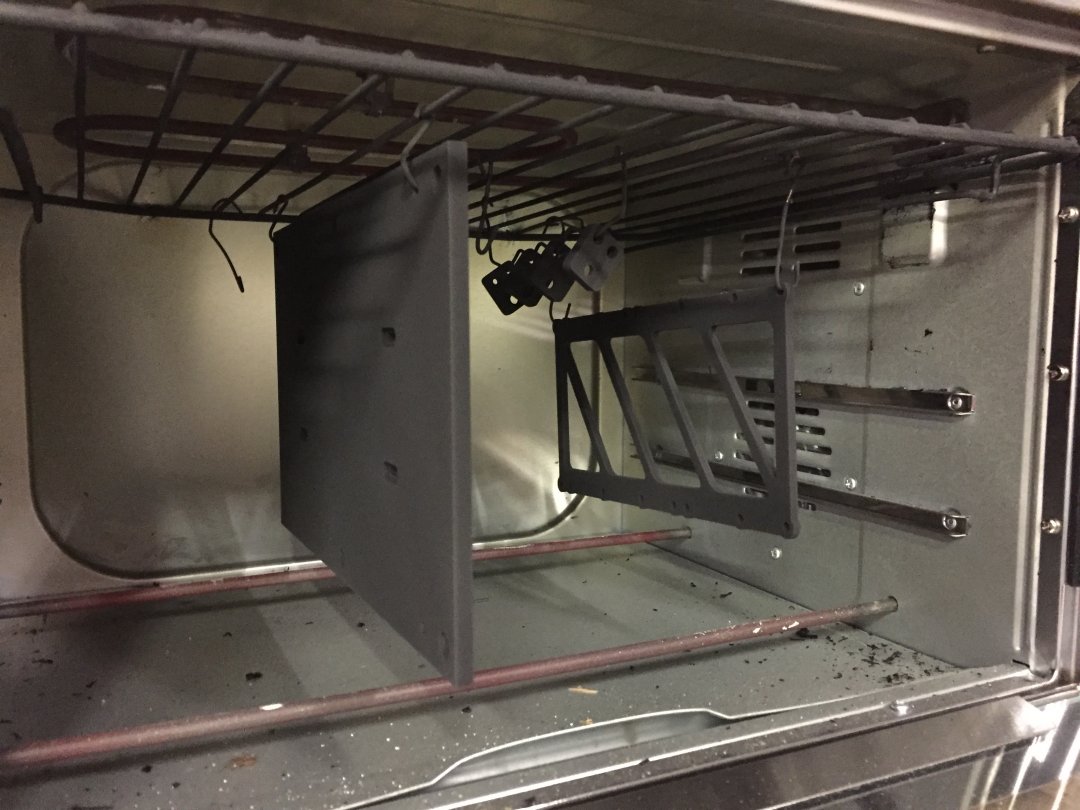
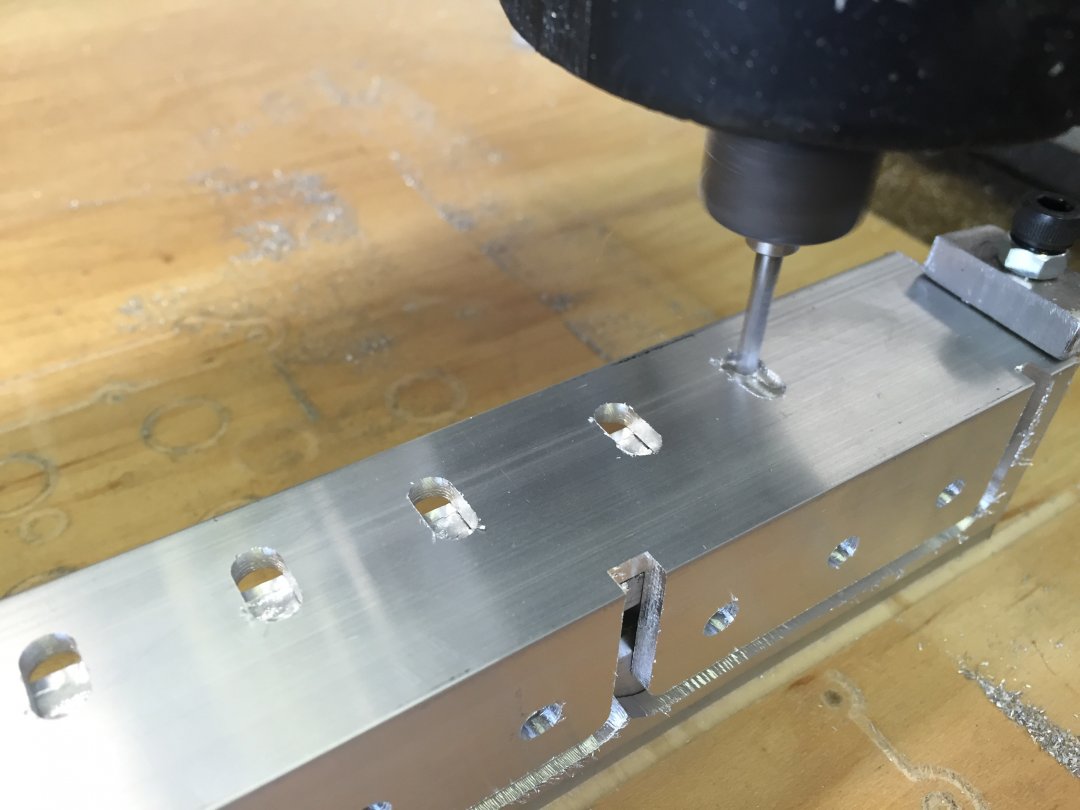
The best investment I ever made was a cheap harbor freight powder coating gun and a pizza sized toaster oven from walmart. So much better and easier than painting, but if you blow it, that stuff is HARD to get off!
1500 Build
The original design was to be able to use a limited number of unique parts and create a design that is modular and can be nearly whatever size you need it to be.
I built this one around a 1500x1000mm design and another one to be 750x750mm. The original design is built like a tank, but at the same time very fast. I learned a lot from this build and incorporated those lessons in the 750 build and then retrofitted those lessons learned on the 1500
Some notable improvements:
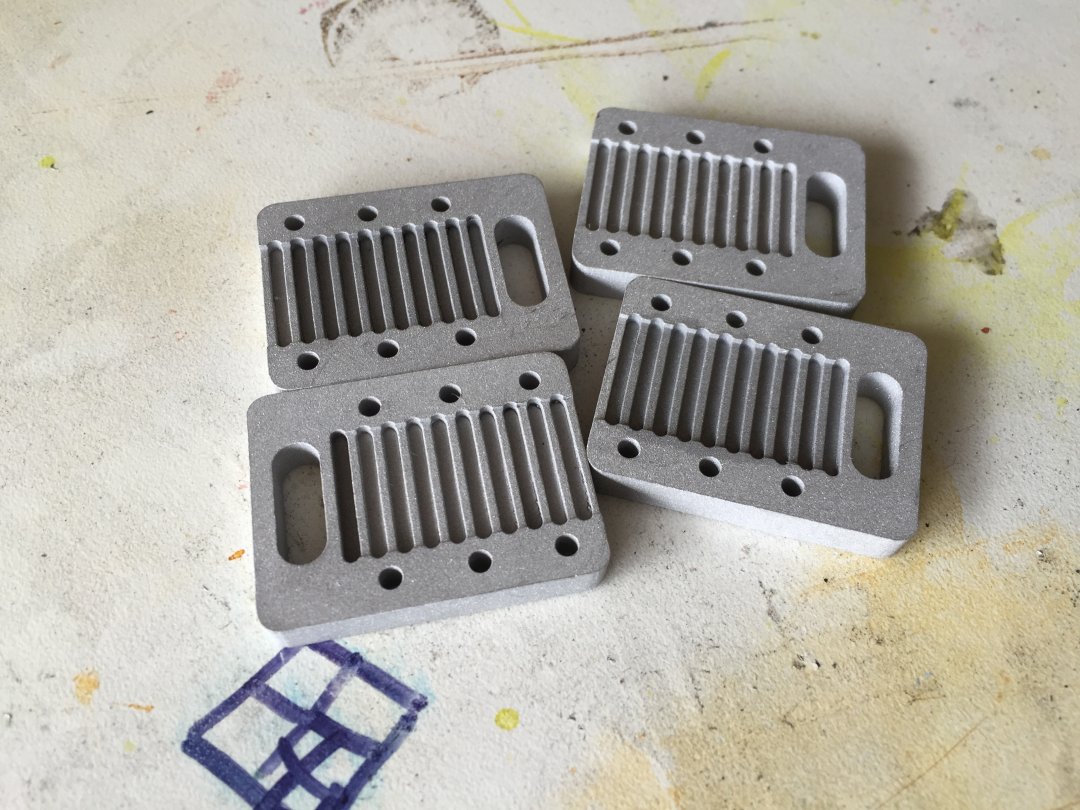
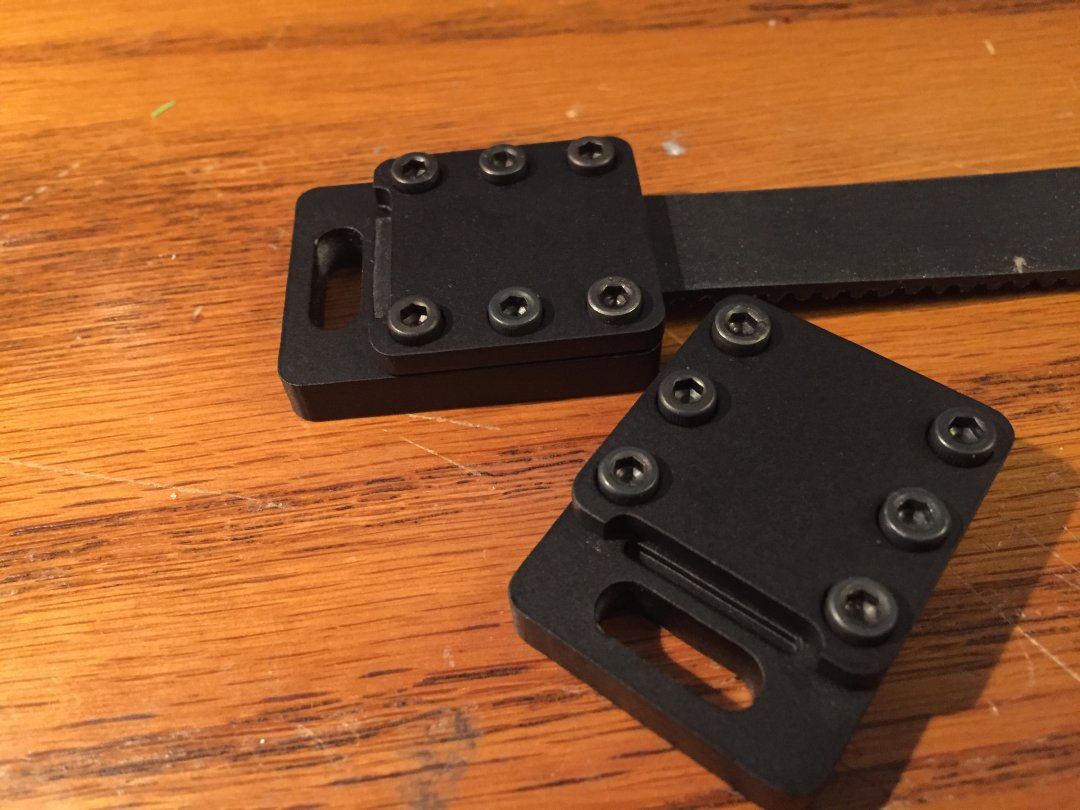
- Designed spacer block on top and bottom of X axis plates to ensure rigidity and consistent spacing
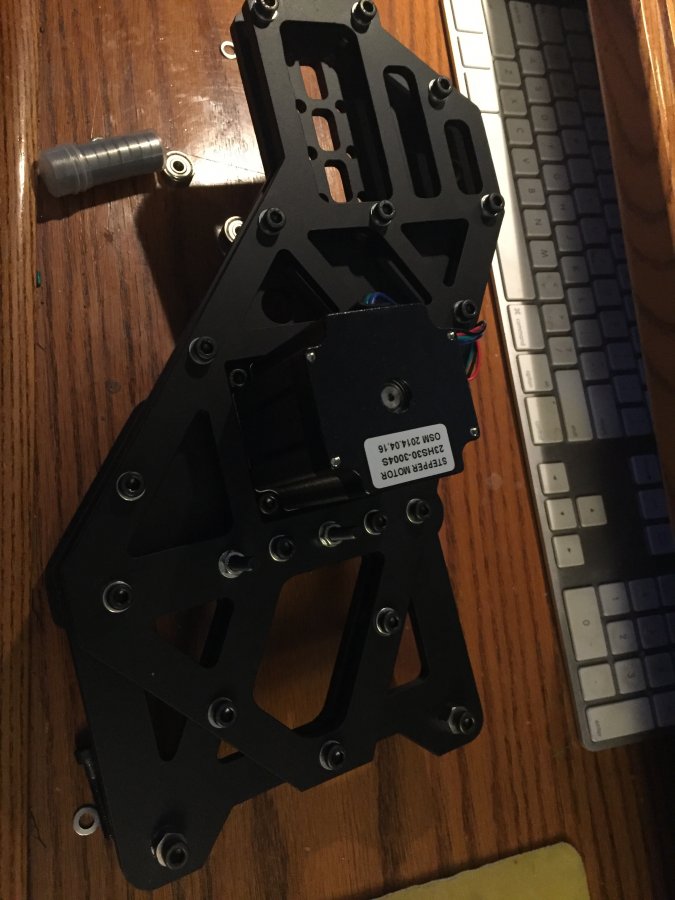
- when with 3 wheels on top of y plates rather than 4. the gantry is heavy, but not that heavy.
- Modified the belt clamps, and will still do one more iteration with a screw drive for tensioning the belt
- minor tweaks to the torsion box
- Flanged bearings are the greatest thing ever created and I now use them on the belt roller bars


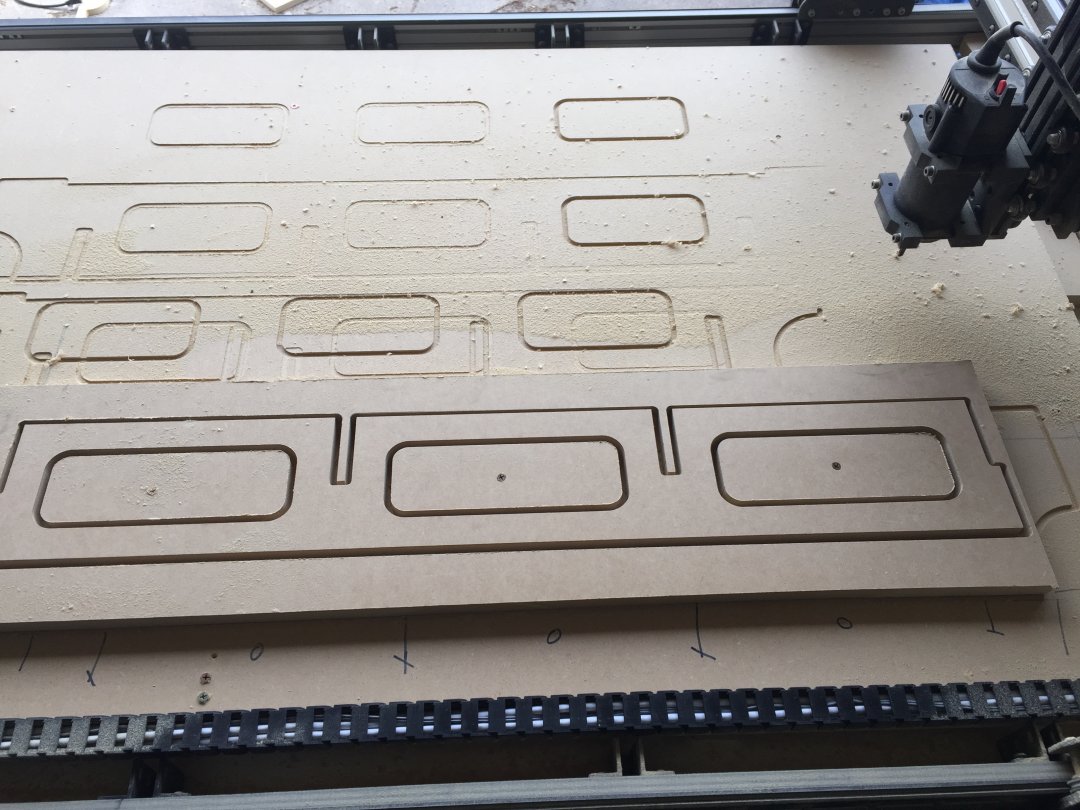
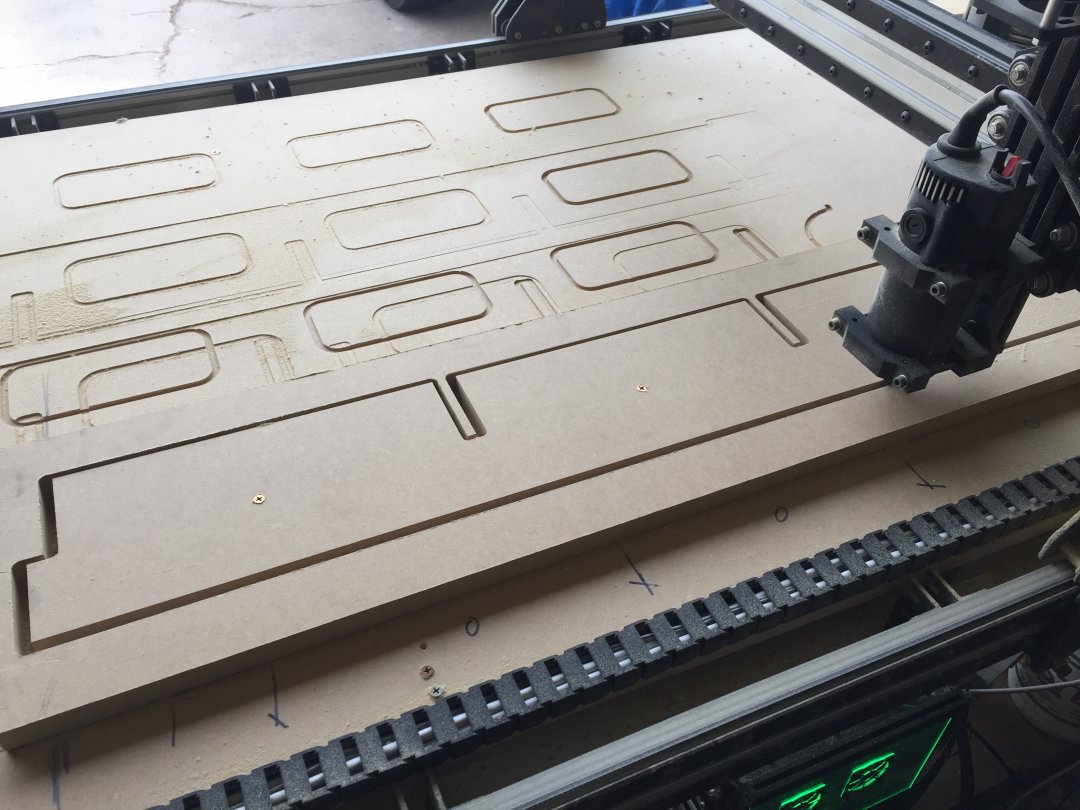
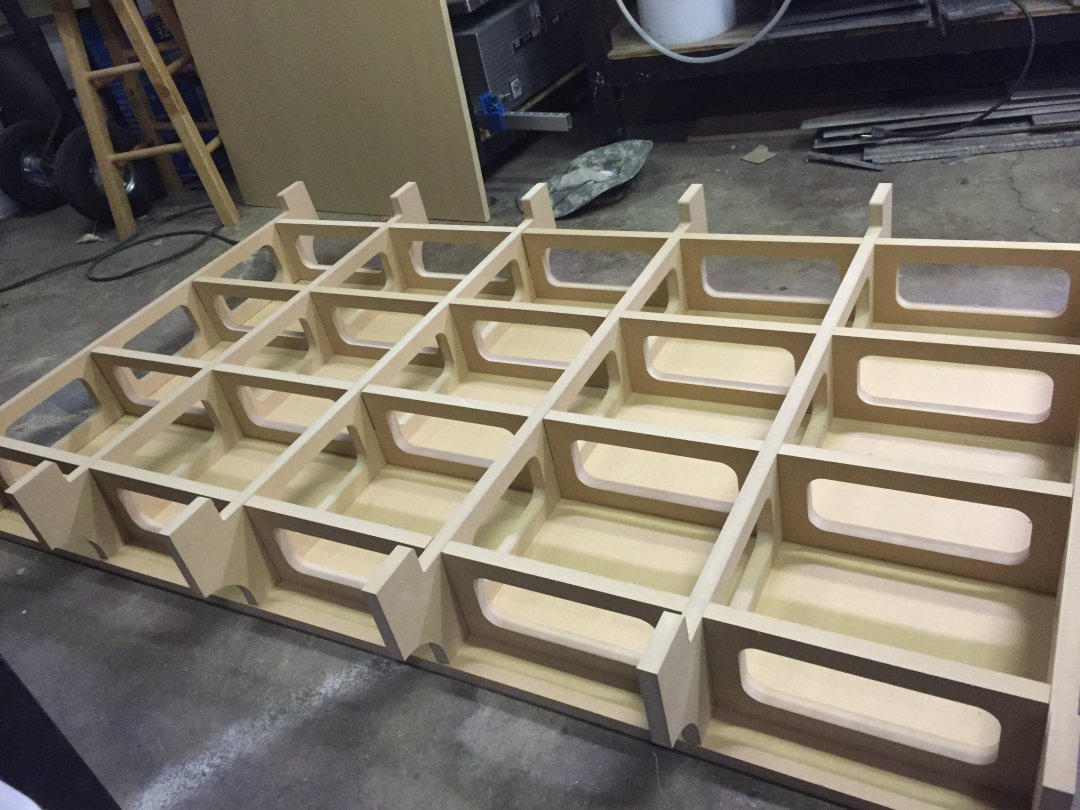
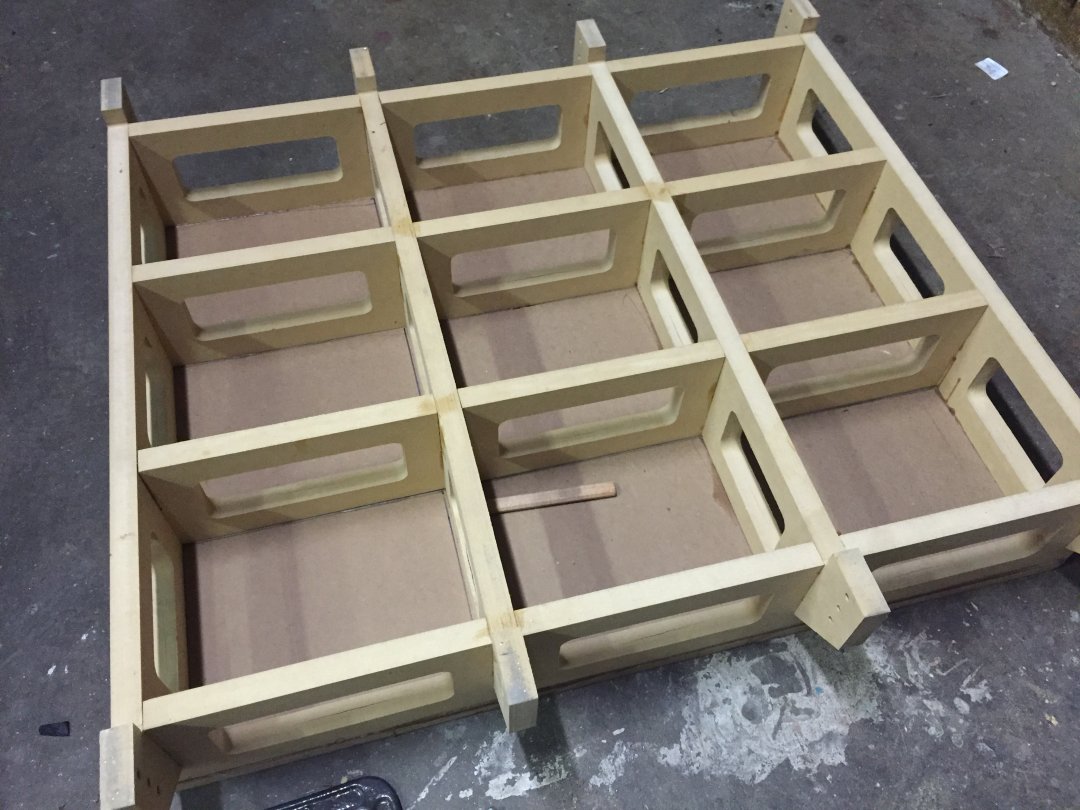
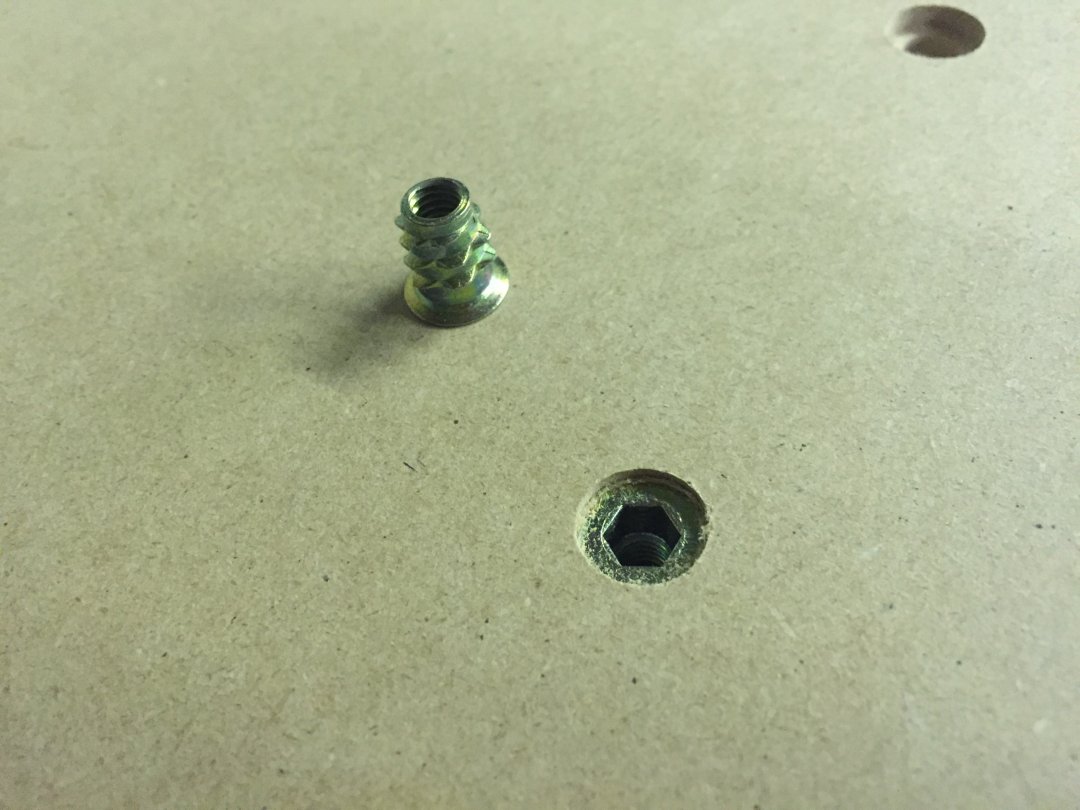
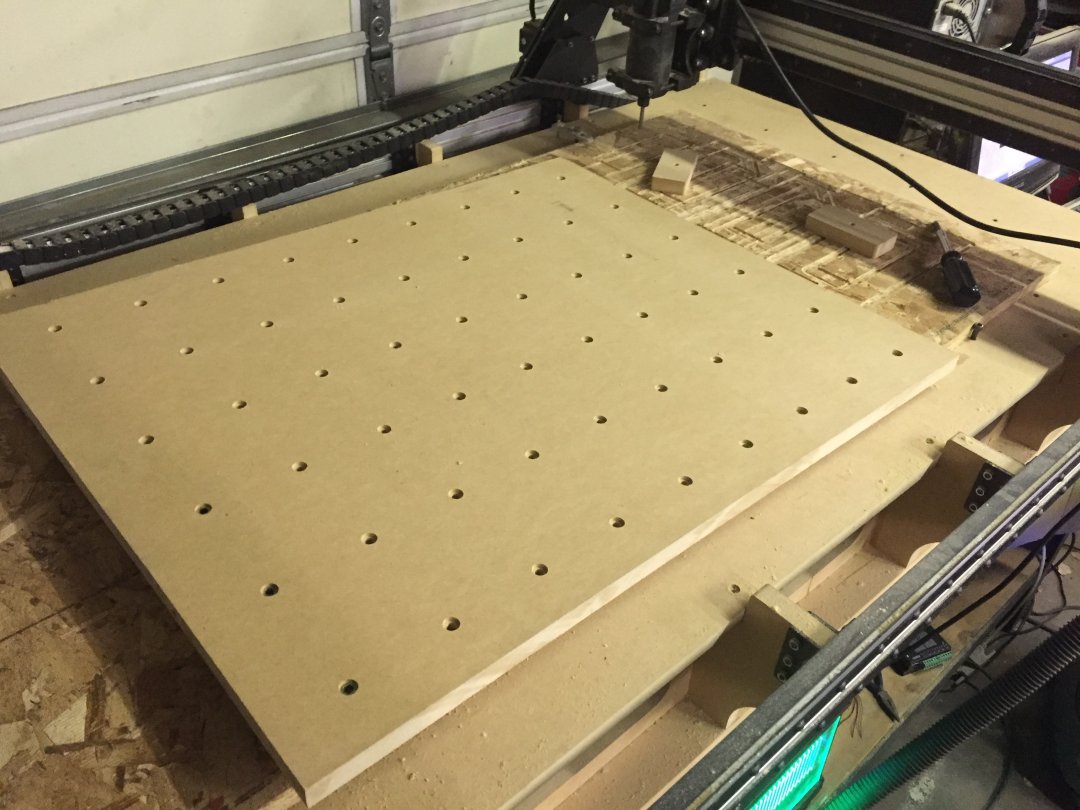
The Torsion Box
The torsion box is made of 3/4 MDF with M6 threaded inserts in the deck. For the 1500, I glued the deck and all of the ribs down, and for the 750, I decided to glue the bottom and ribs of the box, but use countersunk screws for the deck just in case it gets damaged and I need to be able to replace it. It is still amazingly strong even not being glued.
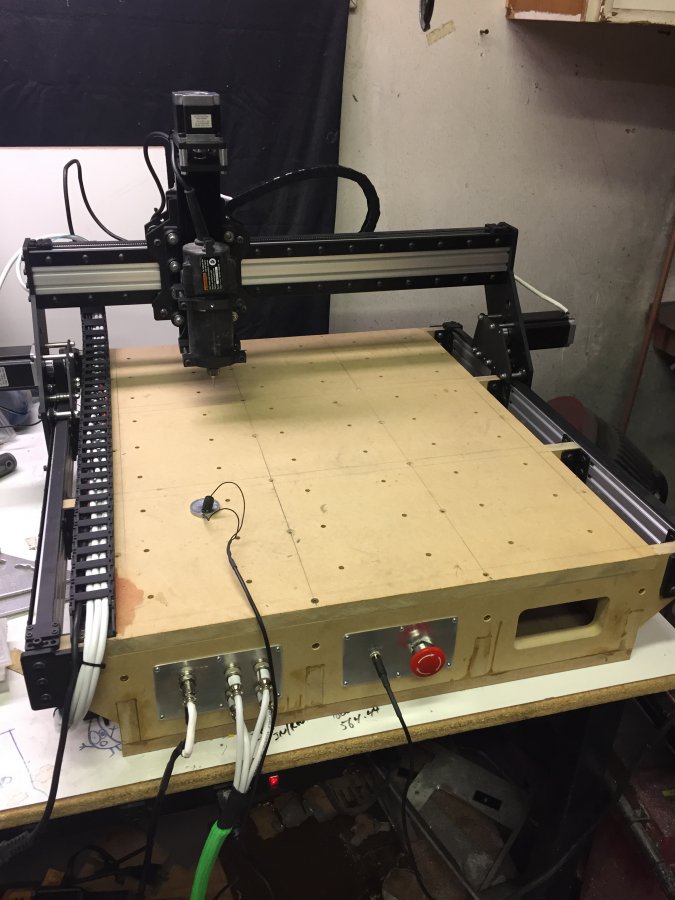
The Finished 750 and 1500!
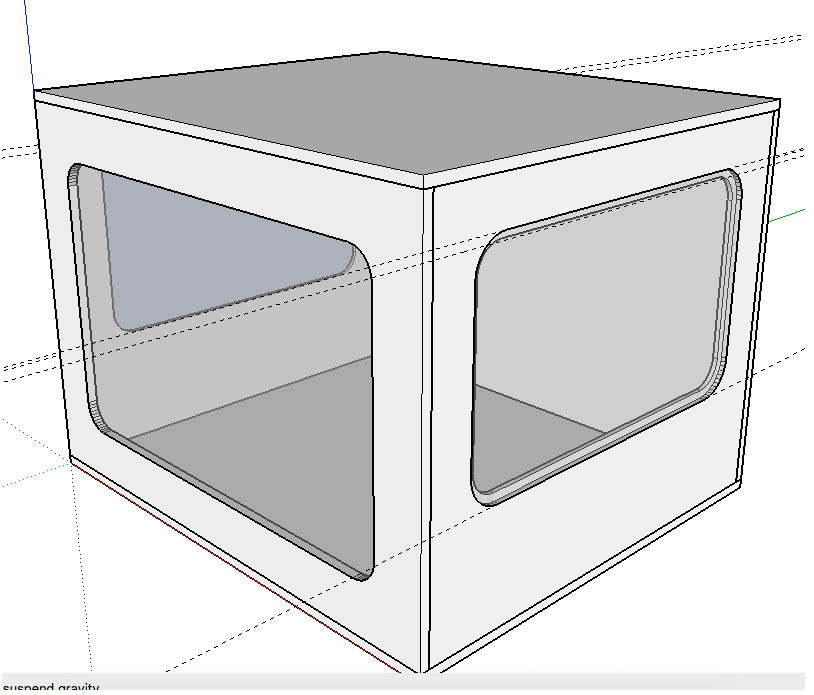
The Future:
Now that I have a working tabletop router and can cut again, some of the first projects are a lighted dust shoe with laser alignment guides and an enclosure to keep the mess and noise down.
Black Rabbit 1500
Build in 'Cartesian Style CNC' published by Dexter Oddwick, Sep 2, 2016.
This is a router that I designed that is loosely based on the Openbuilds Ox, but designed to be heavy duty, rigid, and yet quick and agile.
-
-
Build Author Dexter Oddwick, Find all builds by Dexter Oddwick
-
- Loading...
-
Build Details
- Build License:
-
- CC - Attribution NonCommercial - CC BY NC
Reason for this Build
I needed a heavy duty, large format router, but at the same time cost effective and more agile than screw drives. Overall, I like the concept of the OX, but I feel that it has some limitations and weaknesses, so this was designed to correct those.Inspired by
OpenBuilds OX and Mark Carew


