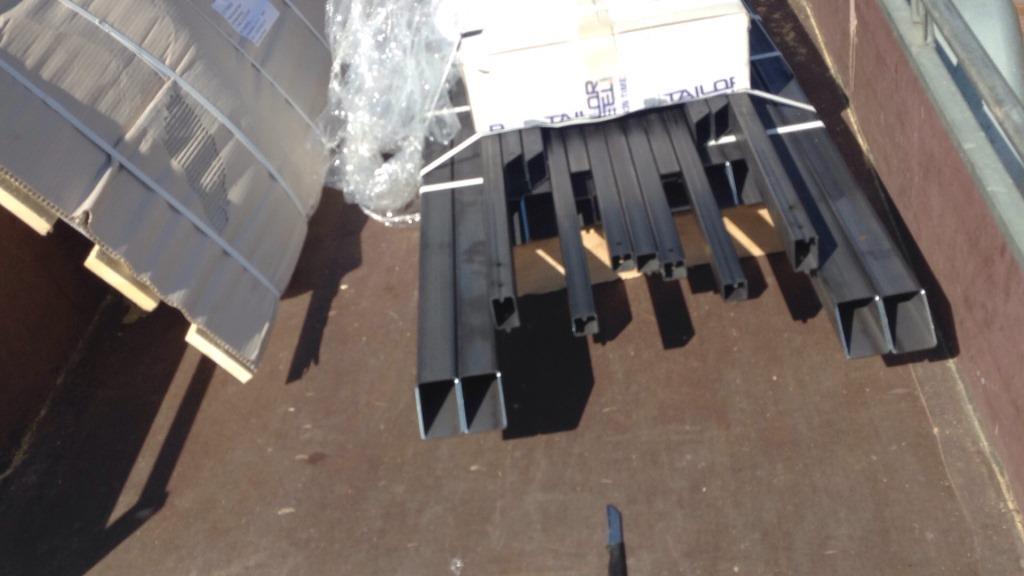
Lasercut steeltubing, this makes welding easy. Tubes are connected by miter joint or tab and slot style, so you only had to check for squarness when welding and no ruler needed. On the left side, still packed, are the aluminium housing plates
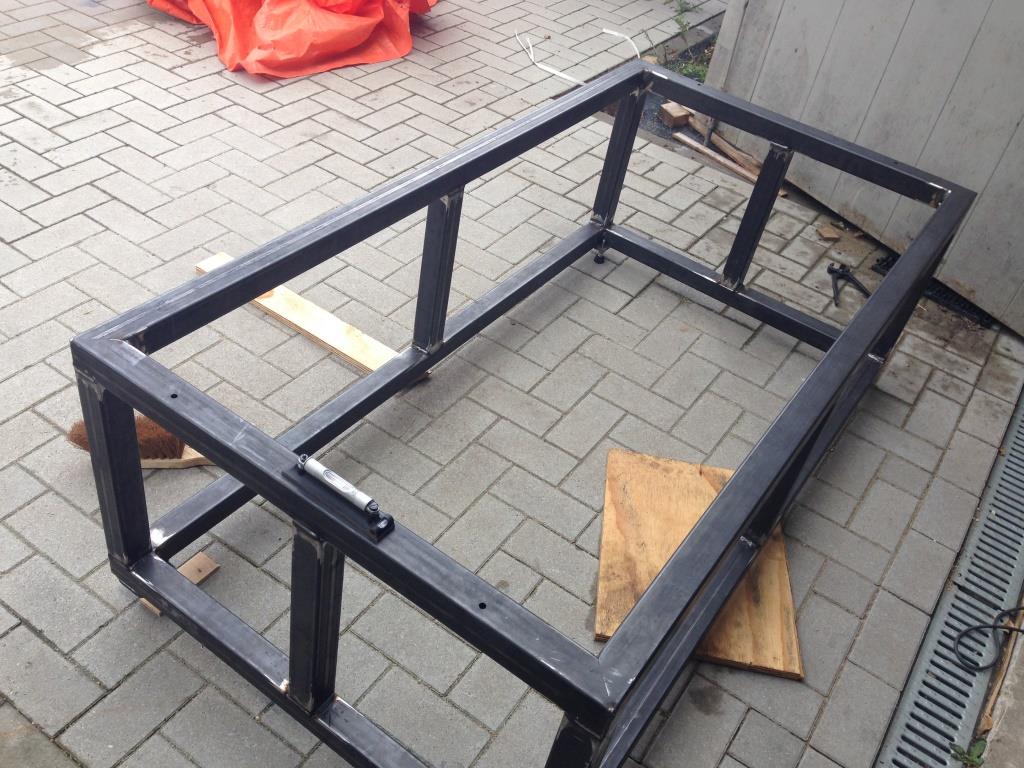
The complete frame will consists of a upper and lower part, for easy transport. Here we see the lower part including its 4 adjustable screw feets. Weighs around 35 kg and made of 50x50x2.5[mm] tubing
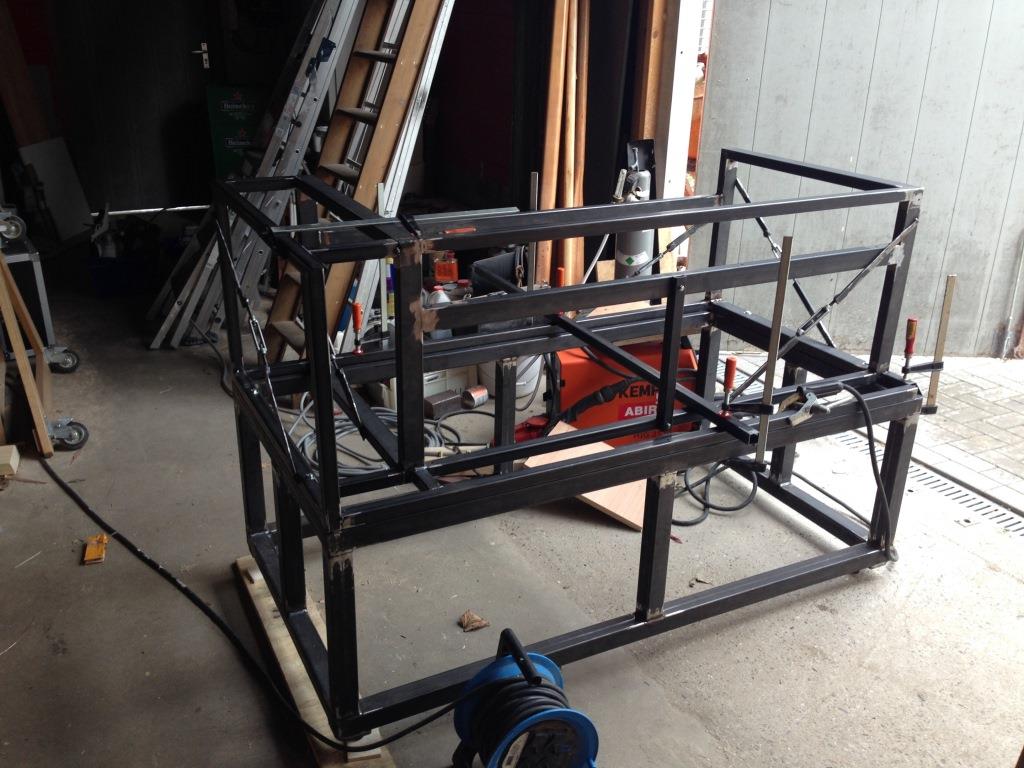
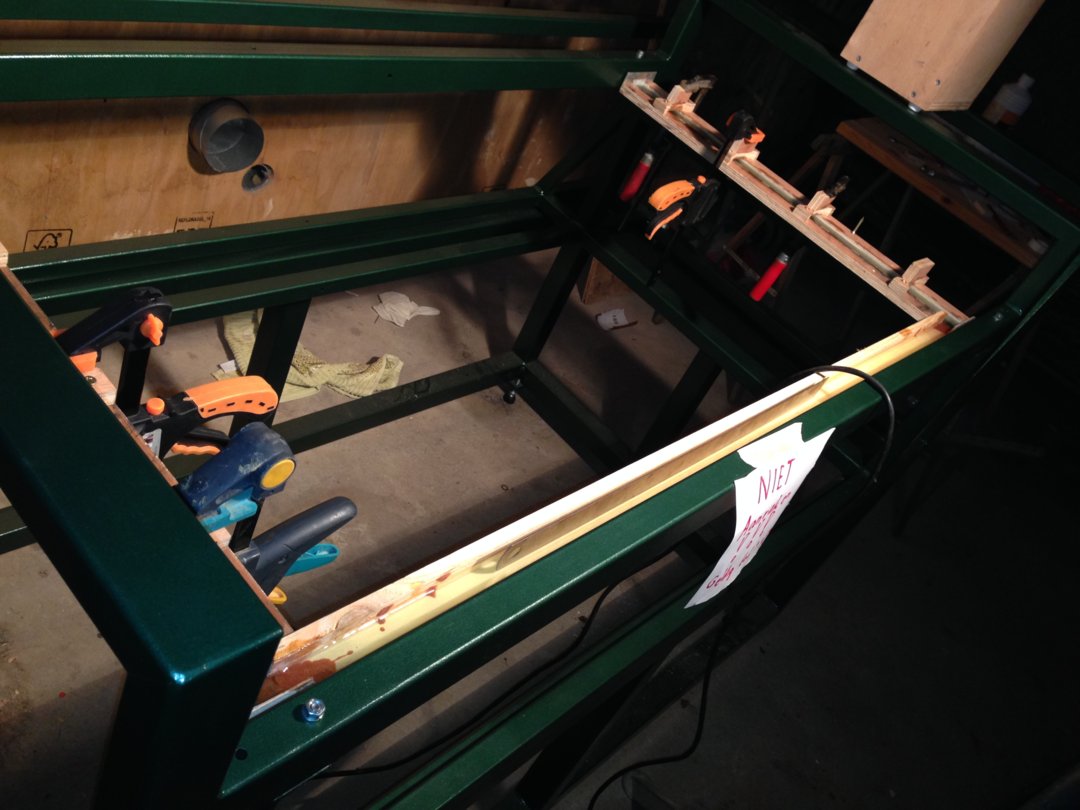
construction of upper frame while placed on the lower frame. The diagonals are temporary and are adjustable. During welding you can adjust it every now and then to keep things as close as possible to square.
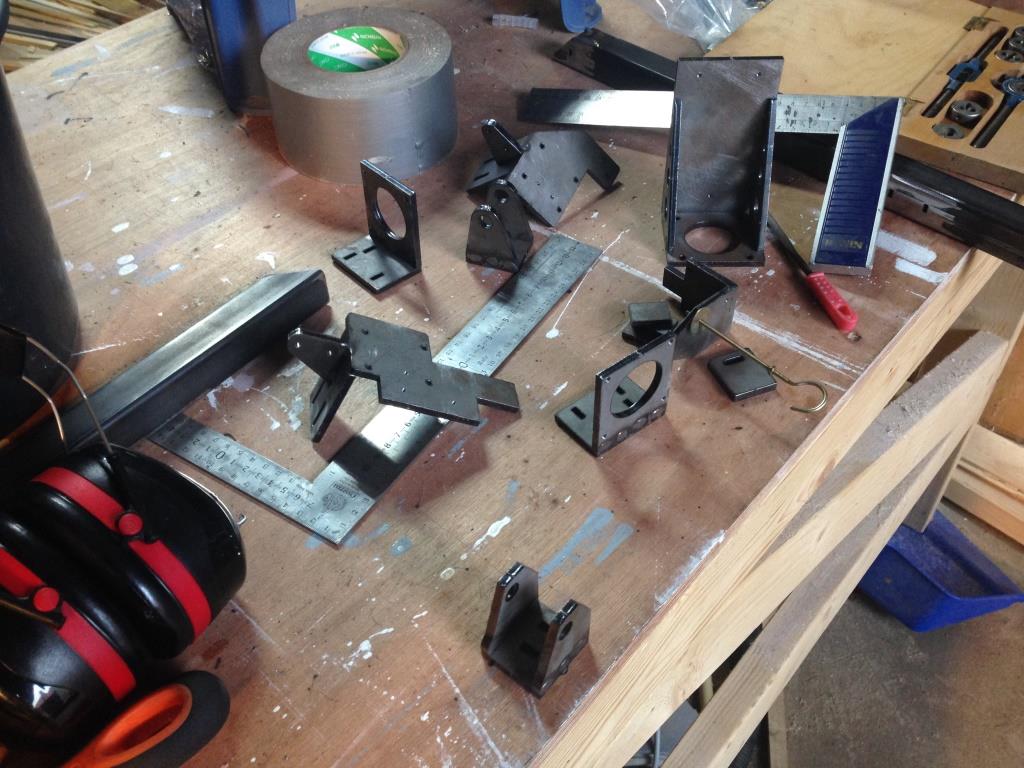
Some welded mechanical parts, like motormount for x and z axis. The parts turned out quit strong and could only bend thim with a hammer
angle iron. These will form the support of the y-rails.
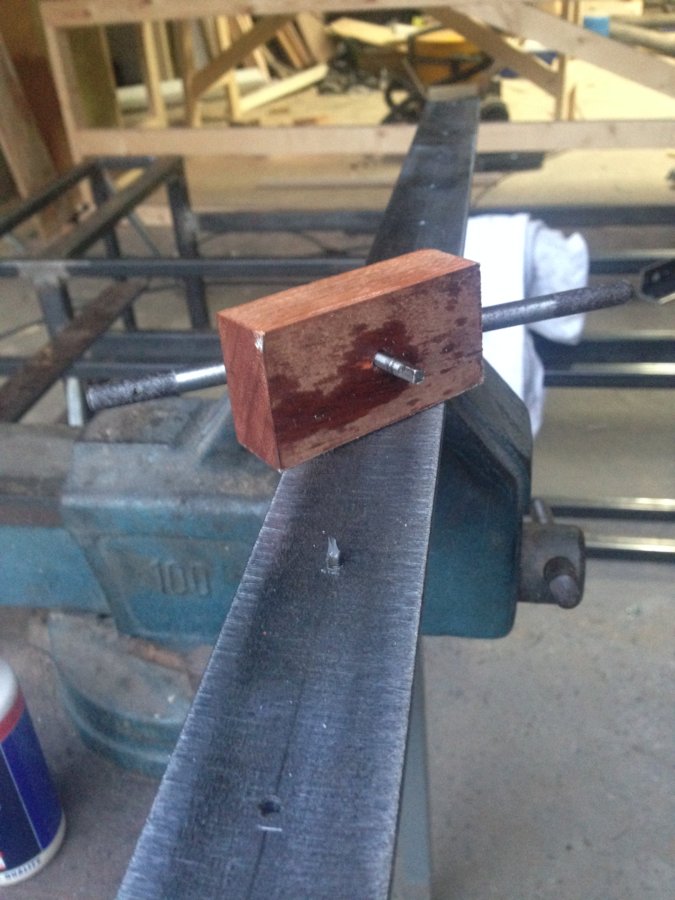
the two angle irons are connected with a temporary bridge of wood and dams are made, then filled with epoxy that looks like water to get the mounting surface of y-rails in same plane
![80watt Lasercutter, workingarea 105x52[cm], steel frame](https://openbuilds.com/data/article_images/l/6/6014.jpg?t=1513166610)
80watt Lasercutter, workingarea 105x52[cm], steel frame
Build in 'Laser Cutter Builds' published by sybren, Dec 13, 2017.
I will write a short buildlog here with mostly pictures. I designed this lasercutter in solidworks(not totally finished) for a good overview and such that the steel tubes could be lasercut by a company, the metal frame is based on the lasercutter the KÄSER, which you can find on cnczone.nl. The mechical parts are designed by myself because I had no mill to my use, so the mechnical parts are lasercut(same company as tube) steelplates welded together.
-
-
Build Author sybren, Find all builds by sybren
-
- Loading...
-
Build Details
- Build License:
-
- CC - Attribution - CC BY
Reason for this Build
wanted a lasercutter for modelbuilding(private use)Inspired by
KASER and many more on the internet


