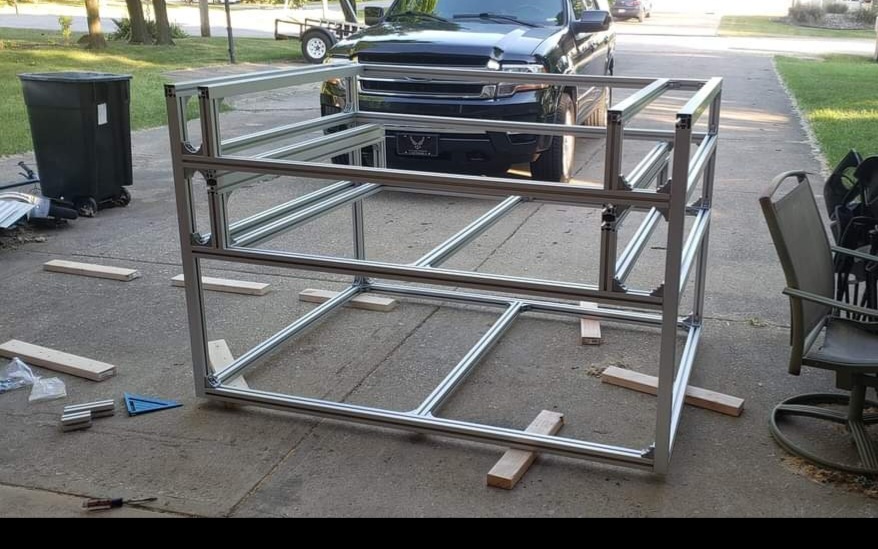
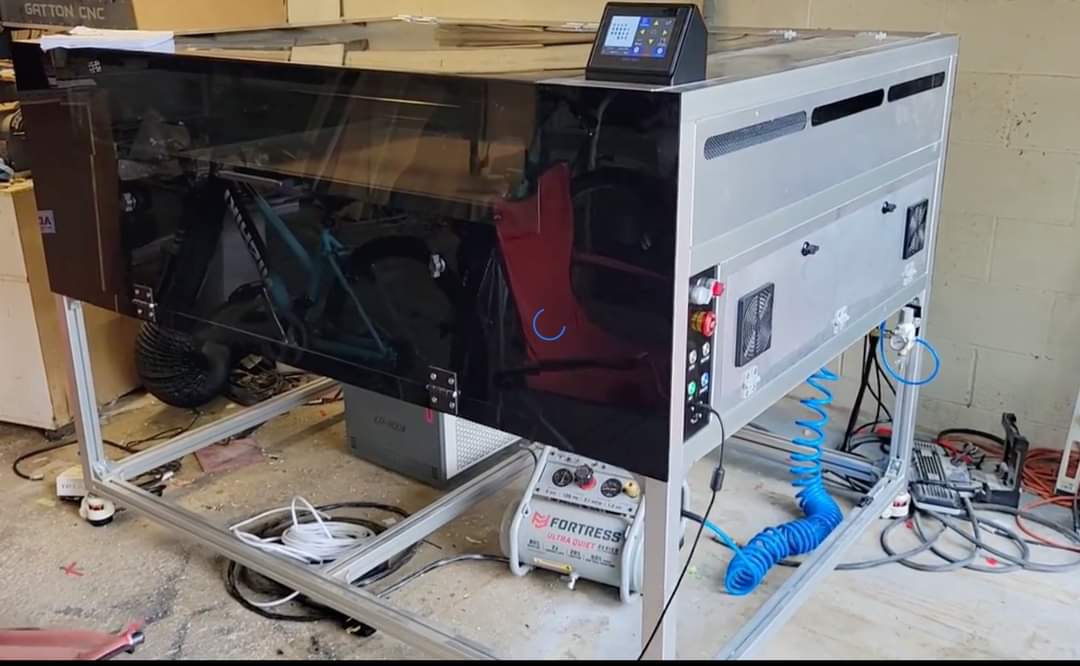
[GALLERY=][/GALLERY] The frame is made from very rigid 45mm aluminum extrusion, ordered cut to size from Misumi.
I had side and inner panels made from aluminum at a local fabricator using the dxf files in the build plans.
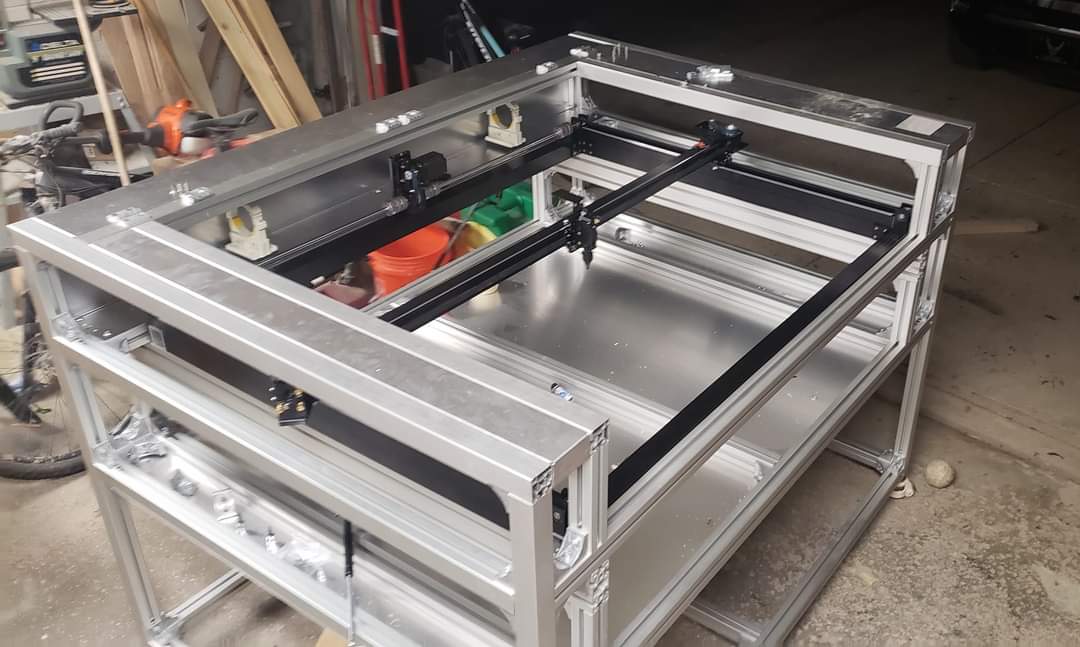
The gantry is a drop in gantry purchased from Light Object.
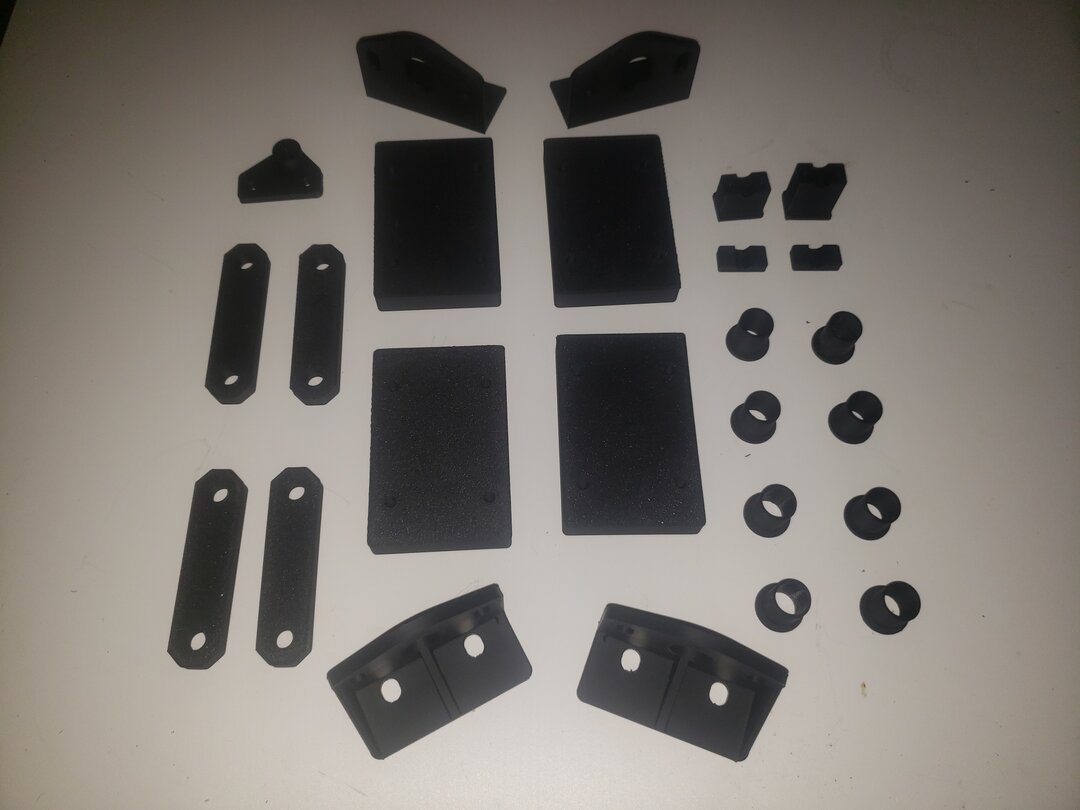
To mount the bed to the Z drive, I cut aluminum mounts on my Gatton CNC router. Other bushings and supports were printed on my 3D printer. again, all dxf files are in the plans.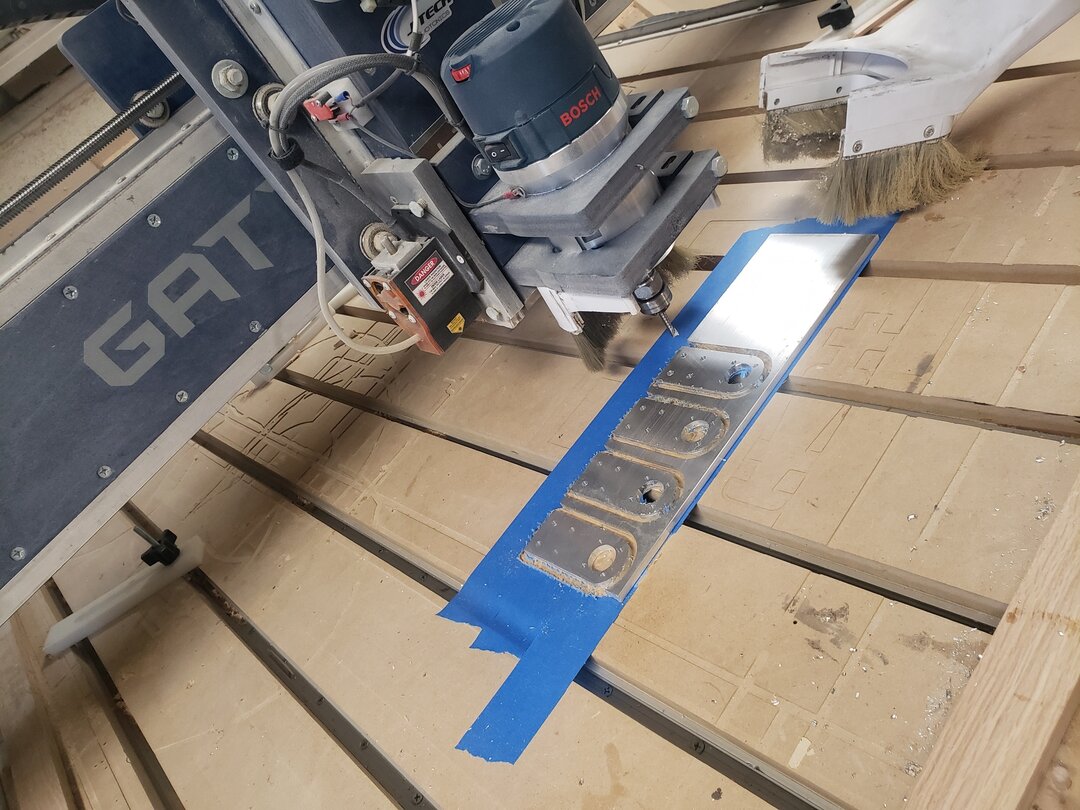

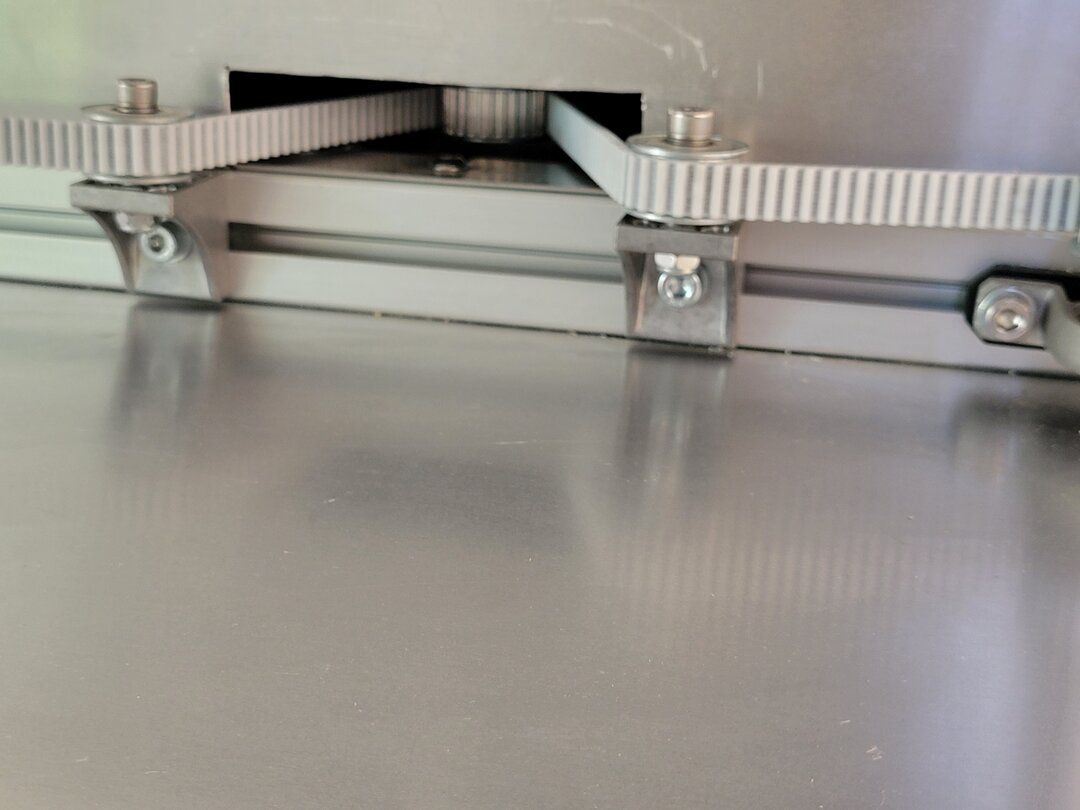
The bed uses 4 lead screws or ball screws, and a 15mm belt. It can be manually moved by hand, orset up with a nema 34 stepper motor. I used the motor and later switched from lead screws to ball screws.
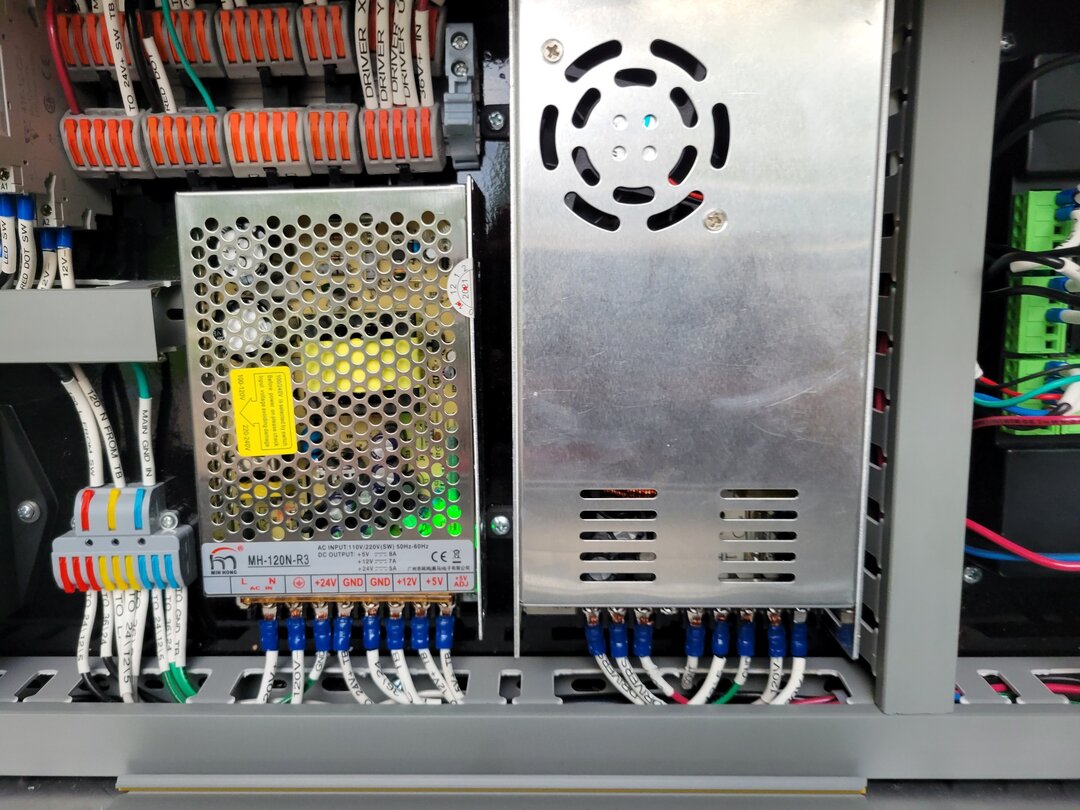
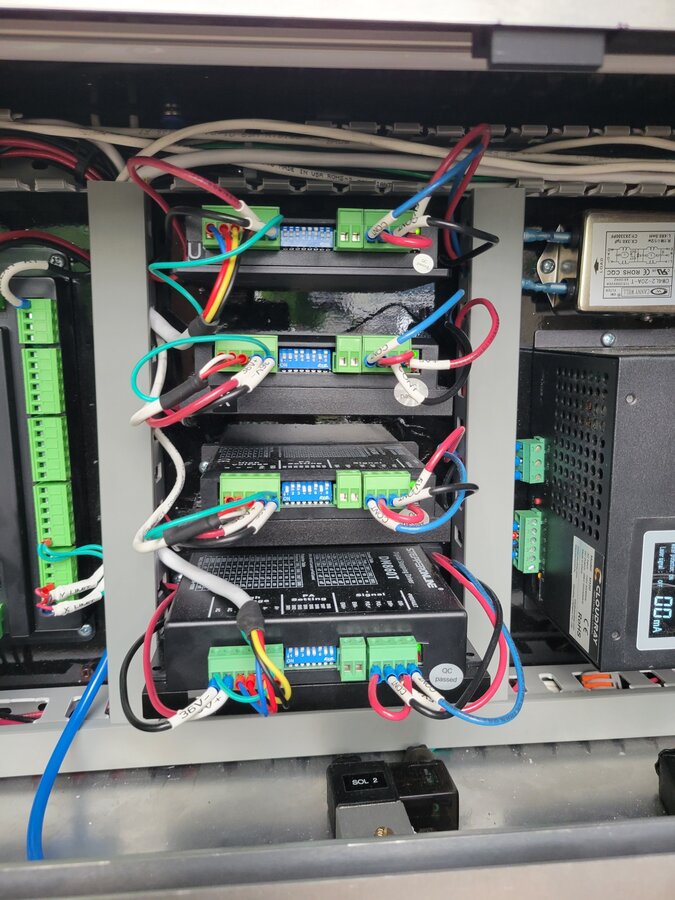
The electronics bay panel layout before installation. the board is just 1/2" MDF painted black and sealed. I'm using a laser power supply from Cloudray, Drivers for X and Y (and nema 17 stepper motors) came with the gantry. I had to purchase drivers for the Z axis and U axis (rotary) separately. I decided to go with a Trocen 7824 laser controller. A 24v and 12v power supplies, Relays for air assist solenoids, water chiller, exhaust fan, air compressor, and a circuit breaker for safety.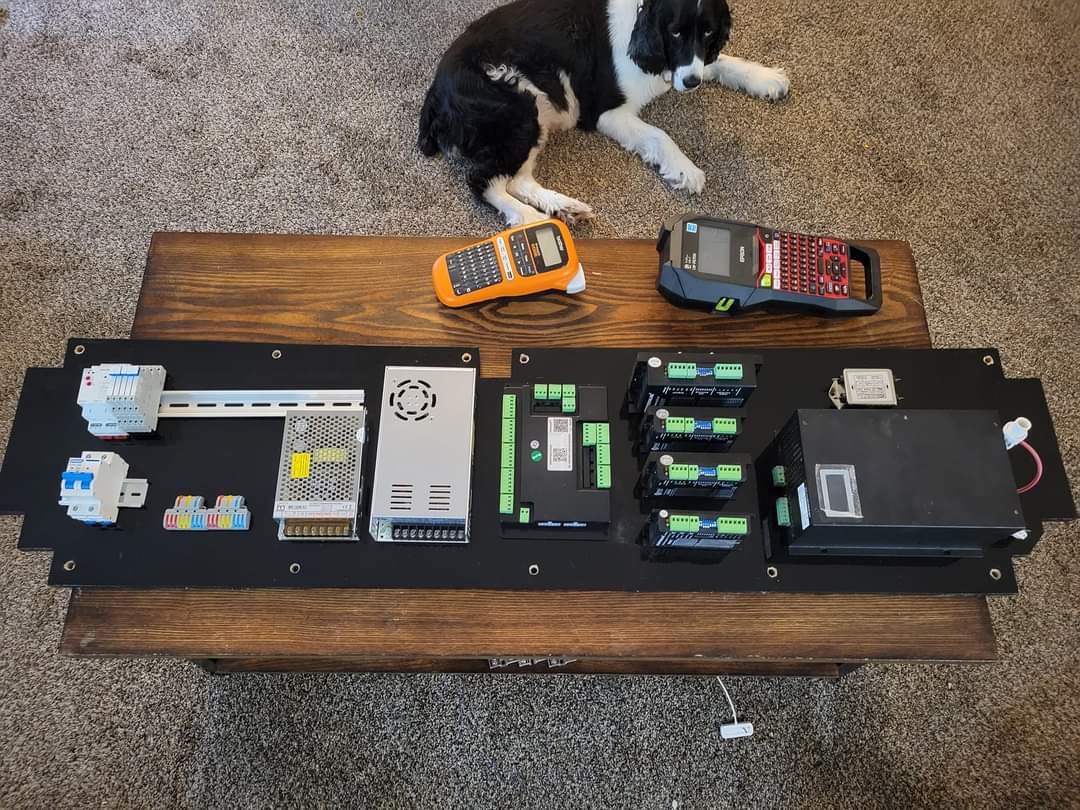
I decided to mount the panel in the electronics bay, then start on the wiring, but much of the wiring can be done on the bench before installing the panel.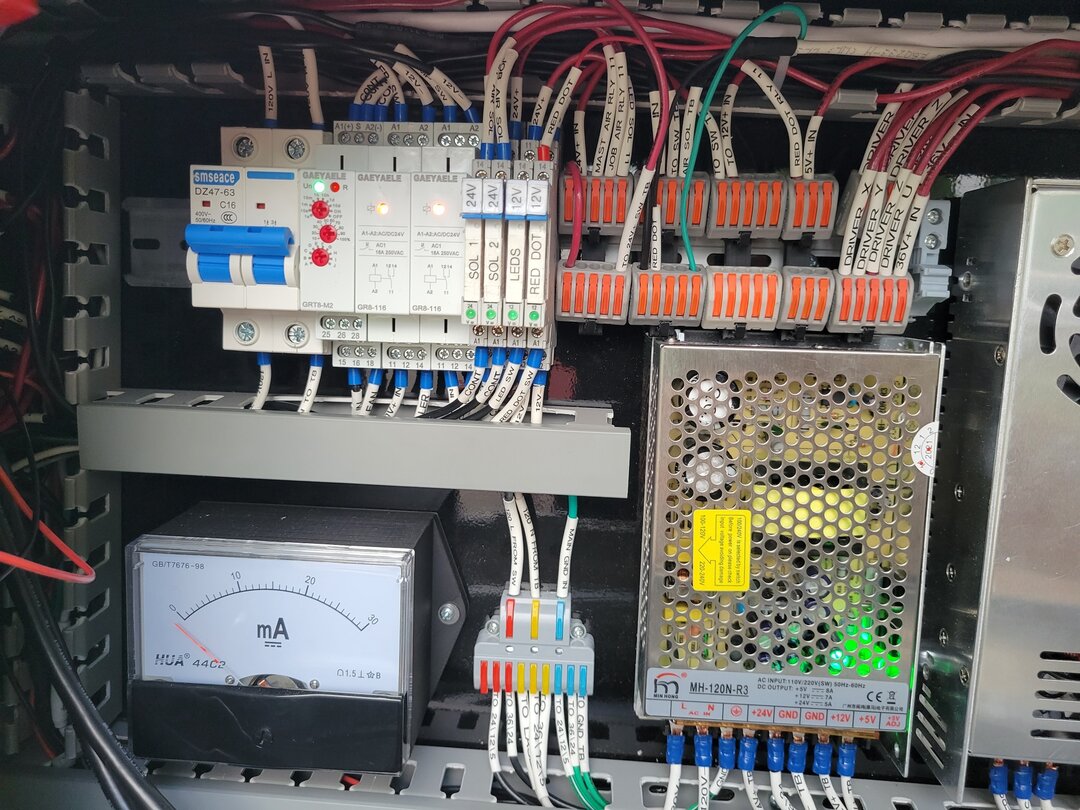

The plans come with a dxf file for a switch panel using toggle switches, but I created a different layout that uses buttons out of black acrylic.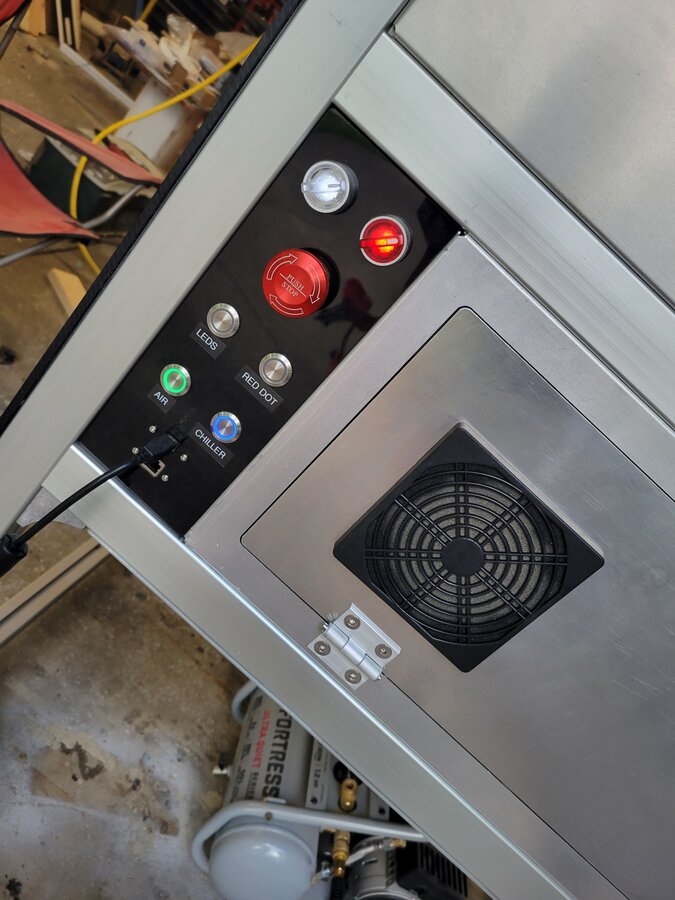
1/4" acrylic panels are also used on the front and top of the machine as well.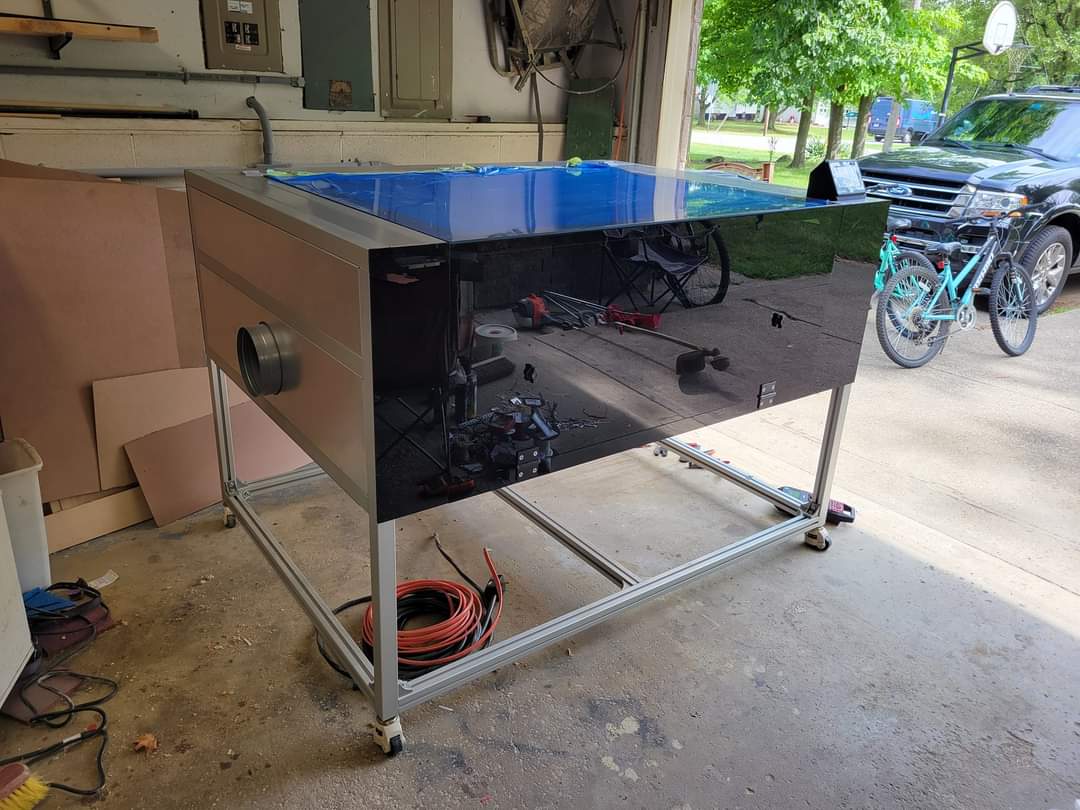
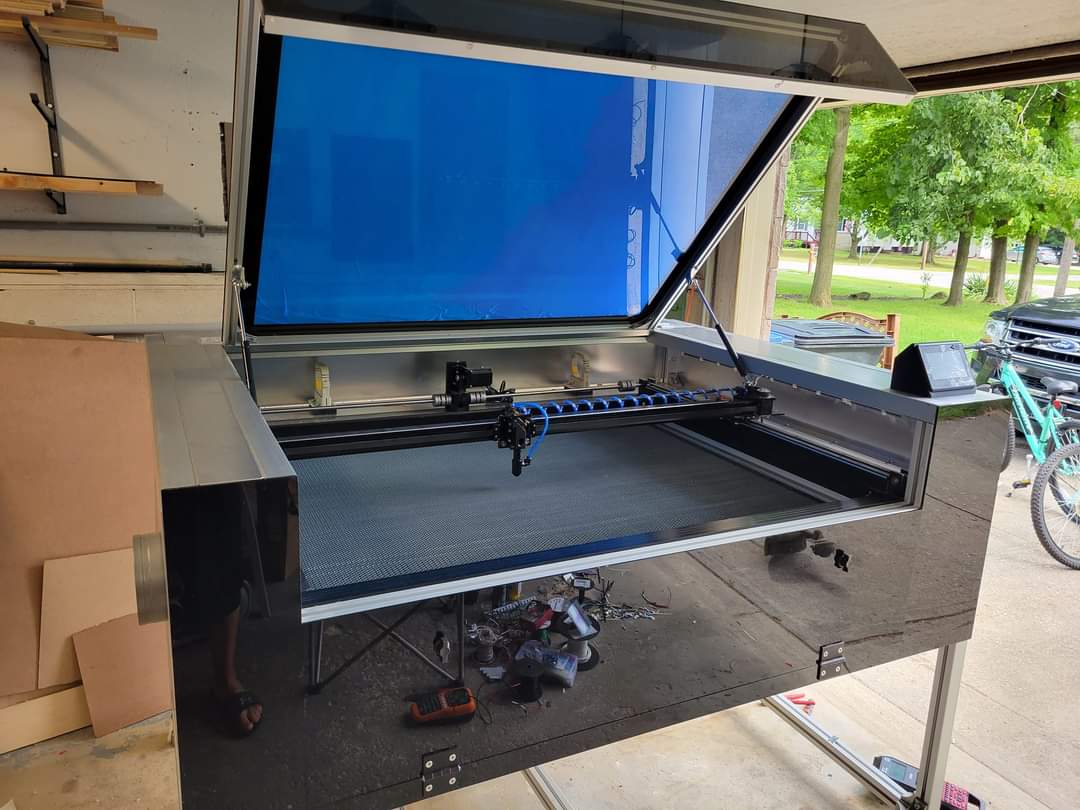
I used a 100w SPT laser tube with built in red dot. that made aligning the laser a breeze.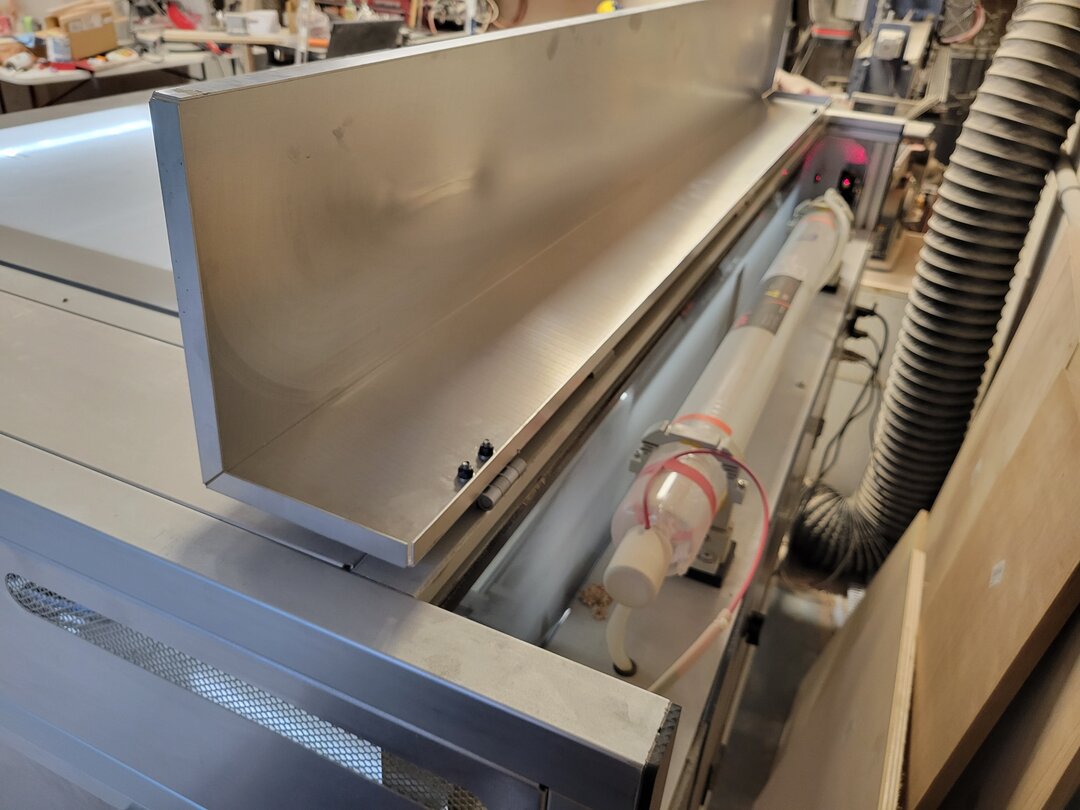
Gotta finish it off with some decals!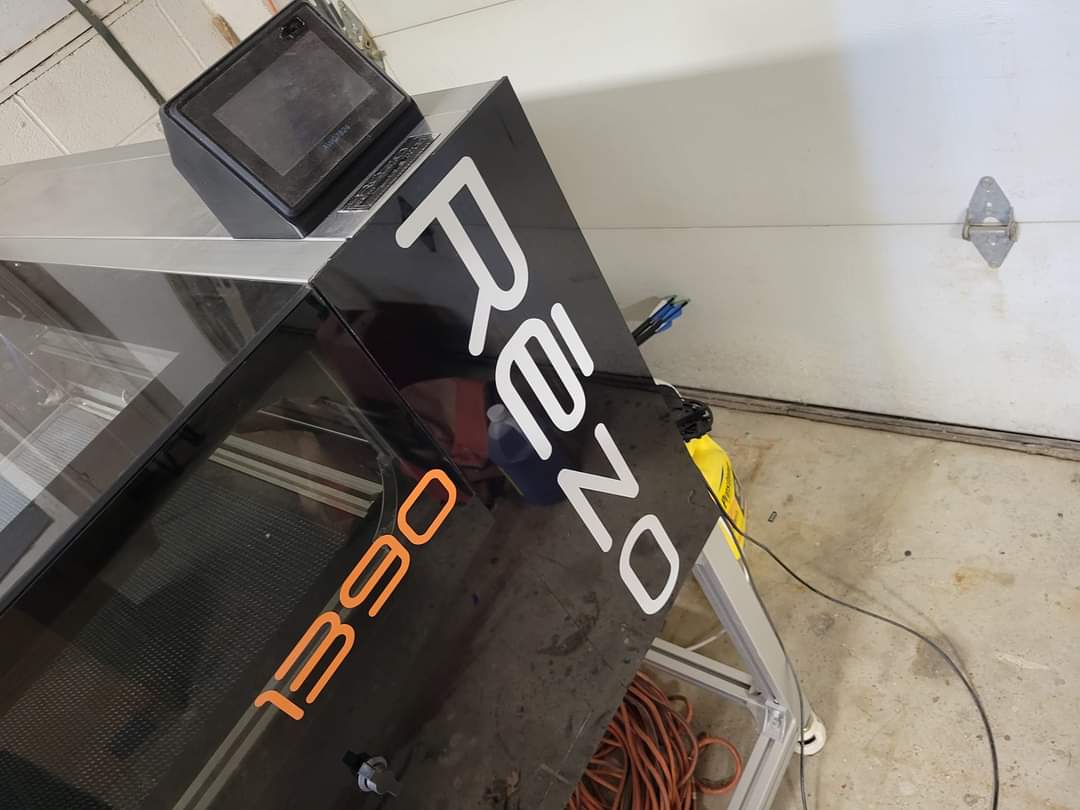
Plans and bill of materials can be found at Rēzo 1390 plans
Rezo 1390 100W CO2 Laser
Build in 'Laser Cutter Builds' published by jaron kennell, Jul 26, 2023.
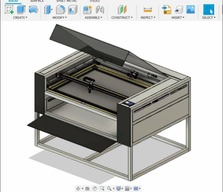
This laser is a beast. Designed by Jonathan Frost, and built with 45x45mm aluminum for ultimate rigidity. It has a 4'x3' bed with a pass through that can be utilized to cut full 8x4' sheets of plywood, and has a motorized bed. Rēzo is not only faster and more capable than lasers like Thunder Lasers Nova 51 and Aeon Nova 10, but the final build costs are 40-60% less than said commercially available machines. Plans can be found at https://rezo1390.bigcartel.com/product/rezo-1390-plans
-
-
Build Author jaron kennell, Find all builds by jaron kennell
-
- Loading...
-
Build Details
- Build License:
-
- CC - Attribution - CC BY
Reason for this Build
I wanted to build a rigid, high quality co2 laser that could compete with and outperform commercial machines. i chose a 100w laser tube for a good combo of cutting and engraving.Inspired by
Designed by Jonathan Frost -
Parts list
Qty Part Name Part Link Comments 1 Plans https://rezo1390.bigcartel.com/product/rezo-1390-plans Link Plans and bill of materials sold by Frosty Designs 0 Link -
Attached Files:
-


