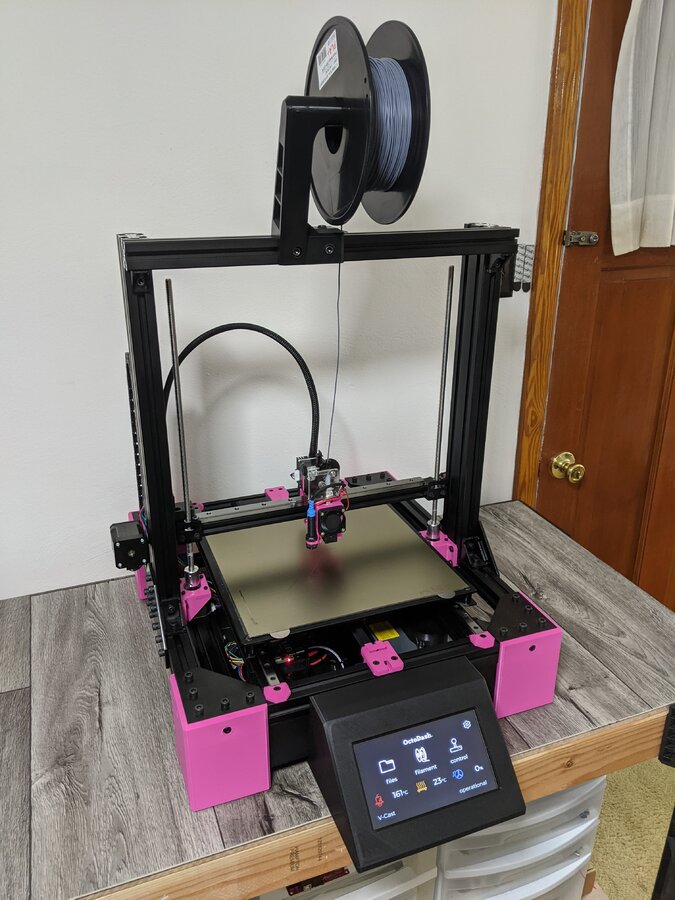
Fair warning, I made this printer from a LOT of different parts. This isn't a "kit" you can buy. That being said, the main frame and design is from RatRig. This is, for the most part, their V-Cast printer.
I will try to go over as much of this as I can. At least as much as I can remember.
Build volume: 300x300x350
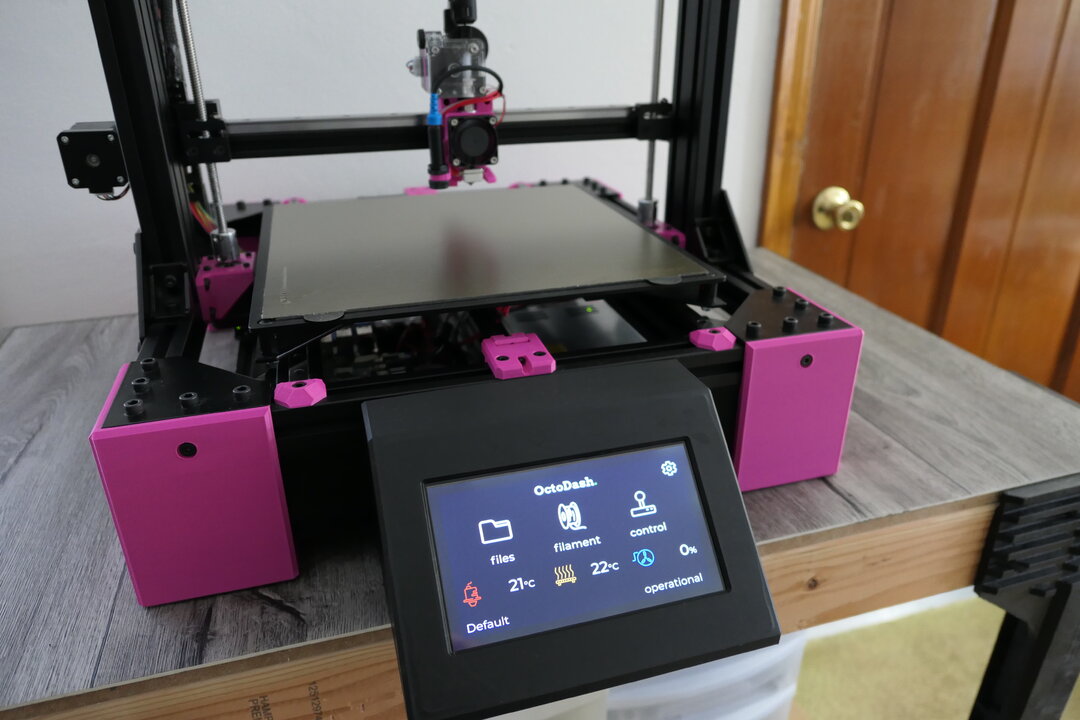
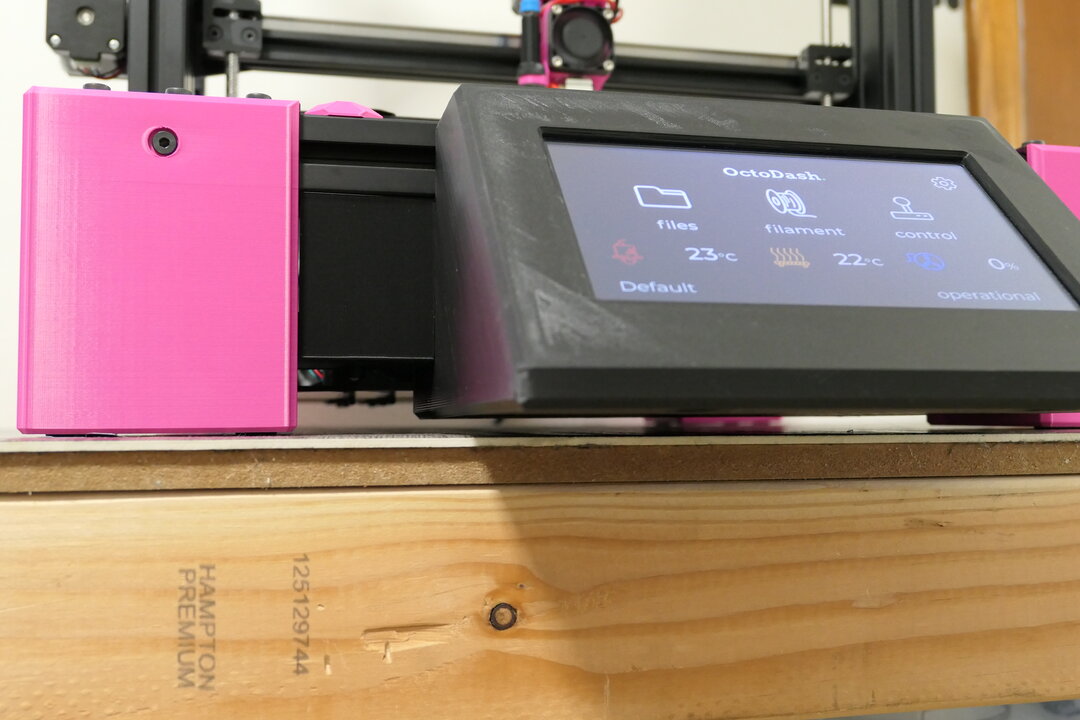
Color was a hard choice. I am making a collection of beastly machines, and they all have distinct colors. Bright blue, UV Neon Green, and now Fuchsia. For the filament, I went with 3D-Fuel's Pro PLA - Island Fuchsia.
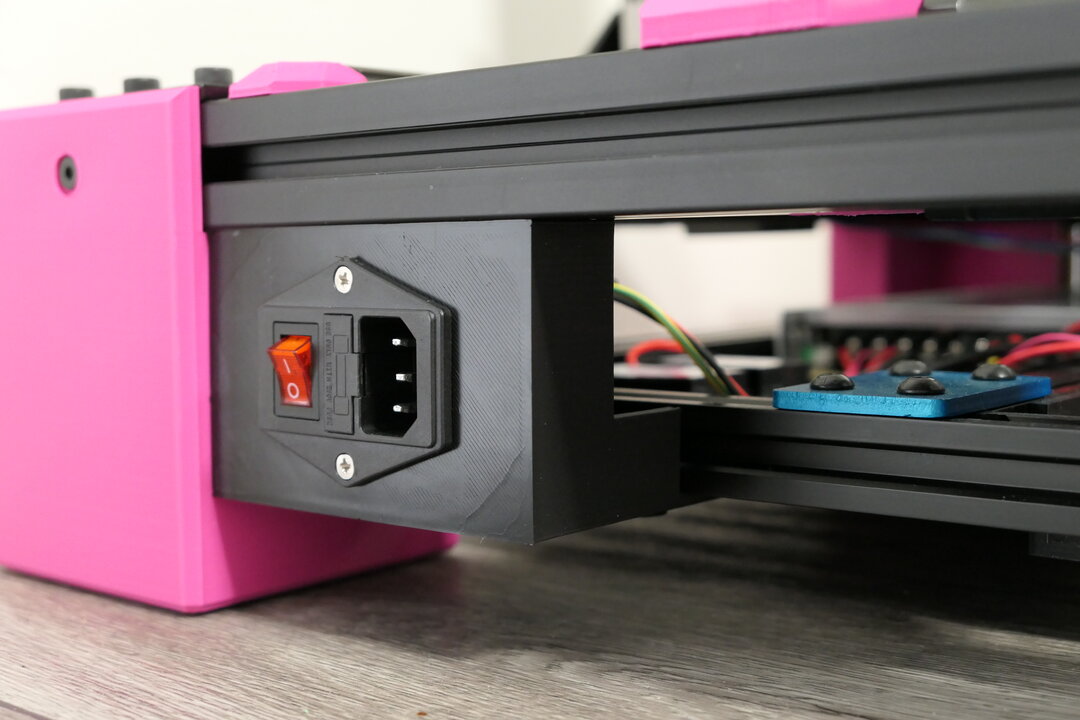
Now for the framing pieces. All the parts of the frame you would expect from a typical, run-of-the-mill printer like this, is all 3030. That whole frame is the RatRig V-Cast. The reason for the huge feet on the corners, is that there is a 2020 sub-frame underneath it, which is where all the electronics, and skirting attach. That sub-frame was taken from the entire bottom of an Artillery AL-4 (TH3D EZ300). The three middle pieces are 4020, and the front and back are 2020.
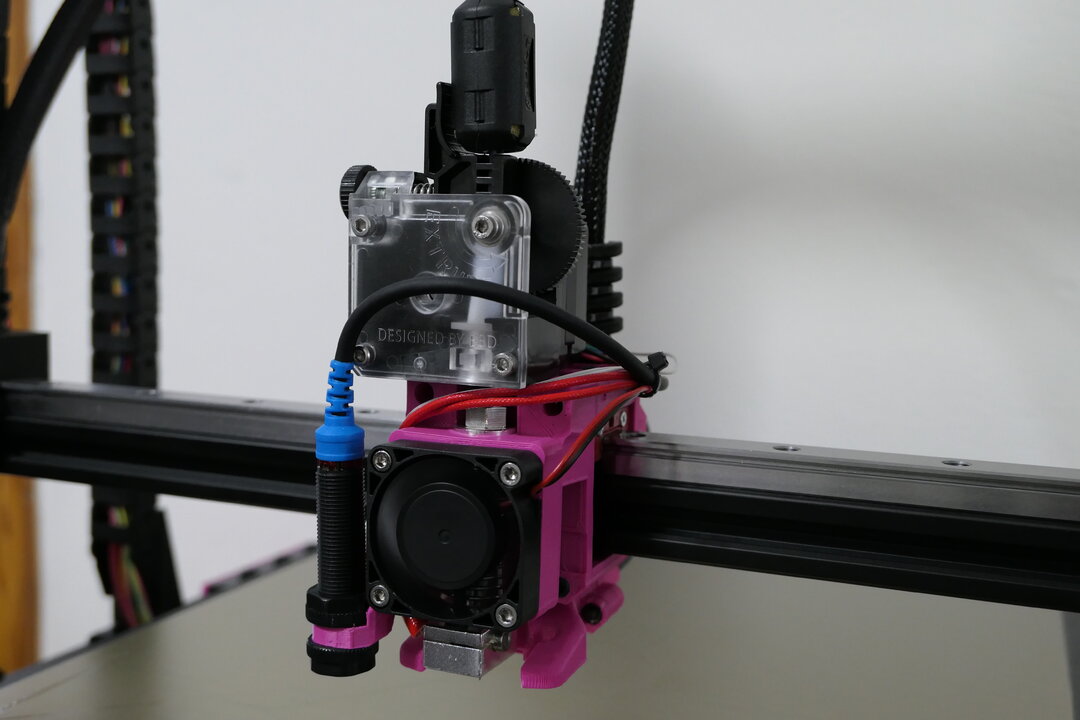
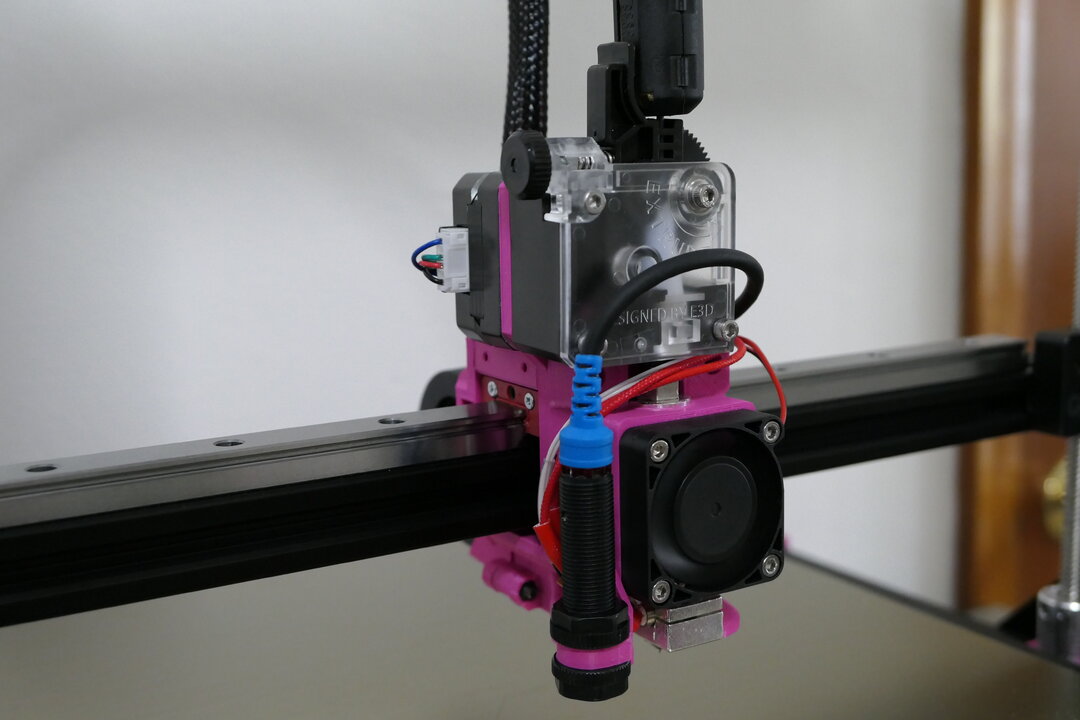
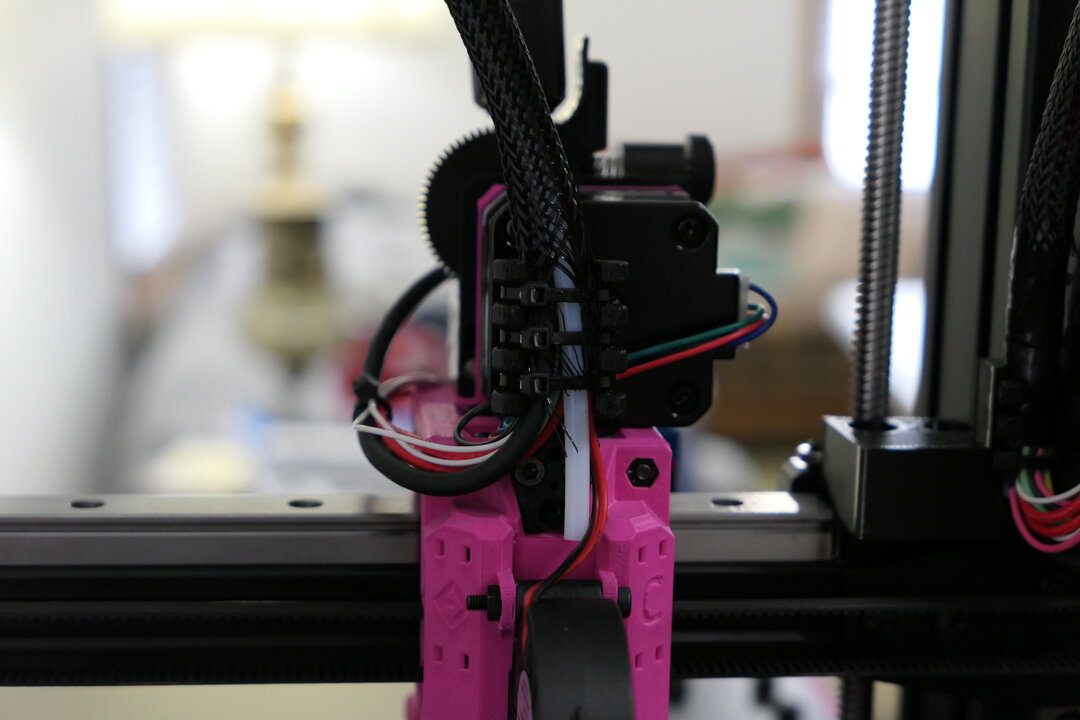
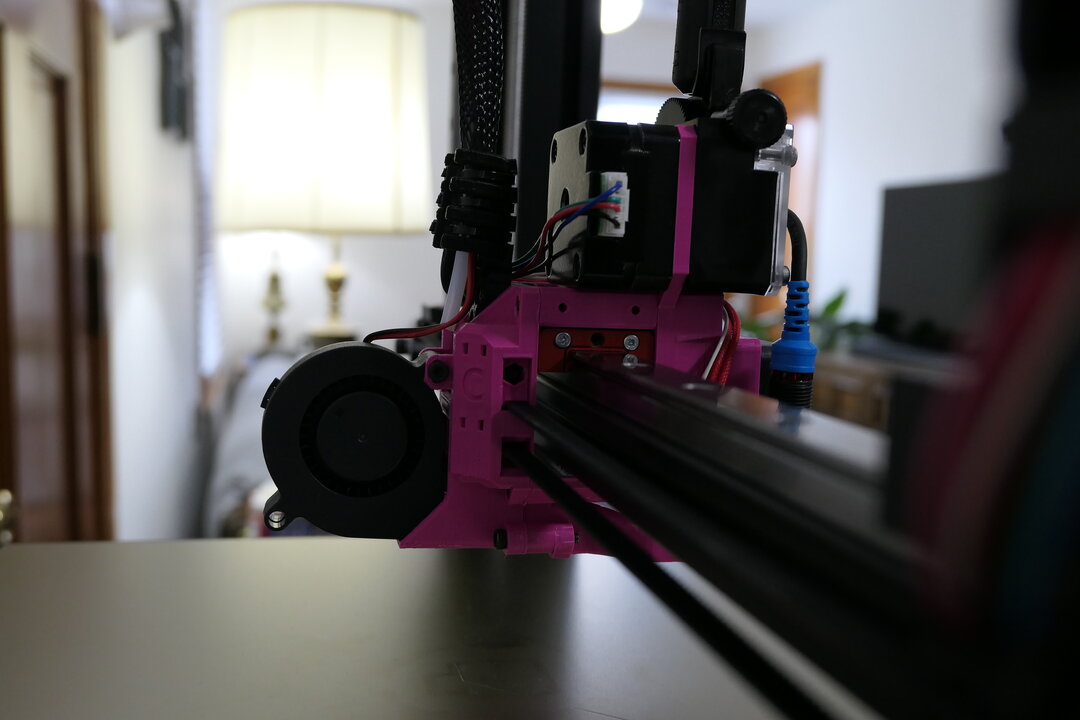
First, lets look at the hotend. This is the EVA platform by Paweł Kucmus. What is currently installed on the printer is the v1.4.0 release. He as since released v2.2.0. (Release 2.2.0 Orbiter Support · EVA-3D/eva-main). I have most of the parts I need printed off already, I just need to make sure I have the BOM for this to work, and then do the upgrade.
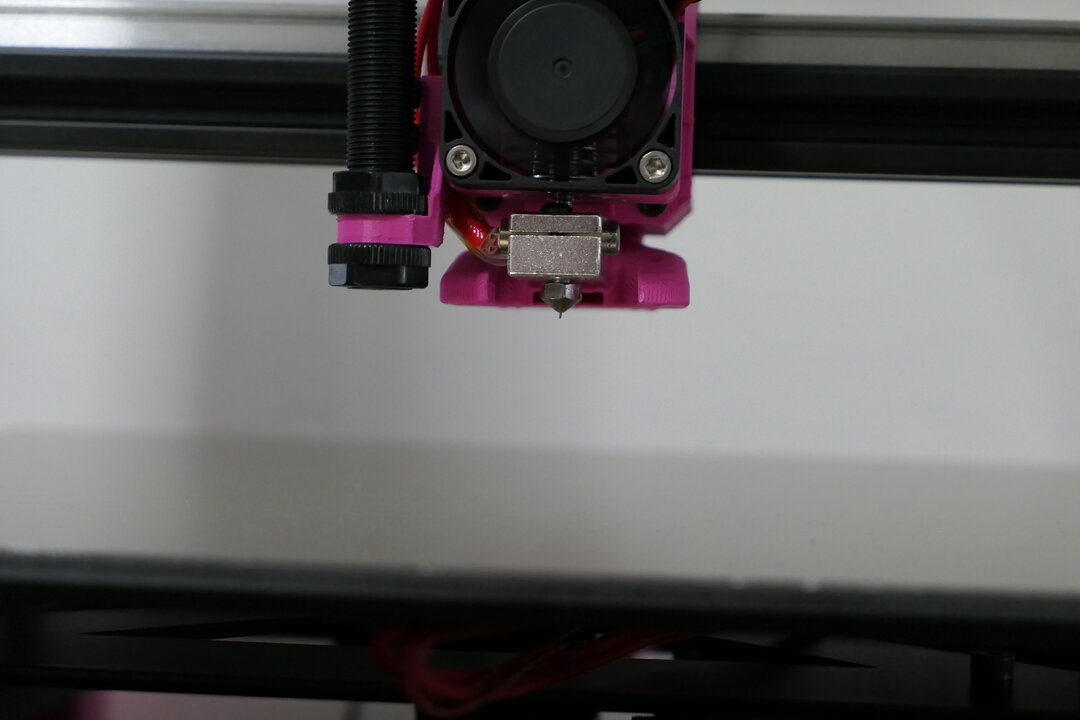
My hotend uses a genuine E3D V6 hotend, Titan Extruder, TH3D Tough Tube, EZABL Pro 12mm probe, TH3D EZFlow nozzle (0.4mm), and 5015 layer fan. That thing just above the Titan is a ferrite clip. No magnet in it, as it now has dry foam in it. It's NOT an oiler. It's literally just an inline dusting piece that remove particulates and dust from the filament before it gets fed into the extruder. You'd be surprised to see how much that thing cleans up! The braided sleeving keeps it's shape thanks to a length of PTFE tube routed alongside the wires. It's just there to maintain shape, it does not feed filament. The X axis runs on an MGN15 rail, mounted to a 2020 extrusion. The Z axis on both sides runs on MGN12 rails.
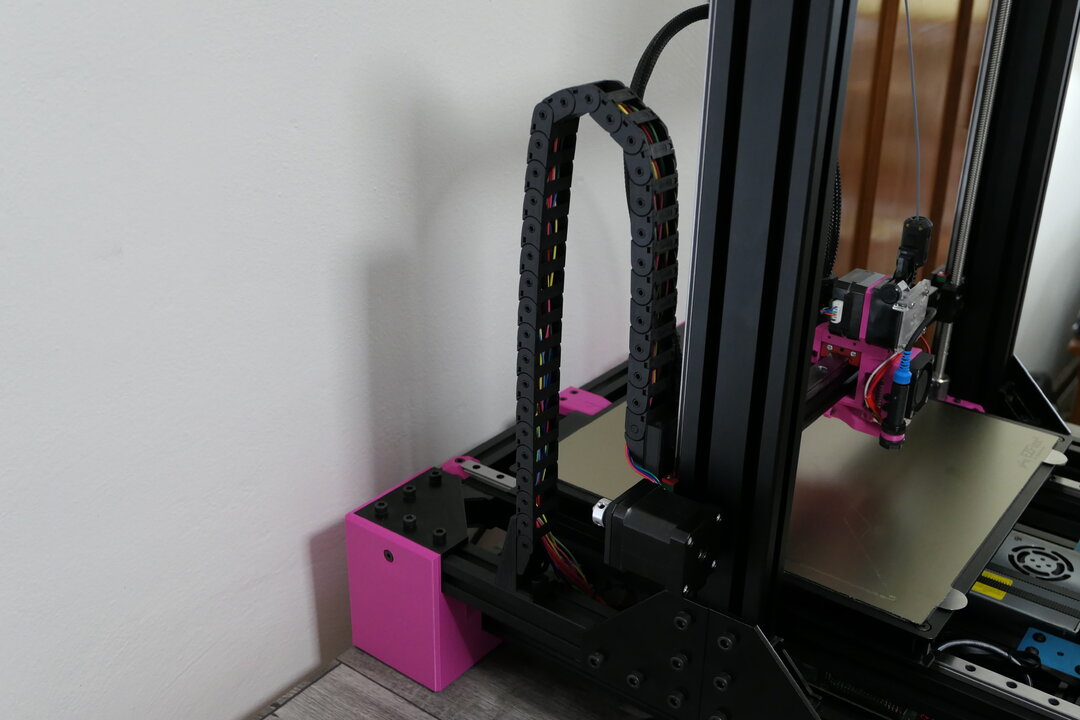
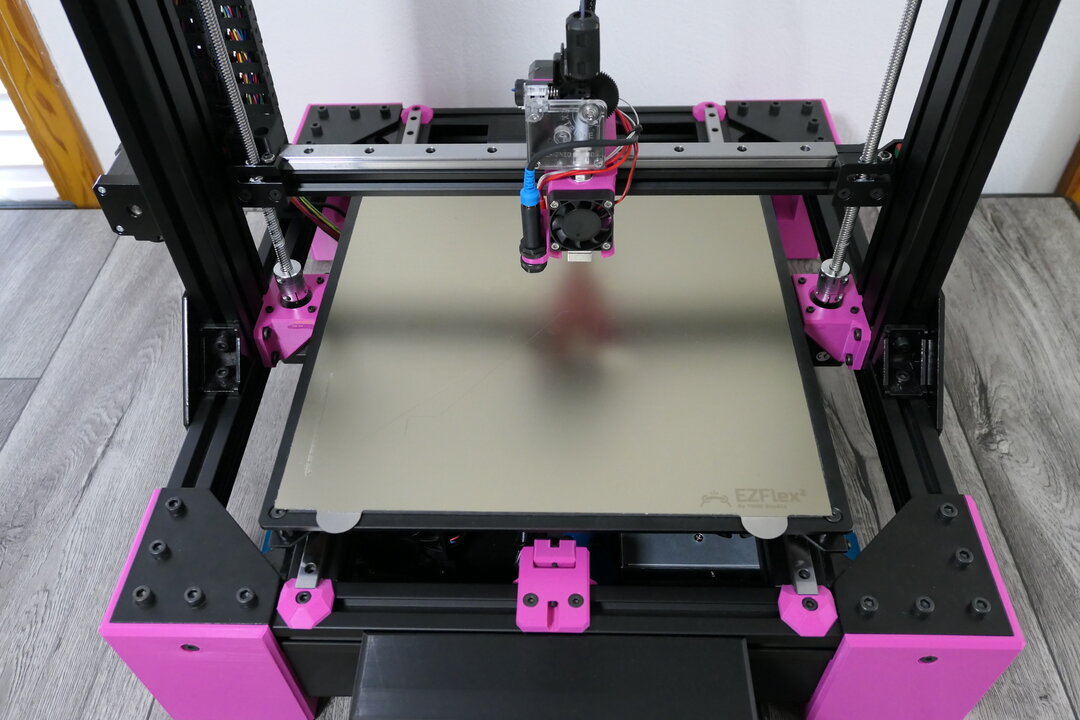
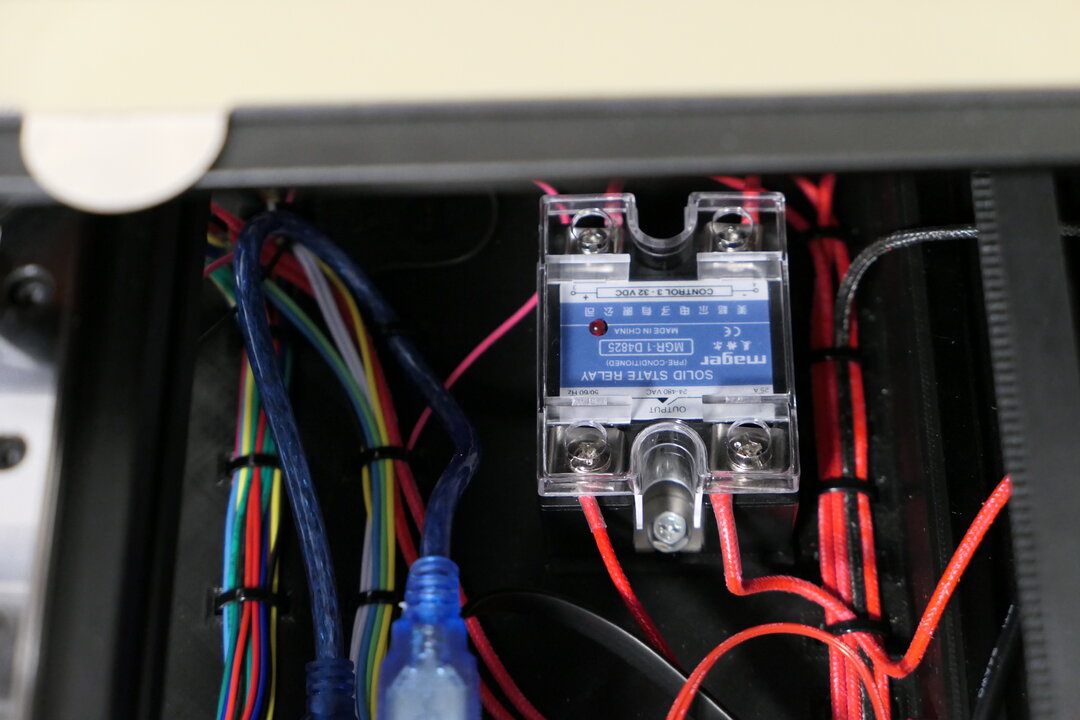
The bed is a 4mm thick aluminum plate (part of the V-Cast kit). I upgraded the Y axis motor to a 92oz to make moving the heavy bed much easier. Heating it is a 600W AC heater pad, hooked up to a 25A solid state relay. The wiring for the bed runs through a horizontally mounted drag chain. Same dimensions as the one for the Z axis. The print surface is a TH3D EZFlex2 spring steel sheet, with smooth PEI sticker on it. The other side of the spring steel sheet is blank (for now). That sheet is held down with a 2mm magnetic sheet that is stuck to the aluminum plate. Full printing area (X & Y) is 300x300mm. The heat bed (Y axis) is run on MGN12 linear rails. Left side has one carriage, while the right side has two (RatRig design).
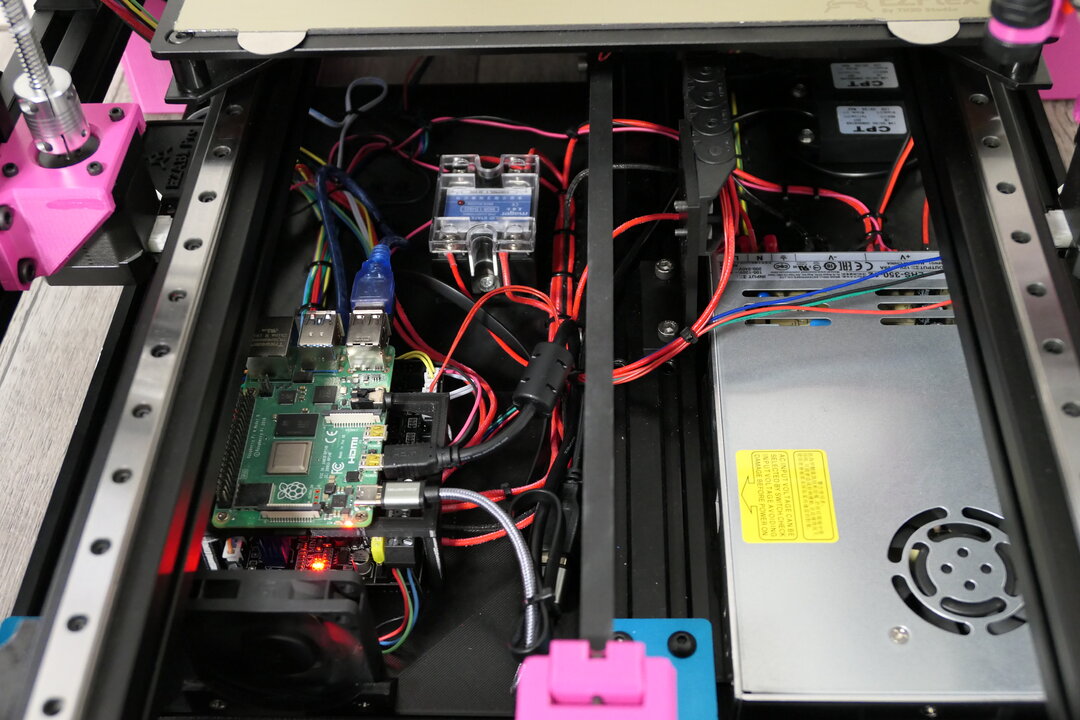
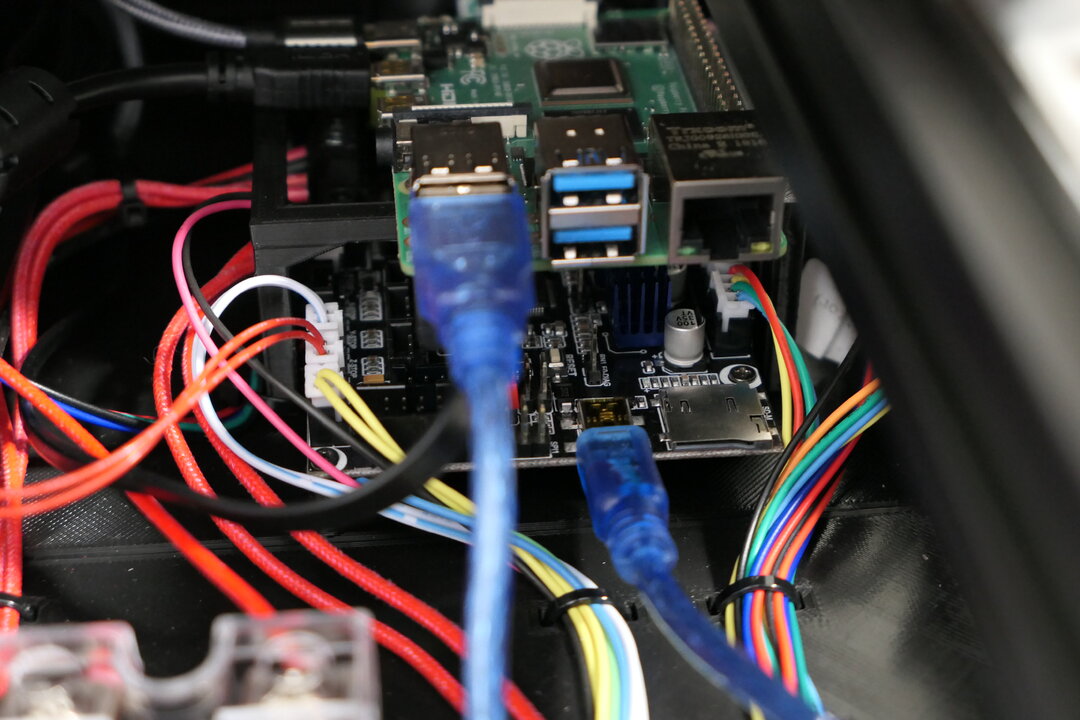
Electronics:
* SKR Mini E3 2.0
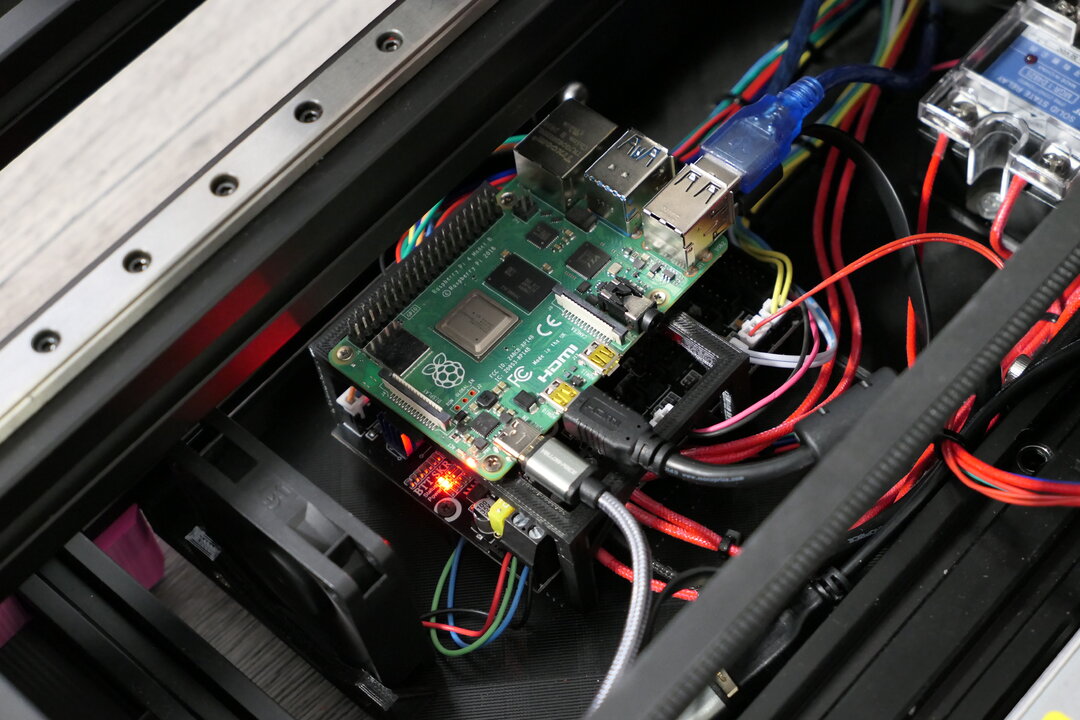
* Raspberry Pi 4B - 4GB (with 32GB microSD card)
* MAGAR 25A SSR
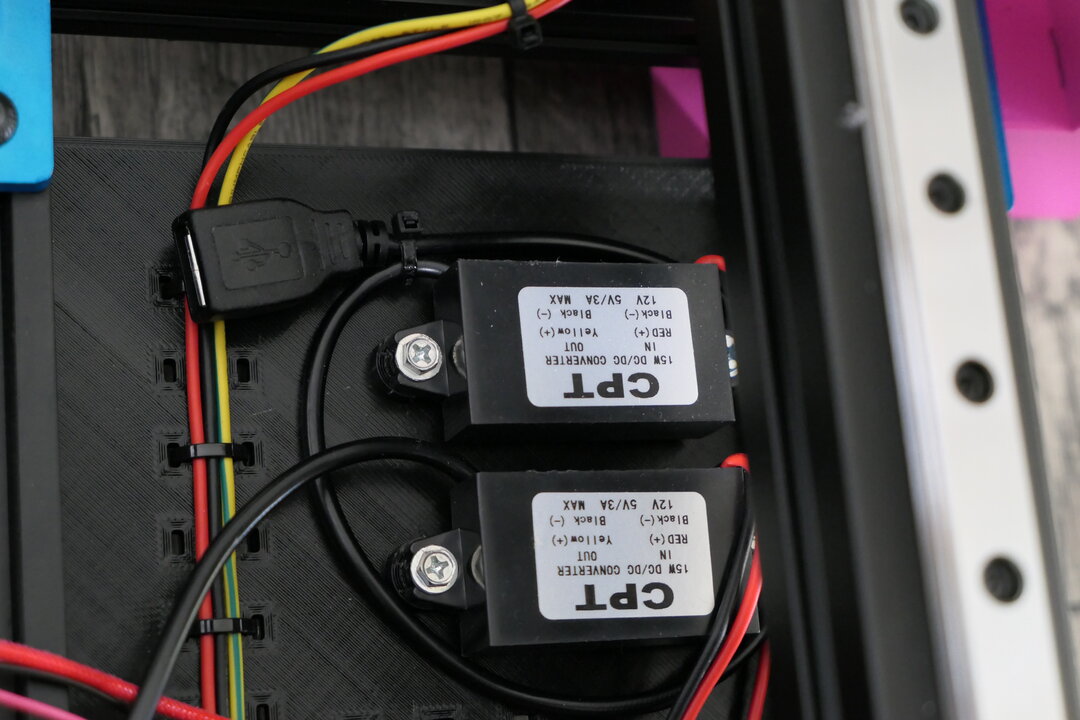
* 2x CPT 5V 3A USB power supplies (run off 12V)
* 60mm board cooling fan (cools both boards at once)
* MeanWell LRS-350-12 PSU
Software:
The Raspberry Pi runs the now-official release of OctoPi 0.18.0, with OctoPrint 1.5.3, and as you can see in the photos, OctoDash 2.1.2+ plugin. The SKR E3 Mini 2.0 is running a bleeding edge compile of custom Marlin 2.x bugfix. The TMC2209's are running in StealthChop for the X, Y, and Z. Extruder is running SpreadCycle (still silent). This build runs Sensorless Homing for X and Y, and uses the EZABL probe for Z. Probes in a 5x5 grid.
If you're interested, I maintain a semi-regular build of OctoDash with simple installer. For those that want to try out all the newest commits without setting up an entire build environment just to get it built.
M1dn1ghtN1nj4/OctoDash_Builds_UNOFFICIAL
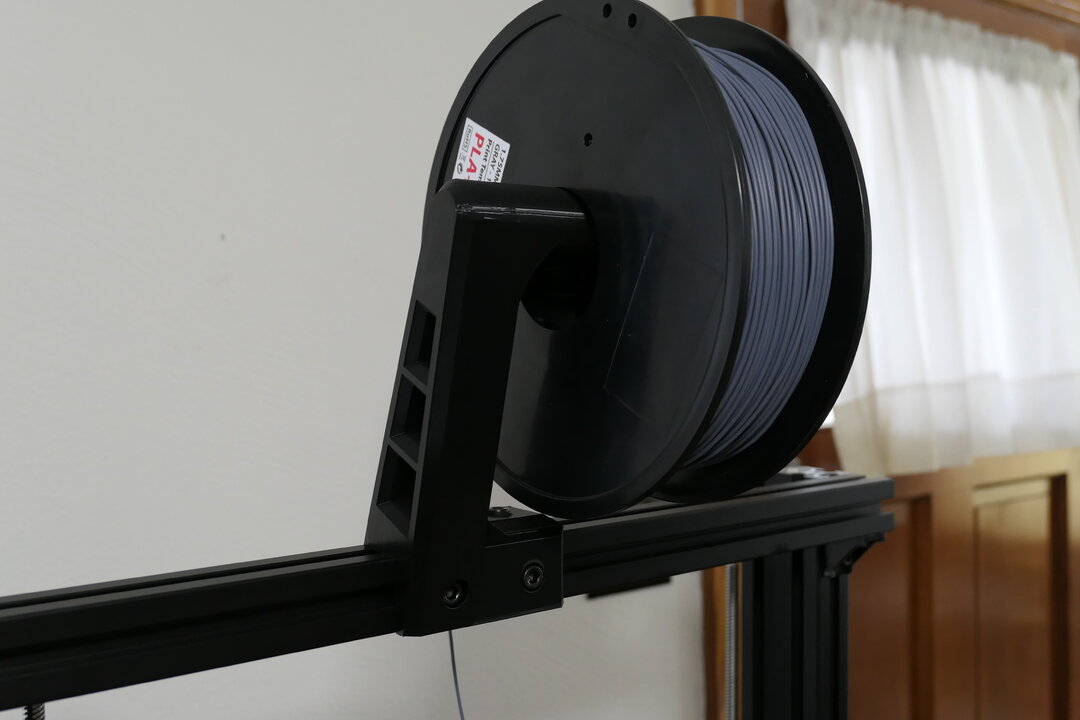
The filament up top is mounted with a spool holder kindly provided by RatRig. Actually much sturdier than I expected.
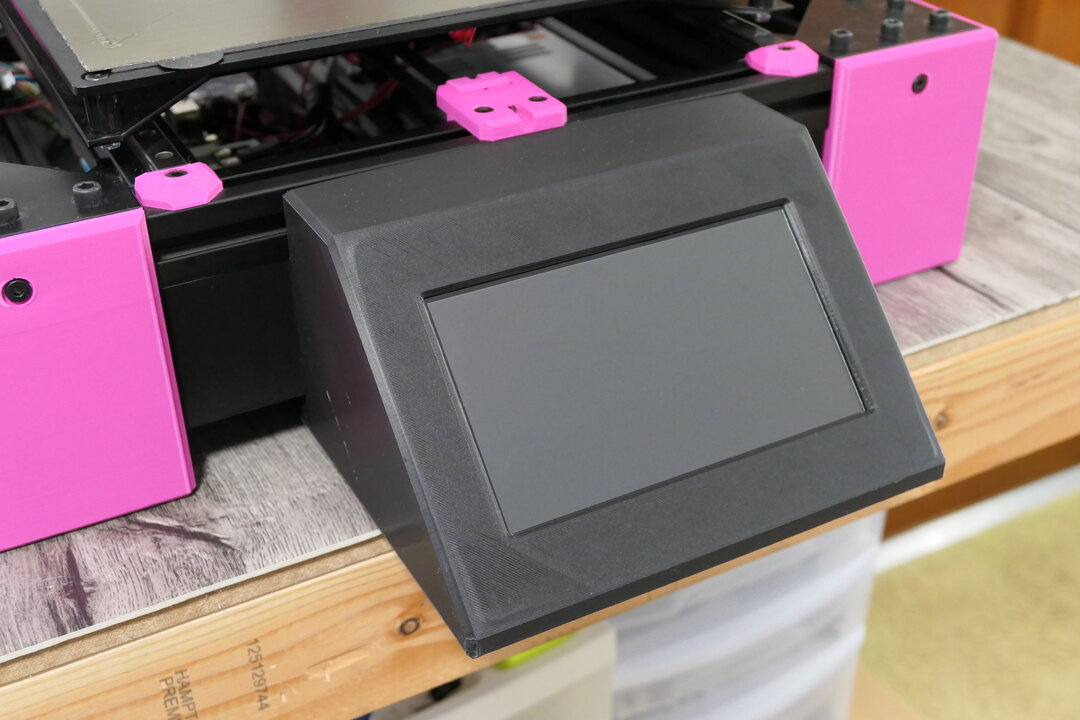
This is where the display comes in. This is an Elecrow 7" touchscreen. It runs off a full size HDMI cable (to the mini HDMI on the Raspebrry Pi. And uses the "Touch" connection (microUSB) from the screen to the Pi in order to send touch data and power the display. It took me forever to design this display mount to fit my printer, so there is a 99.99% chance it won't fit yours. But I'll post the link to it when I get a chance, in case you're curious.
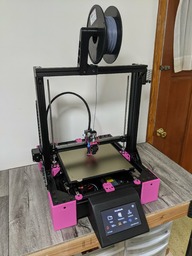
The Beast
Build in 'Cartesian Style Bots' published by M1dn1ghtN1nj4, Feb 2, 2021.
This is a heavily modified system based on the RatRig V-Cast. Lots of personal touches, and a LOT more to come!
-
-
Build Author M1dn1ghtN1nj4, Find all builds by M1dn1ghtN1nj4
-
- Loading...
-
Build Details
- Build License:
-
- CC - Attribution - CC BY
Reason for this Build
This was my first attempt at using a printer with linear rails. I wanted something with ridiculous accuracy. Turns out, I GOT IT!Inspired by
I saw RatRig release a new system. This looked like the perfect base to build a beast on!

